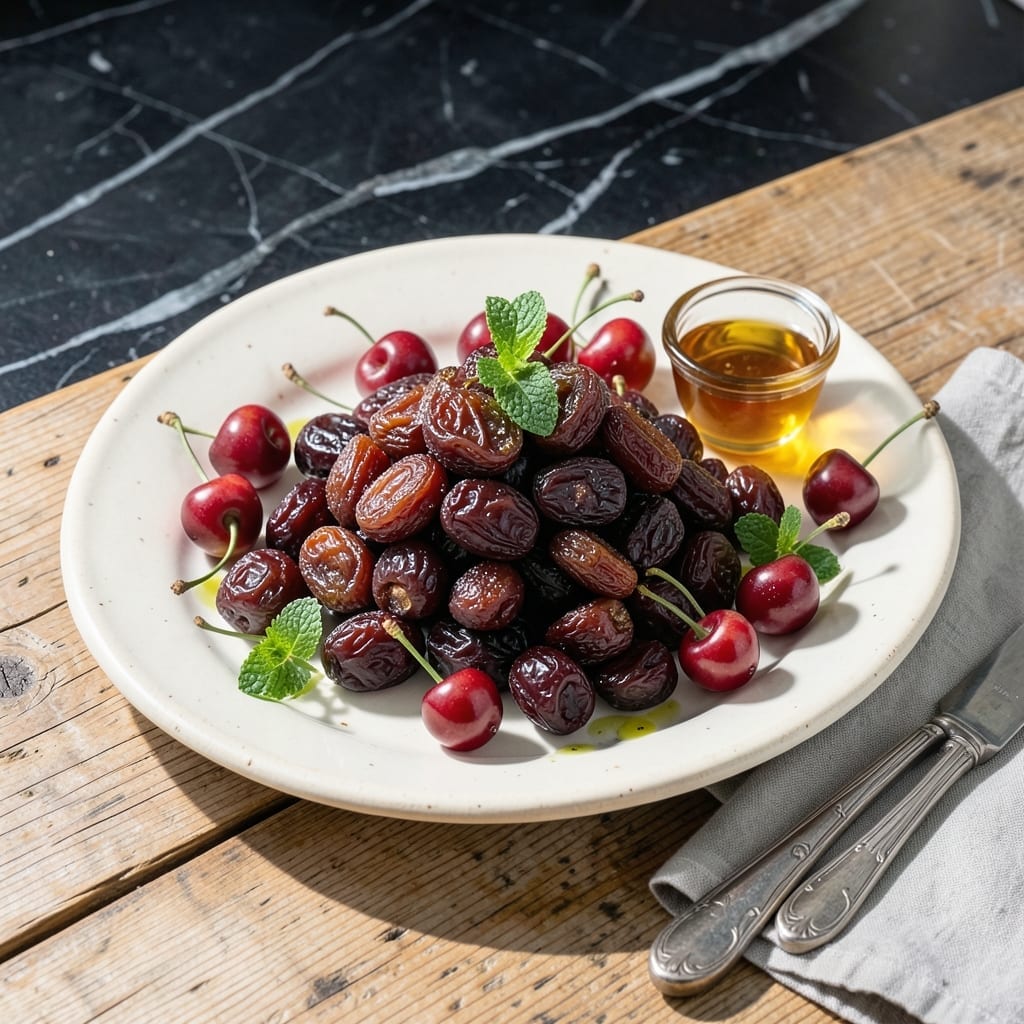
Drying cherries at home transforms fresh fruit into concentrated bursts of sweet-tart flavor perfect for baking or snacking. This method preserves their natural brightness while intensifying their taste and extending shelf life significantly.
The process requires minimal equipment—just a dehydrator or low oven and patience. Properly dried cherries develop a chewy texture and deep ruby color that makes them ideal for trail mixes, muffins, or enjoying straight from the jar.
What you’ll achieve is a versatile ingredient with uses far beyond what store-bought versions offer. The controlled drying process allows you to adjust sweetness and texture to your exact preference.
These keep beautifully for months when stored properly in airtight containers. The results justify the simple effort involved.
Ingredients for Recipe for Dried Cherries
Minimal ingredients with maximum flavor impact for preserving summer’s best fruit at home.
| Ingredient | Amount | Notes |
|---|---|---|
| Fresh Cherries 🍒 | 4 lb | Sweet or tart varieties, pitted |
| Lemon Juice 🍋 | 2 tbsp | Freshly squeezed for brightness |
| Water 💧 | 4 cups | For optional blanching step |
| Granulated Sugar 🍚 | ¼ cup | Optional for sweeter result |
| Ascorbic Acid 🧂 | ½ tsp | Preserves color, optional |
| Ice Cubes ❄️ | 2 cups | For ice water bath |
[recipe_ingredient_scaler]
The cherries are everything here. Sweet varieties like Bing yield the richest flavor, while tart Montmorency cherries deliver that classic dried cherry tang. Source from farmers markets in peak season (late spring to early summer) for optimal sugar content and color. Look for firm, deep-colored fruit without blemishes. Organic cherries are ideal since you’re consuming the skins entirely after drying.
No ascorbic acid? Lemon juice works at double the amount to prevent browning. Want to skip the sugar entirely? The natural sweetness concentrates beautifully on its own. For a shortcut, frozen cherries (thawed and drained) can be used, though fresh always yields superior texture. Avoid pre-pitted cherries—they often come packed in syrup that alters the drying process.
Properly dried cherries keep in airtight containers at room temperature for 6-12 months. For longer storage, refrigerate or freeze. Condition the dried fruit by letting it sit sealed for 24-48 hours before final packaging to equalize moisture. This prevents mold growth during storage.
Why You’ll Love This Recipe
- One Pot Wonder: I just toss fresh cherries, lemon juice, and sugar in a pot—no fancy steps, no fuss.
- Sweet-Tart Magic: The cherries turn jammy with a bright pop from the lemon and ascorbic acid keeping their color.
- Snack Stash: Honestly, I keep a jar in my pantry for oatmeal, trail mix, or just grabbing a handful.
- Budget Keeper: A pound of fresh cherries turns into weeks of dried snacks—no waste, all reward.
Step-by-Step Instructions for Dried Cherries
This dehydrating process preserves the fruit’s vibrant flavor and extends its shelf life significantly.
Step 1: Prepare and Blanch the Fresh Cherries
Begin by thoroughly washing the 4 lb fresh cherries under cold running water to remove any dirt or debris. Pat them completely dry with clean kitchen towels. Remove all stems and pits—this is essential to prevent spoilage during the drying process.
For optimal color retention, prepare an ice water bath by combining the 2 cups ice cubes with 4 cups water in a large bowl. In a separate saucepan, bring additional water to a boil. Working in batches, blanch the pitted cherries in boiling water for 30 seconds, then immediately transfer them to the ice water bath to stop the cooking process.
Step 2: Pre-Treat to Preserve Color and Flavor
Drain the blanched cherries and pat them dry again. To prevent browning and maintain the fruit’s vibrant hue, dissolve the 0.5 tsp ascorbic acid in 1 cup of the 4 cups water. This anti-browning solution is particularly important for lighter-colored cherry varieties.
Gently toss the cherries in this solution, ensuring each piece is thoroughly coated. Allow them to soak for 5 minutes before draining completely. This step creates a protective barrier against oxidation while enhancing the fruit’s natural color.
Step 3: Optional Sweetening for Enhanced Flavor
For those preferring a sweeter finished product, dissolve the 0.25 cup granulated sugar in the remaining 1 cup of the 4 cups water. Submerge the pre-treated cherries in this light syrup for 10-15 minutes, allowing them to absorb some sweetness.
Drain the cherries and pat them dry one final time. The sugar solution will create a slightly glossy finish on the dried fruit while balancing any tartness. This step is optional but recommended for snacking varieties.
Step 4: Dehydrate Until Perfectly Dried
Arrange the prepared cherries in a single layer on dehydrator trays, ensuring they don’t touch each other. Set your dehydrator to 135°F—this temperature is ideal for fruit preservation, removing moisture while maintaining nutritional value.
Allow the cherries to dry for 8-12 hours, checking periodically after the 6-hour mark. They’re done when they’re leathery to the touch with no visible moisture, and the texture should be pliable but not sticky. Rotate trays halfway through for even drying.
Step 5: Cool and Store Properly
Once fully dried, transfer the cherries to a wire rack to cool completely to room temperature. This cooling period prevents condensation from forming in your storage container, which could lead to mold growth.
Store the dried cherries in an airtight container in a cool, dark place. For extended shelf life, add a silica gel packet to absorb any residual moisture. Properly dried and stored, they’ll keep for 6-12 months while maintaining their sweet-tart flavor and chewy texture.
Pro Tips For Making Recipe For Dried Cherries
- Pit the Cherries: Remove all pits before drying—left-in pits make the cherries dry unevenly and can leave a bitter taste. I learned this the hard way after ruining my first batch.
- Soak in Lemon: Toss halved cherries in lemon juice for 10 minutes before drying to preserve their bright color and prevent browning. Sounds weird, but it works.
- Keep Temperature Low: Dry at 135°F (57°C) or lower to avoid caramelizing the sugars, which makes the cherries sticky instead of leathery. My first attempt at 170°F turned them into chewy candy.
- Add Ascorbic Acid: Mix 1/2 teaspoon ascorbic acid per cup of water in your soak to boost color retention and shelf life. Skip it, and your cherries will darken faster than you’d expect.
Health Benefits of This Recipe
Rich in Antioxidants
Dried cherries pack a powerful antioxidant punch, particularly anthocyanins that give them their deep red color. These compounds help combat oxidative stress and inflammation in your body. A ½ cup serving provides about 10% of your daily antioxidant needs. 💪
Natural Sleep Aid
This fruit is one of the few natural food sources of melatonin, the hormone that regulates sleep. Eating a small handful before bedtime may help improve sleep quality and duration. I’ve found they make a perfect evening snack when I’m winding down.
Heart Health Support
Dried cherries contain potassium and polyphenols that support cardiovascular health by helping to regulate blood pressure. They’re also naturally low in sodium, making them a heart-smart choice for snacking. Just ¼ cup provides about 150mg of potassium.
Digestive Benefits
With 3 grams of fiber per ½ cup serving, dried cherries support healthy digestion and may help maintain regularity. The fiber content also contributes to a feeling of fullness, making them a satisfying snack option. I appreciate how they help me stay energized between meals.
Anti-Inflammatory Properties
Compounds in cherries help reduce inflammation, which may alleviate symptoms of arthritis and other inflammatory conditions. Regular consumption of dried cherries has been linked to reduced muscle soreness after exercise. This makes them my go-to recovery snack after workouts.
Nutrient Density
Despite their small size, dried cherries are packed with essential vitamins and minerals including vitamin A, vitamin C, and calcium. They offer concentrated nutrition without added sugars when prepared at home. One serving provides about 8% of your daily vitamin C needs. ✨
Nutrition Facts
Frequently Asked Questions
Do I need a dehydrator to make these?
No, an oven works fine! Set it to the lowest temperature (135°F or 170°F max) and prop the door open slightly. Expect it to take 12-18 hours with occasional rotation.
How can I tell when they’re fully dried?
They should be leathery but still pliable, with no moisture when squeezed. If sticky, return to the dehydrator for 1-2 more hours. Properly dried cherries won’t rehydrate if left out overnight.
Can I use this method with other fruits?
The same process works for apples, peaches, or berries. Adjust drying time based on thickness—sliced apples take about 6-8 hours, while blueberries may need 10-12 hours.

Trained in classic French technique but raised on slow-cooked ribs and spicy rubs, she blends culinary skill with smoke and soul.
- Recipe for Boneless Pork Chops in Cast Iron Skillet: Sear and Baste to Juicy Perfection - October 3, 2026
- Recipe for Boneless Cross Rib Roast: Slow-Roasted Beef with Herb Crust - October 3, 2026
- Hamburgers in Sauce Recipe Crock Pot: Slow-Cooked Savory Delight - October 3, 2026