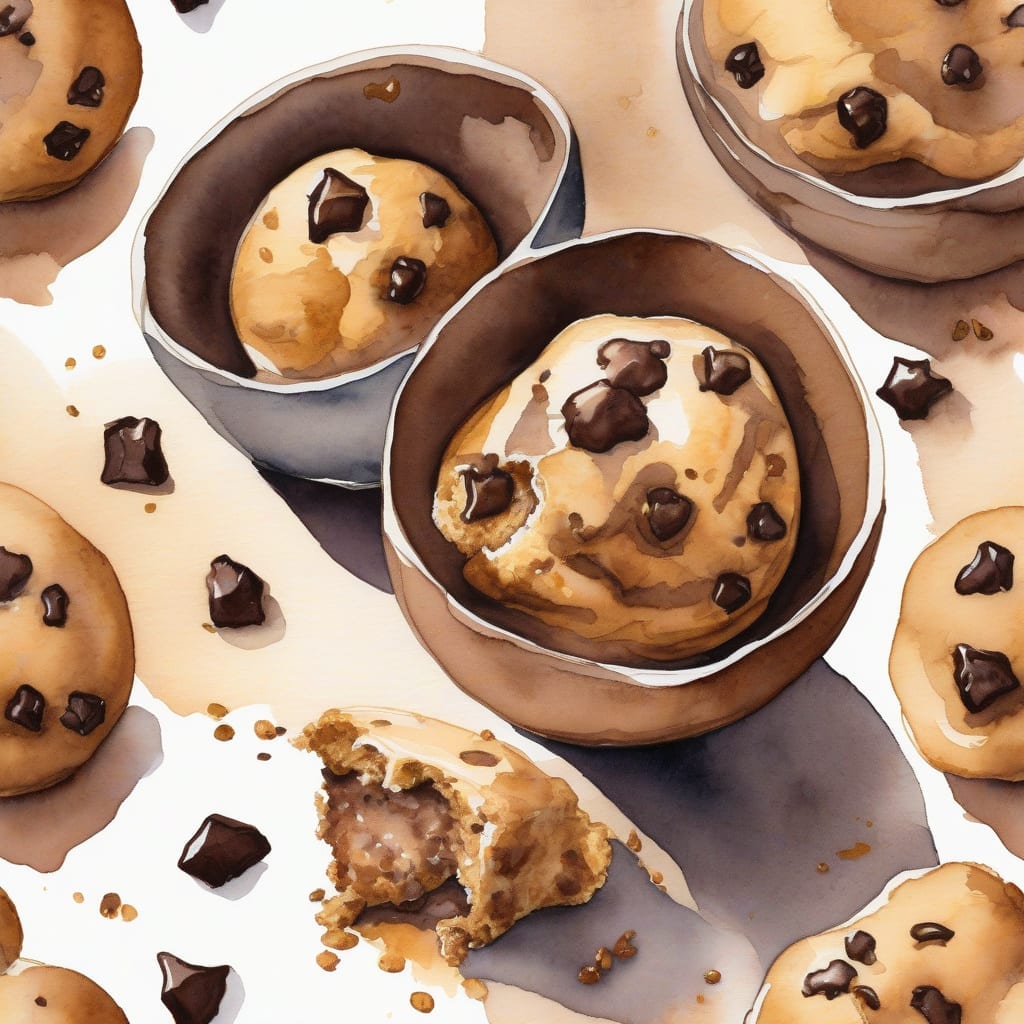
Who doesn’t love the irresistible taste of cookie dough? 🍪 Today, I’m sharing my go-to recipe for edible cookie dough balls that are perfect for snacking—no baking required! These sweet treats are not only delicious but also safe to enjoy, making them a guilt-free indulgence.
This recipe uses simple ingredients you probably already have at home. With just a few easy steps, you’ll create delightful, bite-sized cookie dough balls that are sure to satisfy your sweet tooth. Trust me, they’ll disappear in no time!
By the end, you’ll have soft, creamy dough packed with chocolate chips, perfect for sharing (or not!). Let’s get started on making these fun, no-bake treats that everyone will love!
Ingredients for Recipe for edible cookie dough balls
Gather these simple ingredients to whip up delicious edible cookie dough balls everyone will adore.
| Ingredient | Amount | Notes |
|---|---|---|
| All-Purpose Flour 🌾 | 1 cup | Heat-treated for safety |
| Unsalted Butter 🧈 | ½ cup | Softened for easy mixing |
| Brown Sugar 🍂 | ¾ cup | Packed for sweetness |
| Granulated Sugar 🍬 | ¼ cup | For added sweetness |
| Vanilla Extract 🍦 | 1 tbsp | Pure for best flavor |
| Chocolate Chips 🍫 | 1 cup | Semi-sweet or dark variety |
| Milk 🥛 | 2-4 tbsp | Adjust for desired consistency |
| Sea Salt 🧂 | ½ tsp | Enhances flavor balance |
[recipe_ingredient_scaler]
You can find all these ingredients at your local grocery store. Look for high-quality chocolate chips, such as Ghirardelli or Nestlé, for a rich flavor. When selecting flour, ensure it's from a reputable brand, especially since it needs to be heat-treated for safety. Stores like Whole Foods and Trader Joe's often have organic options as well.
If you're out of brown sugar, feel free to substitute with an equal amount of coconut sugar for a different flavor profile. For a dairy-free version, use coconut oil instead of butter and almond milk in place of regular milk. Adjust the liquid as needed to get the right dough consistency—aim for soft but not too sticky.
Store any leftover cookie dough balls in an airtight container in the refrigerator for up to 5 days. For longer storage, freeze them in a single layer on a baking sheet, then transfer to a freezer-safe bag for up to 3 months. Enjoy them straight from the fridge or thawed for a delicious treat!
Step-by-Step Instructions for Edible Cookie Dough Balls
Let me guide you through this no-bake sweet treat that’s perfect for satisfying your cookie cravings safely!
👨🍳 Step 1: Prepare the Flour for Safety
To start, it’s essential to heat-treat the 1 cup of all-purpose flour to eliminate any harmful bacteria. I like to spread the flour evenly on a baking sheet and bake it in a preheated oven at 350°F for about 5-7 minutes. You’ll know it’s ready when it’s warm to the touch, and there’s a light, toasty aroma.
Let the flour cool before using it. This step ensures that your cookie dough is safe to eat and keeps you worry-free while indulging in this delicious treat!
👨🍳 Step 2: Cream Together the Butters and Sugars
In a mixing bowl, combine 0.5 cup of softened unsalted butter, 0.75 cup of packed brown sugar, and 0.25 cup of granulated sugar. Using an electric mixer, beat these ingredients together on medium speed until the mixture is creamy and well combined—about 2-3 minutes.
You want it to be fluffy and light in color, which indicates that you’ve incorporated enough air. This helps create that delightful texture you expect from cookie dough. Don’t rush this step; it’s crucial for achieving the right consistency!
🍳 Step 3: Mix in Flavor and Chocolate Chips
Add 1 tablespoon of vanilla extract and 0.5 teaspoon of sea salt to the mixture. Then gradually mix in your heat-treated flour until just combined. I find that this works best at low speed to avoid flour flying everywhere.
Once the flour is incorporated, fold in 1 cup of chocolate chips. You can use semi-sweet or dark chocolate chips, depending on your preference! The dough should be thick and slightly sticky, perfect for rolling into balls.
🥘 Step 4: Adjust Consistency with Milk
If the dough seems too dry, add milk gradually—start with 2 tablespoons and increase up to 4 tablespoons if necessary. This will help you achieve a smooth, scoopable consistency. I recommend mixing in one tablespoon at a time until you reach your desired texture.
The dough should be soft but still hold its shape when you roll it into balls. If it’s too wet, just sprinkle in a bit more flour until it’s perfect!
🍽️ Step 5: Form and Chill the Cookie Dough Balls
Using your hands or a cookie scoop, form the dough into small balls—about the size of a tablespoon each. Place them on a lined baking sheet. I usually make around 12-16 balls, depending on the size you prefer.
Chill the cookie dough balls in the refrigerator for about 30 minutes. This helps them firm up and makes them even more enjoyable when you take a bite! Once chilled, they’re ready to eat, so enjoy your delightful creation!
Creative Twists for Your Edible Cookie Dough Balls
If you’re looking to mix things up, consider adding a 1/2 cup of peanut butter to your dough for a nutty flavor. I’ve found that using creamy Jif or Skippy creates an irresistible combo with chocolate chips. Just fold it in after the butter and sugars are creamed for a delightful twist! 🥜
For a fun seasonal variation, try incorporating 1 teaspoon of pumpkin spice during the mixing process. This adds a warm, cozy flavor perfect for fall treats. You can even swap in white chocolate chips for a sweeter contrast against the spices—trust me, this combination will have everyone raving! 🎃
If you’re feeling adventurous, experiment with toppings! After rolling the dough into balls, roll them in chopped nuts, toasted coconut flakes, or even sprinkles. It adds a fun texture and visual appeal, making them perfect for parties or gatherings. I love using rainbow sprinkles for a festive touch! 🌈
Lastly, consider making a stuffed version. Press some dough into small discs and place a piece of caramel or chocolate candy in the center before enclosing it with more dough. This surprise inside is always a hit and elevates your no-bake treat to the next level! 🍬
Nutrition Facts
320kcal

Trained in classic French technique but raised on slow-cooked ribs and spicy rubs, she blends culinary skill with smoke and soul.
- Recipe for Boneless Pork Chops in Cast Iron Skillet: Sear and Baste to Juicy Perfection - October 3, 2026
- Recipe for Boneless Cross Rib Roast: Slow-Roasted Beef with Herb Crust - October 3, 2026
- Hamburgers in Sauce Recipe Crock Pot: Slow-Cooked Savory Delight - October 3, 2026