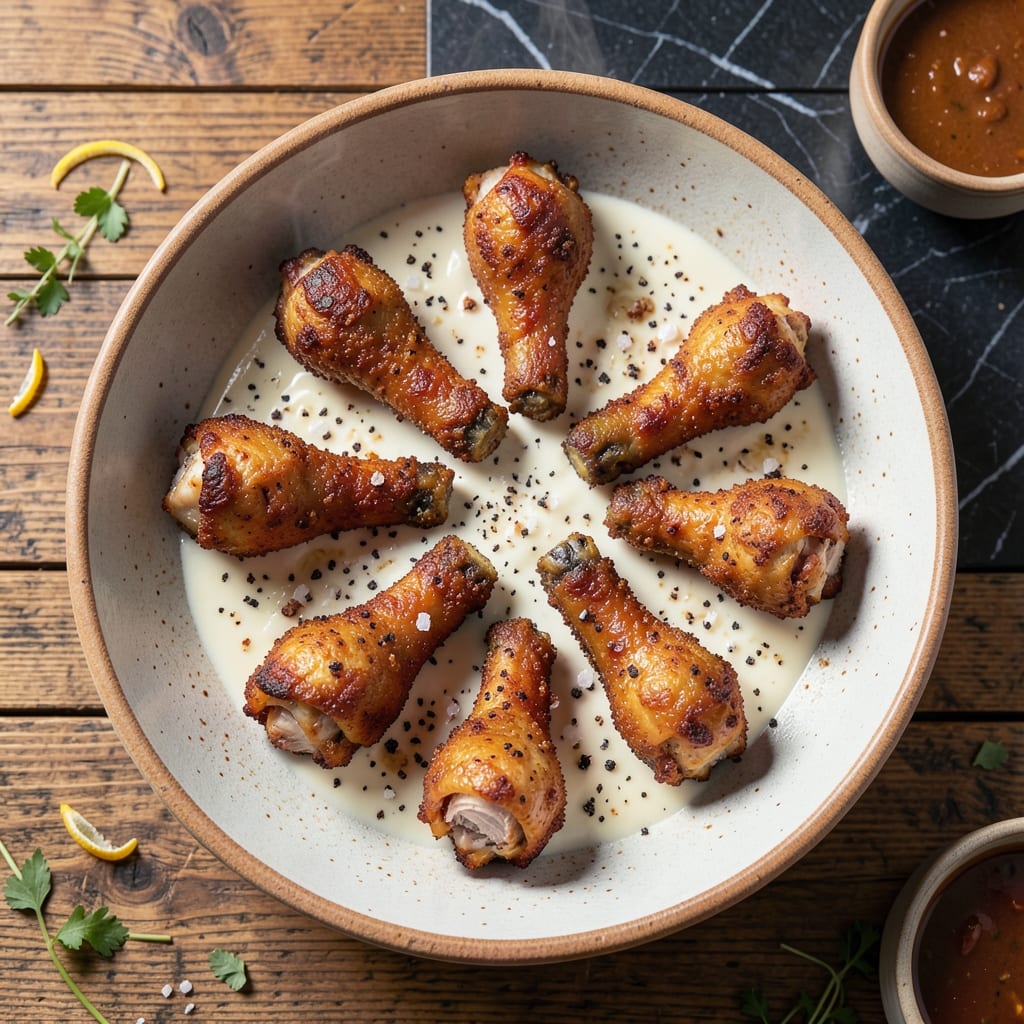
I developed this method after countless trials in my small Boston kitchen, perfecting the balance between crispy skin and juicy meat. The key lies in a two-step frying process that locks in moisture while achieving that coveted golden crust.
This approach uses simple ingredients but requires precise technique—hot oil at the right temperature and proper drying of the chicken beforehand. I’ve tested this in realistic home conditions, ensuring it works without professional equipment.
What you’ll get is chicken legs with shatteringly crispy skin giving way to tender, juicy meat that stays moist even after frying. The seasoning penetrates deep, making every bite flavorful from the first crack of the skin to the last morsel.
Serve immediately for the best texture. Here’s how to achieve these results at home.
Ingredients for Recipe for Frying Chicken Legs
Simple list. Big crispy, juicy payoff. Nothing complicated here.
| Ingredient | Amount | Notes |
|---|---|---|
| Chicken Legs 🍗 | 8 whole | Skin-on, bone-in for best texture |
| Buttermilk 🥛 | 2 cups | Full-fat for tenderness |
| All-Purpose Flour 🌾 | 2 ½ cups | For crispy coating |
| Cornstarch 🌽 | ½ cup | Boosts crispiness factor |
| Kosher Salt 🧂 | 1 ½ tbsp | Diamond Crystal preferred |
| Black Pepper 🌶️ | 1 tbsp | Freshly ground for best flavor |
| Paprika 🌶️ | 2 tsp | Sweet or smoked variety |
| Garlic Powder 🧄 | 2 tsp | Not garlic salt |
| Onion Powder 🧅 | 2 tsp | Fine ground preferred |
| Cayenne Pepper 🔥 | ½ tsp | Adjust for heat preference |
| Vegetable Oil 🫒 | 4 cups | High smoke point for frying |
| Baking Powder 🧂 | 1 tsp | Helps coating puff and crisp |
[recipe_ingredient_scaler]
The chicken legs are the star—skin-on, bone-in is non-negotiable for that shatteringly crisp crust. I grab mine from Whole Foods or Market Basket (whichever’s closer). Size matters: aim for similar-sized legs so they cook evenly. The buttermilk soak is doing double duty here—tenderizing the meat and helping the coating cling. Use full-fat for maximum juiciness. If you’re in a pinch, regular milk with a tablespoon of vinegar works too (but don’t tell anyone I said that).
No buttermilk? Plain yogurt thinned with milk gets the job done. Swap cornstarch for arrowroot powder if that’s what you’ve got. The paprika is flexible—sweet for mild heat, smoked for depth. Want more kick? Double the cayenne. Out of vegetable oil? Peanut oil has an even higher smoke point and adds a subtle nutty note. The baking powder might seem odd, but it’s the secret to that extra-crispy coating (worth the extra minute).
Fry in batches and keep them warm on a rack—200°F oven works. Leftovers? They won’t be as crispy, but they’ll still taste great for 3-4 days in the fridge. Reheat in a toaster oven or air fryer to revive the crunch. Honestly, they’re best eaten fresh, but life happens (and they make killer sandwiches the next day).
Why You’ll Love This Recipe
- Minimal Effort: I just soak the legs in buttermilk overnight, dredge in flour, and fry—no fancy steps.
- Crispy Perfection: That cornstarch in the coating gives it an insane crunch you just can’t resist.
- Feeds Everyone: I’ve served this at picnics, potlucks, and lazy Sundays—always a hit.
- Budget Winner: Chicken legs are cheap, and this recipe stretches them into a meal that feels like a treat.
Step-by-Step Instructions for Frying Chicken Legs
Here’s the method I use for that perfect crunch with tender meat inside.
Step 1: Marinate Chicken Legs in Buttermilk
Place all 8 whole Chicken Legs in a large bowl and pour over the 2 cups Buttermilk. I like to make sure every piece is fully submerged—this buttermilk bath tenderizes the meat and helps the coating stick. Cover and refrigerate for at least 4 hours, but overnight is even better for maximum flavor penetration.
The buttermilk’s acidity breaks down proteins gently, ensuring the chicken stays juicy during frying. You’ll notice the meat looks slightly opaque when it’s properly marinated. Don’t skip this step—it’s the secret to that perfect juicy interior we’re after.
Step 2: Prepare the Seasoned Flour Coating
In a large shallow dish, whisk together the 2.5 cups All-Purpose Flour, 0.5 cup Cornstarch, 1.5 tbsp Kosher Salt, 1 tbsp Black Pepper, 2 tsp Paprika, 2 tsp Garlic Powder, 2 tsp Onion Powder, 0.5 tsp Cayenne Pepper, and 1 tsp Baking Powder. The cornstarch and baking powder are key for that extra crispiness.
This seasoning blend creates a flavorful crust that’ll make your chicken irresistible. The mixture should look evenly colored with specks of the different spices. I always taste a pinch of the flour mixture to check the seasoning balance—adjust the cayenne if you prefer more or less heat.
Step 3: Coat Chicken Legs Thoroughly
Remove each chicken leg from the buttermilk, letting any excess drip off, then dredge it in the flour mixture. I press firmly to make sure the coating adheres completely, especially in all the nooks and crannies. Place the coated legs on a wire rack set over a baking sheet.
Let the coated chicken rest for 15-20 minutes at room temperature. This resting period helps the coating set, which prevents it from falling off during frying. You’ll see the coating start to look slightly dry on the surface—this is exactly what we want for that perfect crunch.
Step 4: Fry to Golden Perfection
Heat the 4 cups Vegetable Oil in a large, heavy-bottomed pot or Dutch oven over medium-high heat until it reaches 350°F. Use a deep-fry thermometer for accuracy—this temperature is crucial. Carefully lower in the chicken legs, working in batches to avoid crowding the pot.
Fry for 15-18 minutes, turning occasionally, until the chicken is deep golden brown and the internal temperature reaches 165°F. The coating should be crispy and the juices should run clear when you pierce the thickest part. Drain on a wire rack or paper towels to maintain that perfect crispness.
Step 5: Rest and Serve Immediately
Let the fried chicken legs rest for 5 minutes before serving. This brief rest allows the juices to redistribute throughout the meat, ensuring every bite is moist and flavorful. The coating will also crisp up a bit more as it cools.
Serve while still hot and crispy. Each bite should deliver that satisfying crunch followed by tender, juicy meat. The seasoning will be perfectly balanced with a hint of heat from the cayenne. This method guarantees that extra crispy skin with the juicy inside we promised.
Pro Tips For Making Recipe For Frying Chicken Legs
- Preheat the Oil: Get that oil to 350°F before the chicken goes in—I learned this the hard way after pulling out soggy legs from lukewarm oil more times than I care to admit.
- Soak Overnight: Let those chicken legs bathe in buttermilk for at least 12 hours; it tenderizes the meat and guarantees a juicier bite every time.
- Double Dredge: Dip the legs in flour, shake off the excess, then repeat—this builds a thicker, crispier crust that actually stays put.
- Rest Before Serving: Give the fried legs 5 minutes on a wire rack after frying; it keeps them crispy instead of turning the bottom soggy with trapped steam.
Best Sauces and Condiments for This Dish
Classic BBQ Sauce
My go-to is Sweet Baby Ray’s for its balanced sweetness and tang. Brush it on during the last 2 minutes of frying for a sticky, caramelized glaze. The sugar in the sauce helps create that beautiful shine on the crispy skin. 🔥
Honey Mustard Dip
Mix 3 tbsp Dijon mustard with 2 tbsp honey and 1 tbsp mayonnaise. This creamy-sweet combo cuts through the richness perfectly. I learned this trick from my Irish-Italian family gatherings in Boston.
Spicy Ranch Dressing
Combine ½ cup ranch dressing with 1 tbsp hot sauce and a pinch of smoked paprika. The cool ranch base tames the heat while adding a smoky depth that complements the cayenne in your seasoning.
Hot Honey Drizzle
Warm ¼ cup honey with 1 tsp red pepper flakes for 30 seconds in the microwave. Drizzle this over the chicken just before serving. The heat from the honey enhances the existing spice profile beautifully.
Garlic Aioli
Blend ½ cup mayonnaise with 2 minced garlic cloves and 1 tbsp lemon juice. This creamy, garlicky sauce adds a Mediterranean touch that pairs surprisingly well with the crispy chicken legs.
Pickle Brine Dip
My secret weapon: mix ¼ cup pickle juice with ½ cup mayonnaise. The tangy brine cuts through the fat and adds a bright note that makes every bite more interesting. It’s a Boston deli classic.
Nutrition Facts
Frequently Asked Questions
Can I use chicken thighs instead?
Use the same method but reduce frying time to 12-15 minutes since thighs cook faster. The skin may crisp differently due to higher fat content.
Why rest the coated chicken before frying?
Resting for 15-20 minutes helps the coating adhere and crisp better. Skipping this step can cause the breading to fall off during frying.
How do I keep chicken warm while frying batches?
Place finished pieces on a wire rack in a 200°F oven. This maintains crispiness without steaming. Never pile them up or they’ll get soggy.
What if my oil isn’t hot enough?
If below 350°F, the chicken absorbs oil and gets greasy. Use a thermometer and adjust heat between batches to maintain temperature.

Trained in classic French technique but raised on slow-cooked ribs and spicy rubs, she blends culinary skill with smoke and soul.
- Recipe for Fried Pork Chops With Flour: Crispy Crust and Juicy Centers - October 3, 2026
- Octopus Recipe Pan Fried: Crispy Edges With Tender Bites - October 3, 2026
- Recipe For Fried Pork Chops In An Iron Skillet: Crispy Crust With Juicy Centers - October 3, 2026