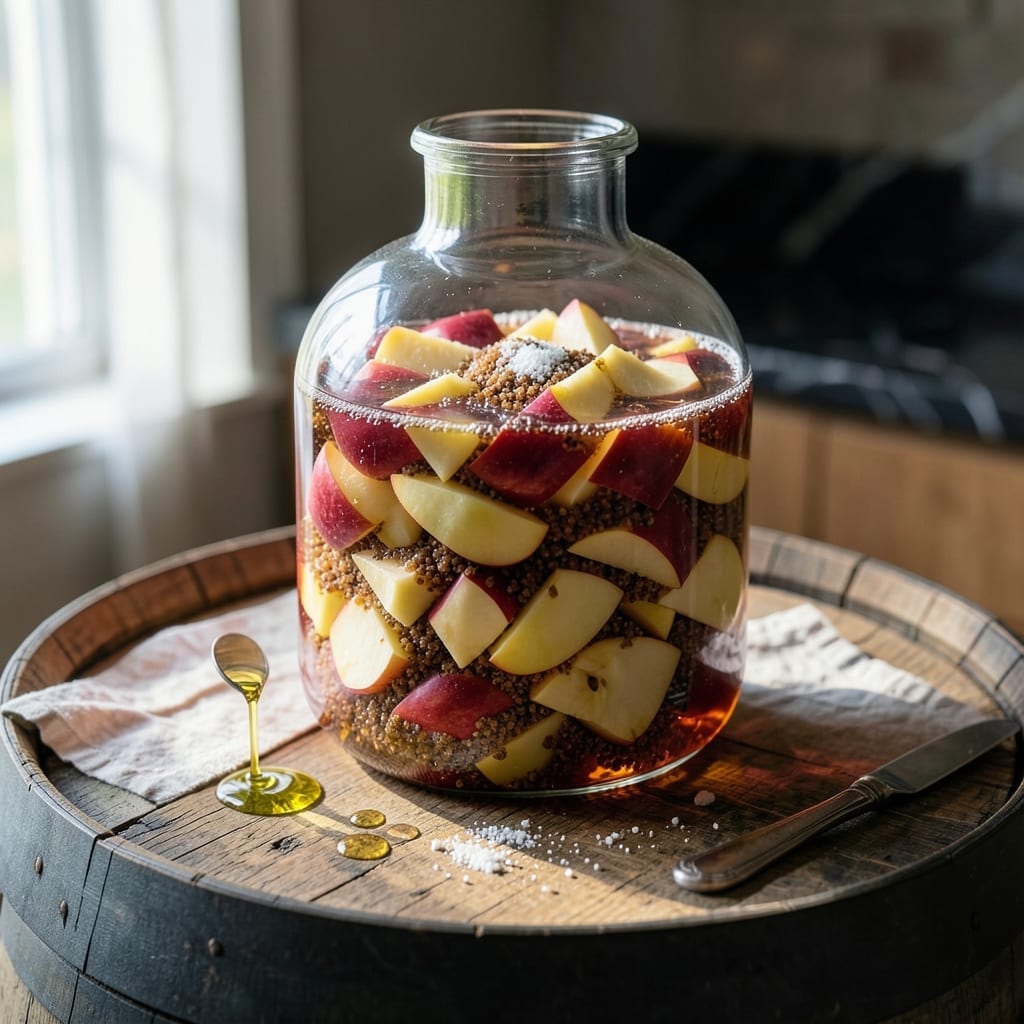
Crafting apple wine at home is a rewarding process that transforms simple fruit into a refined beverage. This method delivers homemade elegance through controlled fermentation.
With basic equipment and patience, you’ll create a crisp, aromatic wine in just six weeks. The process is straightforward yet precise, ensuring professional-quality results every time.
Ingredients for Recipe for Making Apple Wine
Simple fruit and precise ingredients transform into elegant homemade wine with patience.
| Ingredient | Amount | Notes |
|---|---|---|
| Apples 🍎 | 10 lb | Sweet varieties like Fuji or Gala preferred |
| Granulated Sugar 🍚 | 3 lb | For primary fermentation sweetness |
| Water 💧 | 1 cup | Filtered or spring water recommended |
| Wine Yeast 🍷 | 1 package | Champagne or white wine yeast strain |
| Yeast Nutrient 🧂 | 1 tsp | Ensures healthy fermentation |
| Acid Blend 🍋 | 1 tsp | Balances flavor profile |
| Pectic Enzyme 🧪 | ½ tsp | Clarifies the wine |
| Raisins 🍇 | ½ cup | Optional for added body |
| Lemon Juice 🍋 | ½ cup | Freshly squeezed for acidity |
| Campden Tablets 💊 | 1 whole | For sterilization before fermentation |
| Potassium Sorbate 🧂 | ½ tsp | Preserves finished wine |
[recipe_ingredient_scaler]
The apples are everything here. Sweet, crisp varieties like Fuji or Gala yield the best results—avoid tart apples (they need more sugar). Local orchards or Whole Foods often have the freshest picks. Scrub them well but leave skins on for tannins. The yeast strain matters too: Lalvin EC-1118 is a reliable choice for beginners, available at homebrew shops or online at MoreWine!.
No wine yeast on hand? Bread yeast works in a pinch but produces a less refined flavor. Skip the raisins if you prefer a lighter body. For a more complex profile, substitute half the sugar with brown sugar or honey (though honey isn’t vegan). Acid blend can be replaced with a mix of citric and malic acid—just measure carefully.
Store apples in a cool, dark place until use. The finished wine keeps 1-2 years in a dark, temperature-stable spot. Always sanitize equipment before and after use—this prevents contamination and off-flavors.
Why You’ll Love This Recipe
- Minimal Effort: I just chop apples, mix with sugar and water, and let the yeast do the work—no fancy equipment needed.
- Sweet & Crisp: The balance of tart apples and sugar ferments into this smooth, slightly tangy wine that’s dangerously easy to sip.
- Gift-Worthy Batch: I bottled a few last year for holiday gifts, and now friends request it every Christmas.
- Pocket-Friendly Drink: A bag of apples and basic pantry staples turn into gallons of wine for less than store-bought. Honestly, it’s my cheapest hobby.
Step-by-Step Instructions for Making Apple Wine
This method delivers consistent results through precision at every stage of fermentation.
Step 1: Sanitize and Prepare the Apples
Begin by thoroughly washing the 10 lb Apples to remove any dirt or wax. Core and chop them into small pieces, leaving the skins on for added tannins. Transfer the chopped apples to your primary fermentation vessel—this will be their home for the initial stages.
Crush the apples using a sanitized potato masher or your clean hands to release the juices. This step is crucial for maximizing yield and ensuring the yeast has plenty of sugar to work with. The mixture should look pulpy and fragrant.
Step 2: Sterilize and Add Initial Ingredients
Dissolve the 1 whole Campden Tablets in the 1 cup Water and pour it over the crushed apples. This step sterilizes the must, killing off any wild yeast or bacteria that could compete with your wine yeast later. Cover the vessel with a clean cloth and let it sit for 24 hours.
After 24 hours, add the 3 lb Granulated Sugar, 1 tsp Yeast Nutrient, 1 tsp Acid Blend, 0.5 tsp Pectic Enzyme, 0.5 cup Raisins, and 0.5 cup Lemon Juice. Stir thoroughly to ensure the sugar dissolves completely. The raisins add body, while the lemon juice provides necessary acidity for balance.
Step 3: Pitch the Yeast and Begin Fermentation
Sprinkle the 1 package Wine Yeast over the surface of the must. There’s no need to stir it in—the yeast will activate and incorporate itself naturally. Cover the vessel with a fermentation lock or a cloth secured with a rubber band to keep out contaminants while allowing gases to escape.
Store the vessel in a dark, temperature-stable location, ideally around 70°F. Within 12-24 hours, you should see bubbles forming, signaling that fermentation has begun. This active phase will last for about 5-7 days, during which you’ll notice vigorous bubbling and a strong, yeasty aroma.
Step 4: Rack and Clarify the Wine
After 7 days, use a sanitized siphon to transfer the wine to a secondary fermentation vessel, leaving behind the sediment and apple pulp. This process, called racking, helps clarify the wine and prevents off-flavors from developing.
Attach a fermentation lock to the secondary vessel and let the wine sit for an additional 4-5 weeks. During this time, the wine will continue to clarify, and any remaining sediment will settle at the bottom. You should notice the liquid becoming progressively clearer.
Step 5: Stabilize, Sweeten, and Bottle
Once fermentation is complete (bubbling has stopped and the wine is clear), stir in the 0.5 tsp Potassium Sorbate to prevent any further fermentation. This step is essential if you plan to back-sweeten the wine or store it for an extended period.
Taste the wine and adjust sweetness if desired by adding a simple syrup made from reserved sugar. Siphon the stabilized wine into sanitized bottles, leaving as little headspace as possible. Seal the bottles and store them in a cool, dark place. Your wine will continue to improve with age, reaching its peak after 3-6 months.
Pro Tips For Making Recipe For Making Apple Wine
- Sanitize Everything: I learned this the hard way—any bacteria in your fermentation vessel or tools can ruin the whole batch, so scrub with hot water and sanitizer before starting.
- Use Ripe Apples: Skip the underripe ones; they lack the natural sugars needed for good fermentation, and overripe apples can add off-flavors.
- Monitor Temperature: Keep your fermentation between 60-75°F—too cold and the yeast goes dormant, too hot and it dies off, leaving you with a weak or funky wine.
- Add Yeast Nutrient: Sounds weird, but it works: a pinch of yeast nutrient at the start gives the yeast a boost, leading to a stronger, more consistent ferment.
Regional Styles of This recipe for making apple wine
English Cider Tradition
In the West Country of England, apple wine takes on a rustic charm, often called scrumpy. They use local cider apples like Kingston Black or Yarlington Mill, which are too tart for eating but perfect for fermentation. The result is a dry, earthy beverage with a deep amber hue. 🗺️
French Calvados Influence
Normandy’s approach leans toward Calvados-style apple wine, using a double fermentation method. They blend sweet and bitter apples, then age the wine in oak barrels for complexity. This creates a richer, more brandy-like character that’s sipped like a fine spirit.
American Orchard Style
Here in the States, especially in the Pacific Northwest, we favor a fruit-forward style. Using Fuji or Honeycrisp apples, as mentioned earlier, gives a sweeter, crisper profile. I like adding a touch of maple syrup for depth—it’s a nod to our local flavors. ✨
German Apfelwein
Frankfurt’s Apfelwein is tart and effervescent, almost like a hard cider. They ferment in large wooden barrels and serve it in a Geripptes glass. The tradition is so strong there that it’s more popular than beer in some taverns.
Scandinavian Glögg Twist
In Sweden, apple wine is often spiced and mulled, similar to glögg. They add cinnamon sticks, cloves, and orange peel during secondary fermentation. It’s a warming, festive take perfect for cold winters.
Coastal Foraged Version
I love experimenting with wild apples from my coastal rides. These smaller, tarter fruits add a complexity you won’t find in store-bought varieties. Just be sure to sanitize them well—wild yeast can be unpredictable! 💛
Nutrition Facts
Frequently Asked Questions
How long does fermentation take?
Primary fermentation takes 5-7 days, while secondary clarification needs 4-5 weeks. Total time from start to bottling is about 6 weeks.
Can I use any apple variety?
Sweet types like Fuji or Gala work best. Tart apples need extra sugar. Always use fresh, unbruised fruit for clean flavor.
What happens if I skip sanitizing equipment?
Contamination risks off-flavors or ruined batches. Always sanitize all tools with Campden tablets or starsan before use.
Can I back-sweeten the wine?
Yes, but add Potassium Sorbate first to stop fermentation. Then sweeten to taste with simple syrup before bottling.

Trained in classic French technique but raised on slow-cooked ribs and spicy rubs, she blends culinary skill with smoke and soul.
- Recipe for Boneless Pork Chops in Cast Iron Skillet: Sear and Baste to Juicy Perfection - October 3, 2026
- Recipe for Boneless Cross Rib Roast: Slow-Roasted Beef with Herb Crust - October 3, 2026
- Hamburgers in Sauce Recipe Crock Pot: Slow-Cooked Savory Delight - October 3, 2026