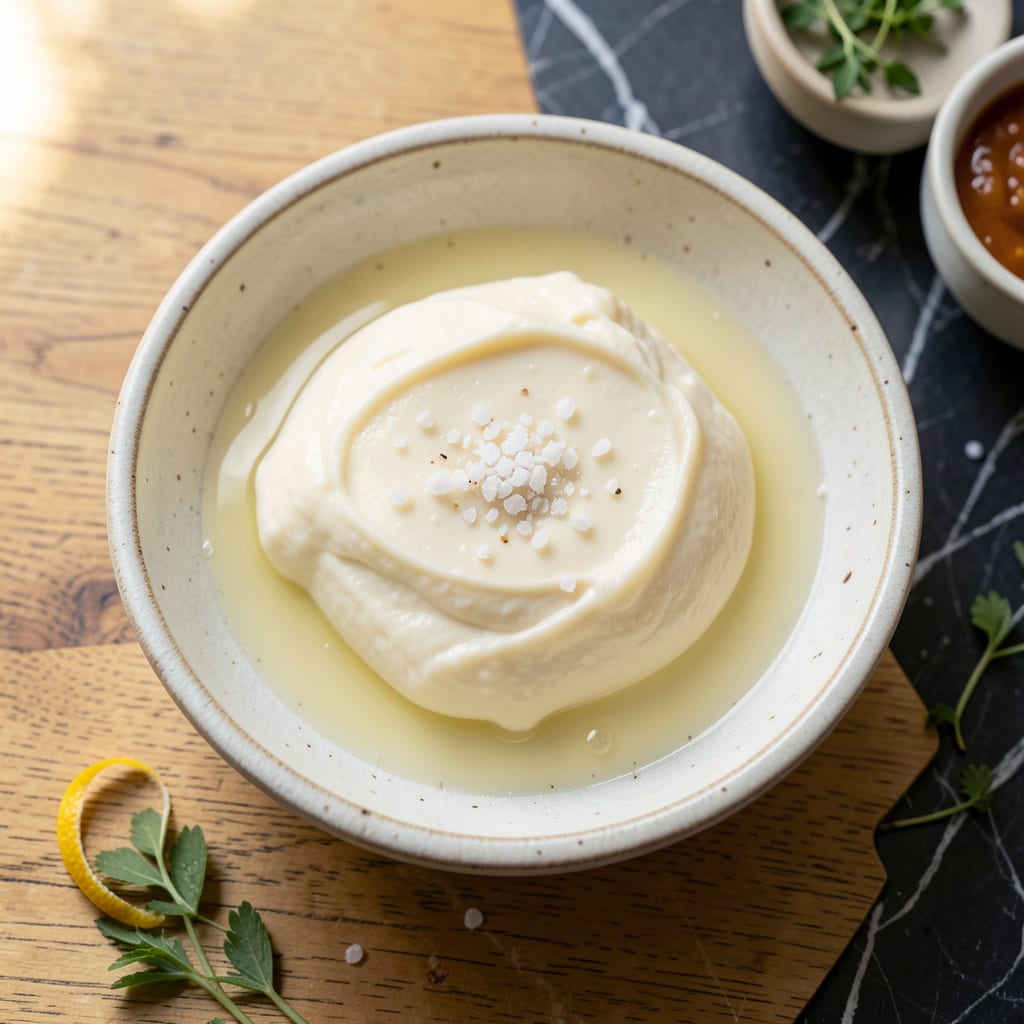
Making fresh butter at home is simpler than you might think, requiring just heavy cream and a bit of effort.
This no-fuss method yields creamy, spreadable butter in 15 minutes, with rich flavor that store-bought can’t match.
Ingredients for Recipe for Making Butter
Just three ingredients transform into rich, fresh butter with minimal effort.
| Ingredient | Amount | Notes |
|---|---|---|
| Heavy Cream 🥛 | 2 cups | Cold, preferably organic |
| Ice Water 💧 | ½ cup | For rinsing butter |
| Kosher Salt 🧂 | ½ tsp | Optional, for seasoning |
[recipeingredientscaler]
The heavy cream is critical—opt for high-fat (36-40%) organic varieties from Whole Foods or Trader Joe’s for superior flavor. Non-organic works, but the taste difference is noticeable. Ensure it’s ice-cold straight from the fridge; room temperature cream won’t whip properly. A stand mixer with a whisk attachment is ideal, but a hand mixer or even a mason jar (for shaking) can work in a pinch.
No heavy cream? Whipping cream at 35% fat is the closest substitute, but avoid half-and-half—it lacks the necessary fat content. For a tangier butter, use cultured cream if available. The ice water rinse removes excess buttermilk, which would otherwise spoil the butter faster. Skip the salt entirely if you prefer unsalted butter for baking.
Fresh butter keeps in an airtight container in the fridge for 2-3 weeks. For longer storage, freeze for up to 9 months. Always bring to room temperature before spreading—the texture softens beautifully after sitting out for 30 minutes.
Why You’ll Love This Recipe
- One Ingredient Magic: I just shake heavy cream in a jar until it turns to butter—no fancy equipment, no fuss.
- Rich & Fresh: Honestly, nothing beats the taste of homemade butter with a pinch of kosher salt for that pure, creamy flavor.
- Endless Uses: I spread it on toast, melt it over veggies, or bake with it—works for everything.
- Penny-Wise Luxury: A pint of cream makes a pound of butter for half the cost of store-bought, and it’s way more satisfying.
Step-by-Step Instructions for Making Butter
Here’s the method I rely on for consistently perfect results at home.
Step 1: Churn the Heavy Cream Until Separated
Pour the 2 cups Heavy Cream into a food processor or stand mixer fitted with the whisk attachment. Begin processing on medium speed and let it run undisturbed for 3-5 minutes.
You’ll first see the cream thicken into whipped cream, then it will separate into solid butterfat and liquid buttermilk. Watch for the moment when the mixture sloshes around with a distinct separation between yellow clumps and thin liquid—this is your visual cue that the churning is complete.
Step 2: Drain and Rinse the Butter
Line a fine-mesh strainer with cheesecloth and place it over a bowl. Pour the mixture through to catch the butter solids while the buttermilk drains away. I always save the buttermilk for baking—it’s a delicious byproduct.
Return the butter to the food processor and add ½ cup Ice Water. Pulse for 10-15 seconds to distribute the water and help remove excess buttermilk. Drain again through the cheesecloth, pressing gently to extract as much liquid as possible.
Step 3: Final Rinse and Season
Repeat the rinsing process with another ½ cup Ice Water to ensure all buttermilk is removed. This step is crucial—any remaining buttermilk will cause your butter to spoil faster. The water should run clear when you’re done.
Transfer the butter to a bowl and knead it gently with a spatula to press out any remaining liquid. If using, sprinkle in the ½ tsp Kosher Salt and work it through evenly. The butter should be pale yellow, smooth, and slightly malleable at this stage.
Step 4: Shape and Store the Finished Butter
Press the butter into a mold or roll it into a log shape on parchment paper. For best texture, wrap tightly and refrigerate for at least 1 hour to firm up before using. The butter will keep in the refrigerator for 1-2 weeks or can be frozen for up to 3 months.
Your finished butter should have a clean, fresh dairy flavor with a slightly sweet aroma. The texture will be firm when cold but spreadable at room temperature, with a beautiful, uniform color throughout.
Pro Tips For Making Recipe For Making Butter
- Chill Your Cream: Use heavy cream straight from the fridge—about 40°F. I learned this the hard way after my first warm cream batch turned into a sad, greasy mess instead of proper butter.
- Drain Thoroughly: After washing the butter with ice water, press out every last drop of liquid. Sounds tedious, but it’s the only way to keep your butter from spoiling in days.
- Skip Low-Fat Cream: Heavy cream needs at least 36% fat to work. I tried a “light” version once—after 20 minutes of shaking, I ended up with whipped cream and a bruised ego.
- Salt at the End: Fold in kosher salt only after the butter has fully formed. Adding it earlier can slow the separation, and nobody wants to wait longer than necessary for fresh butter.
Common Mistakes When Making Perfect Results
🥛 Using Cold Cream
Starting with cold cream slows down the churning process, as the fat in cold cream is harder and less likely to separate. This can lead to a longer, more labor-intensive process and may result in uneven butter texture.
Fix: Use room-temperature cream (around 65-70°F) for the best results. This allows the fat globules to soften, making it easier to agitate and separate the butterfat from the buttermilk.
🔥 Over-Churning the Butter
Over-churning can cause the butter to break down and become greasy or overly soft. This happens when the butterfat is worked too much, leading to a loss of structure and a less desirable texture.
Fix: Stop churning as soon as the butterfat clumps together and separates from the buttermilk. This usually takes about 5-10 minutes with a hand mixer or stand mixer.
💧 Not Removing All the Buttermilk
Leaving buttermilk in the butter can cause it to spoil faster, as the liquid can introduce bacteria. Additionally, excess buttermilk can make the butter taste sour or affect its shelf life.
Fix: After churning, rinse the butter under cold water while pressing it with a spatula or your hands to squeeze out all the buttermilk. Repeat until the water runs clear.
🧂 Skipping the Salting Step
Unsalted butter lacks flavor and may not preserve as well. Salt not only enhances taste but also acts as a preservative, helping your homemade butter last longer.
Fix: Add ¼ to ½ teaspoon of salt per pound of butter, depending on your taste preference. Mix it in thoroughly after rinsing the butter.
Nutrition Facts

Trained in classic French technique but raised on slow-cooked ribs and spicy rubs, she blends culinary skill with smoke and soul.
- Recipe for Boneless Pork Chops in Cast Iron Skillet: Sear and Baste to Juicy Perfection - October 3, 2026
- Recipe for Boneless Cross Rib Roast: Slow-Roasted Beef with Herb Crust - October 3, 2026
- Hamburgers in Sauce Recipe Crock Pot: Slow-Cooked Savory Delight - October 3, 2026