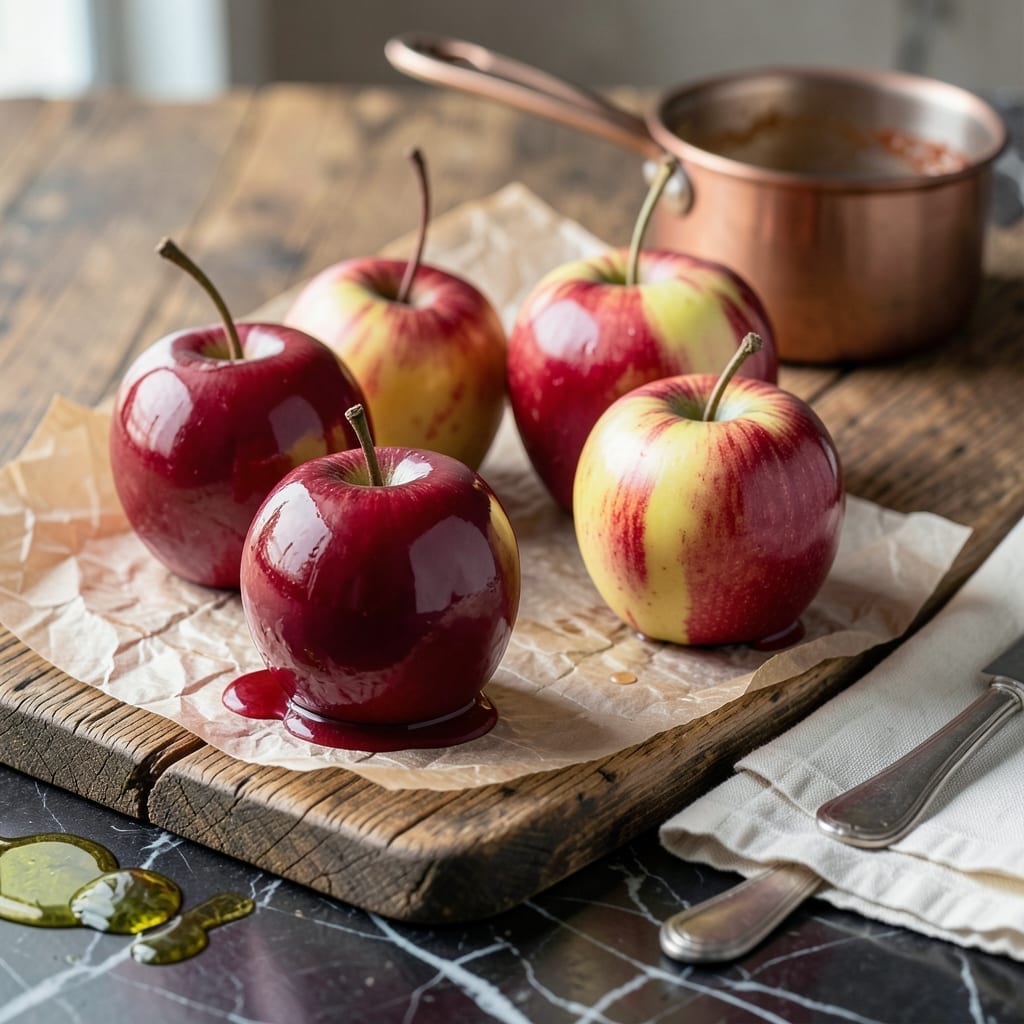
There’s a science to achieving that perfect shiny red coating on candy apples—too hot and it cracks, too cool and it slides right off.
This proven method delivers a glossy, even layer that hardens to a satisfying crunchy bite, transforming ordinary apples into a nostalgic treat.
Ingredients for Recipe for Making Candy Apples
Simple ingredients transform apples into that nostalgic shiny red treat with satisfying crunch.
| Ingredient | Amount | Notes |
|---|---|---|
| Medium Apples 🍎 | 4 whole | Washed, thoroughly dried, stems intact |
| Granulated White Sugar 🧂 | 2 cups | Fine grain for smooth coating |
| Light Corn Syrup 💧 | ¾ cup | Prevents sugar crystallization |
| Water 💧 | ½ cup | For sugar syrup base |
| Red Food Coloring 🎨 | 1 tbsp | Gel type preferred for vibrant color |
| White Vinegar 💧 | 1 tsp | Balances sweetness subtly |
| Vanilla Extract 🌿 | 1 tsp | Pure extract for best flavor |
| Unsalted Butter 🧈 | 1 tbsp | Optional for glossy finish |
| Cinnamon Sticks 🌿 | 2 pieces | Optional for flavor infusion |
| Wax Paper 📄 | 1 sheet | For cooling apples |
| Wooden Skewers 🪵 | 4 pieces | For dipping and holding |
[recipe_ingredient_scaler]
The apples must be completely dry—any moisture causes the coating to slide right off. Granny Smith or Fuji hold up best, but any firm, crisp variety works. Use fine granulated sugar for the smoothest texture; organic sugar can work but may yield a slightly grainier coating. Karo light corn syrup is the standard, but generic brands perform identically.
No corn syrup? Honey or agave at a 1:1 ratio, but skip the vinegar since these sweeteners have natural acidity. For a deeper red, use gel food coloring—liquid can dilute the syrup. Want to skip the artificial dyes? Natural beet powder works but gives a more muted hue. The butter is optional but adds that signature gloss—vegan butter works too (this is a vegetarian recipe).
Store finished apples at room temperature for up to 2 days in a single layer. Humidity is the enemy—keep them uncovered. The syrup can be made ahead and reheated gently, but don’t let it cool completely or it’ll seize. Best eaten fresh, but they’ll still impress for 48 hours.
Why You’ll Love This Recipe
- 5-Minute Syrup: I just stir sugar, corn syrup, water, and food coloring in a pot—no fancy steps, and it sets fast.
- That Crackly Bite: The glossy red shell snaps then melts into sweet apple. Ridiculously good every time.
- Halloween Hero: Between us, it’s the only treat I make that disappears faster than store-bought candy.
- Pantry Staples: Honestly, I already have everything on hand—apples plus four cheap ingredients and I’m done.
Step-by-Step Instructions for Candy Apples
Master the technique for a glossy coating that hardens perfectly around each apple.
Step 1: Prepare the Apples and Workspace
Begin by washing and thoroughly drying all 4 whole Medium Apples—any moisture will prevent the candy coating from adhering properly. Ensure the stems remain intact, as they’ll serve as natural handles. Remove any wax or stickers from the apple skins for a smooth finish.
Insert the 4 pieces Wooden Skewers firmly into the stem end of each apple, pushing them about halfway through. Line a baking sheet with the 1 sheet Wax Paper and set it aside. This preparation ensures a clean workspace and easy handling during the dipping process.
Step 2: Create the Sugar Syrup Base
In a medium saucepan, combine the 2 cups Granulated White Sugar, 0.75 cup Light Corn Syrup, and 0.5 cup Water. If using, add the 2 pieces Cinnamon Sticks at this stage for subtle spice infusion. Place the saucepan over medium-high heat and stir just until the sugar dissolves completely.
Once dissolved, stop stirring to avoid sugar crystallization. Bring the mixture to a boil and continue cooking undisturbed until it reaches 300°F on a candy thermometer. This temperature ensures the syrup will harden properly when cooled.
Step 3: Finish the Candy Coating
Remove the saucepan from heat once the syrup reaches temperature. If using, discard the cinnamon sticks. Immediately stir in the 1 tbsp Red Food Coloring, 1 tsp White Vinegar, 1 tsp Vanilla Extract, and 1 tbsp Unsalted Butter. The vinegar balances the sweetness, while the butter adds a glossy sheen.
Allow the mixture to cool for 1-2 minutes until it stops bubbling vigorously but remains fluid enough for dipping. The syrup should be thick but still pourable—this consistency is critical for an even coating.
Step 4: Dip and Coat the Apples
Working quickly, dip each apple into the candy syrup, tilting the saucepan as needed to fully submerge the apple. Rotate the apple to ensure complete coverage, then lift it out and let excess syrup drip off for 10-15 seconds. If the coating appears uneven, briefly redip the apple.
Place each coated apple on the prepared wax paper-lined baking sheet. Space them at least 2 inches apart to prevent sticking. The candy coating will begin to set almost immediately, becoming shiny and firm as it cools.
Step 5: Cool and Set the Candy Shell
Allow the candy apples to cool at room temperature for 15-20 minutes until the coating is completely hard. Avoid refrigerating, as this can cause the candy shell to sweat and lose its glossy finish.
Once fully set, the apples should have a vibrant red, glass-like coating that cracks satisfyingly when bitten. Serve immediately or store in a cool, dry place for up to 2 days for optimal freshness and crunch.
Pro Tips For Making Recipe For Making Candy Apples
- Use Room Temp Apples: I learned this the hard way—cold apples cause the candy coating to harden too fast and crack. Pull them from the fridge at least an hour before dipping.
- Boil to Hard Crack: After burning three batches, I finally figured out the syrup needs to reach 300°F (hard crack stage) on a candy thermometer—no guessing.
- Dry the Apples: Sounds weird, but it works: pat the apples completely dry before dipping, or the sugar syrup won’t stick properly.
- Add Corn Syrup Last: Stir the sugar and water first until dissolved, then add corn syrup—this prevents grainy texture in your candy coating.
Troubleshooting recipe for making candy apples
Coating Slides Off
The most common issue I see is the candy coating sliding off the apple. This always means moisture was present—either the apples weren’t completely dry or the syrup wasn’t hot enough. I recommend patting apples with paper towels, then letting them air-dry for 10 minutes before dipping. 💡
Cracked Candy Shell
If your coating cracks after cooling, it likely cooled too quickly or the syrup temperature was too high. Aim for 300°F on your candy thermometer, and let apples cool at room temperature—not in the fridge. A humidity level above 50% can also cause this issue.
I’ve found that adding 1 tbsp of corn syrup extra helps create a more flexible coating that resists cracking in humid conditions.
Syrup Won’t Harden
This usually happens when the syrup didn’t reach the proper temperature. If your coating stays sticky after 20 minutes, you didn’t hit the hard crack stage. Reheat the remaining syrup to 310°F and quickly redip the apples.
Uneven Color
For consistent color, use gel food coloring rather than liquid, and stir it in thoroughly off the heat. I also recommend warming your mixing bowl slightly first—this helps distribute the color evenly. If using natural dyes, expect a more muted, variegated appearance.
Grainy Texture
Graininess comes from sugar crystallization, often caused by stirring after the sugar dissolves or using coarse sugar. Switch to superfine sugar and avoid stirring once the mixture starts boiling. Adding 1 tsp of lemon juice can also prevent crystallization.
Nutrition Facts
Frequently Asked Questions
What kind of apples work best?
Granny Smith or Fuji are ideal because they’re firm and crisp. Avoid soft varieties like Red Delicious—they can’t support the candy shell. Always remove wax and stickers before starting.
Why did my coating turn out grainy?
Graininess happens when sugar crystallizes. Use superfine sugar and avoid stirring once the mixture boils. Adding 1 tsp lemon juice can also prevent this issue.
Can I make these ahead of time?
They’re best eaten within 2 days. Store at room temperature in a single layer—humidity will ruin the coating. Avoid refrigerating as it causes sweating and loss of shine.
How do I get a deeper red color?
Use gel food coloring instead of liquid for more vibrant results. Warm your mixing bowl first to help distribute the color evenly. Natural beet powder works but gives a muted hue.

Trained in classic French technique but raised on slow-cooked ribs and spicy rubs, she blends culinary skill with smoke and soul.
- Recipe for Boneless Pork Chops in Cast Iron Skillet: Sear and Baste to Juicy Perfection - October 3, 2026
- Recipe for Boneless Cross Rib Roast: Slow-Roasted Beef with Herb Crust - October 3, 2026
- Hamburgers in Sauce Recipe Crock Pot: Slow-Cooked Savory Delight - October 3, 2026