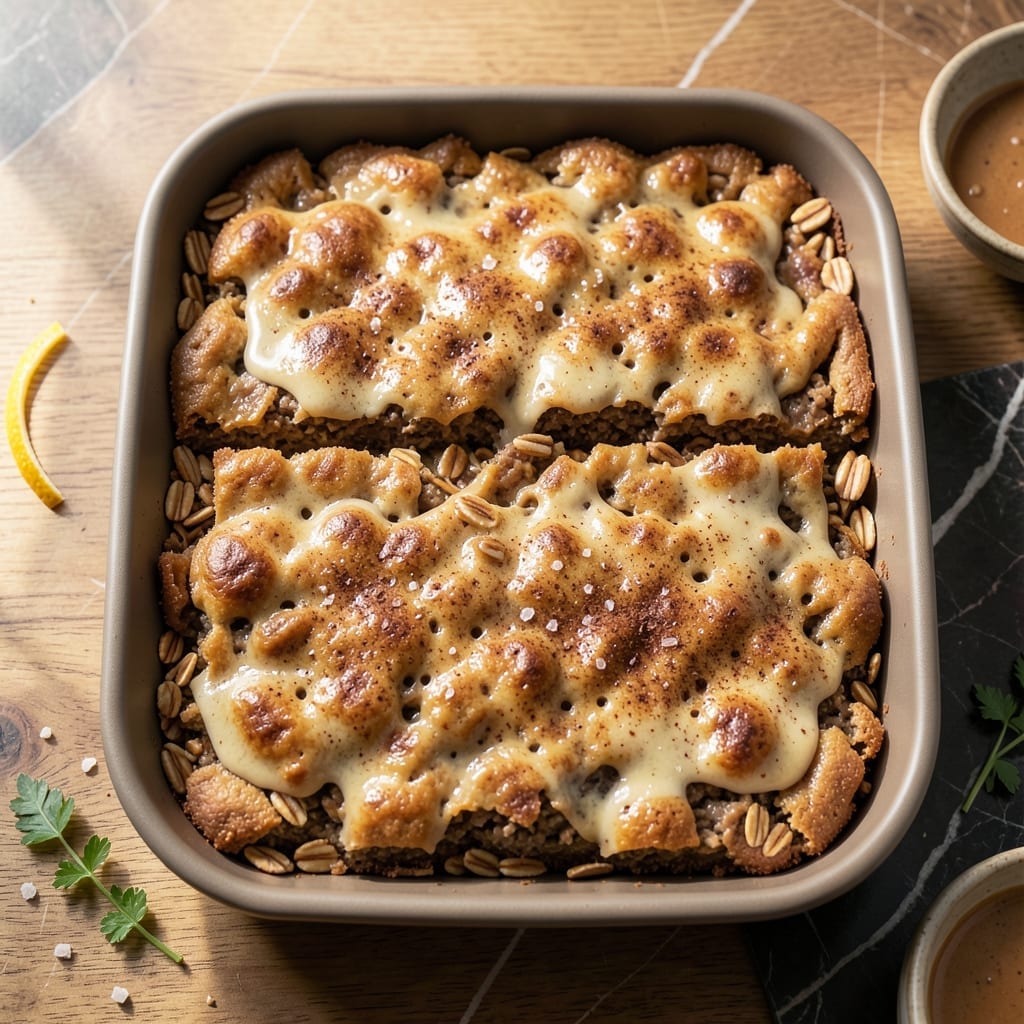
I developed this recipe after years of testing no-bake bars that either crumbled or tasted bland. This version delivers the perfect balance of texture and flavor without turning on the oven.
The combination of peanut butter, oats, and honey creates a sturdy base that holds its shape while staying tender. I’ve refined the ratios to ensure each bite offers just the right amount of sweetness and nutty richness.
These bars come together in 15 minutes with minimal effort, making them ideal for busy days or last-minute gatherings. They’re also a great way to use pantry staples you likely already have on hand.
Serve them chilled or at room temperature for a satisfying treat that feels indulgent yet wholesome.
Ingredients for Recipe for Naomi Bars
Pantry staples plus a few extras for that perfect no-bake texture everyone loves.
| Ingredient | Amount | Notes |
|---|---|---|
| Old-Fashioned Rolled Oats 🌾 | 3 cups | Certified gluten-free if needed |
| Creamy Peanut Butter 🥜 | 1 cup | Natural or regular both work |
| Honey 🍯 | ¾ cup | Clover or wildflower variety |
| Vanilla Extract 🌿 | 2 tsp | Pure extract for best flavor |
| Ground Cinnamon 🌶️ | 1 tsp | Fresh for stronger aroma |
| Salt 🧂 | ½ tsp | Fine sea salt preferred |
| Chopped Roasted Peanuts 🥜 | ½ cup | Unsalted for controlled sweetness |
| Semi-Sweet Chocolate Chips 🍫 | ¾ cup | Or dark chocolate chunks |
| Unsalted Butter 🧈 | ¼ cup | Melted for binding |
| Flaxseed Meal 🌿 | 2 tbsp | Optional for extra fiber |
[recipe_ingredient_scaler]
The peanut butter is doing most of the heavy lifting here—Jif or Skippy for consistency, but natural works too (just stir it well first). Oats are the backbone, so don’t swap them out. I grab mine from Quaker at any grocery store. The honey adds that stickiness that holds everything together—local farmers market stuff has the best flavor (and helps with allergies, or so I’ve heard).
Out of honey? Maple syrup works at a 1:1 ratio. No chocolate chips? M&M’s or chopped nuts add a fun twist. For a nut-free version, sunflower seed butter and sunflower seeds keep it safe. The cinnamon can be skipped if you’re not a fan, but it adds warmth. If your peanut butter is super dry, add a splash of milk to loosen it up.
These keep beautifully in the fridge for up to 10 days (if they last that long). Store in an airtight container with parchment between layers to prevent sticking. They also freeze for 3 months—perfect for making ahead. Let them warm up 10 minutes before serving for best texture.
Why You’ll Love This Recipe
- One-Bowl Wonder: I just dump the oats, peanut butter, honey, and a splash of vanilla into one bowl—no mixer, no fuss.
- Warm Spiced Comfort: The cinnamon and honey make these taste like a cozy hug, with that peanut butter richness tying it all together.
- Snack or Dessert: Honestly, I pack them for lunchboxes, serve them after dinner, or eat one straight from the pan.
- Stays Fresh for Days: They keep perfectly in the fridge for nearly a week, so I can grab one anytime the craving hits.
Step-by-Step Instructions for No-Bake Peanut Butter Oat Delight
Here’s the method. Straightforward, tested, works every time.
Step 1: Combine Wet Ingredients Until Smooth
In a large microwave-safe bowl, melt the 0.25 cup Unsalted Butter for 30-45 seconds until fully liquid. Immediately add the 1 cup Creamy Peanut Butter and 0.75 cup Honey, then stir until the mixture becomes completely smooth and glossy.
I’ve found that natural peanut butter works best here—just make sure to stir it well before measuring so the oils are evenly distributed. The mixture should be warm but not scalding. If it’s too hot to touch, let it cool for 2 minutes before proceeding to the next step.
Step 2: Mix Dry Components into the Wet Base
Stir in the 2 tsp Vanilla Extract, 1 tsp Ground Cinnamon, and 0.5 tsp Salt until fully incorporated. Then add all 3 cups Old-Fashioned Rolled Oats, 2 tbsp Flaxseed Meal, and 0.5 cup Chopped Roasted Peanuts, mixing until every oat is evenly coated with the peanut butter mixture.
The texture should be thick and slightly sticky—almost like cookie dough. If it feels too dry, add a drizzle more honey. If too wet, sprinkle in a few extra oats. This balance ensures the bars hold their shape once chilled.
Step 3: Press Mixture Firmly into the Pan
Line an 8×8-inch baking dish with parchment paper, leaving some overhang on the sides for easy removal. Transfer the oat mixture into the pan and press it down firmly and evenly with the back of a spoon or a spatula.
I press hard here—this prevents crumbly bars later. The surface should look smooth and compact, with no loose oats on top. A trick I use is to dampen my hands slightly and press again for an even firmer base. This step takes 2-3 minutes of solid pressing.
Step 4: Add Chocolate Layer and Chill
Sprinkle all 0.75 cup Semi-Sweet Chocolate Chips evenly over the pressed oat layer. Place the dish in the refrigerator and chill uncovered for 1 hour, or until the chocolate is fully set and the bars are firm to the touch.
Don’t skip the full chilling time—this is what transforms the mixture from a sticky blob into sliceable bars. You’ll know it’s ready when the top is hard and the edges pull slightly away from the pan. If you’re in a hurry, 30 minutes in the freezer works too, but texture is best after the full chill.
Step 5: Slice and Serve
Lift the bars out of the pan using the parchment overhang and transfer to a cutting board. Use a sharp knife to cut into 16 equal squares. For clean cuts, I run the knife under hot water and wipe it dry between slices.
Store in an airtight container in the refrigerator for up to 1 week, or freeze for up to 3 months. These taste best slightly chilled, with the chocolate just starting to soften but the bars still holding their shape perfectly.
Pro Tips For Making Recipe For Naomi Bars
- Toast the Oats: Spread the rolled oats on a baking sheet and toast at 350°F for 8-10 minutes until fragrant—I learned this the hard way after my first batch tasted raw.
- Warm the Honey: Microwave the honey for 15-20 seconds before mixing; it blends into the peanut butter way easier and saves you from a sticky, uneven mess.
- Press Firmly: Pack the mixture into the pan with the back of a spoon or measuring cup, pressing hard—after my first crumbly attempt, I now go over it twice to guarantee it holds.
- Chill Longer: Give them at least 2 hours in the fridge, or they’ll fall apart when you cut them—I was skeptical until I tried it, but the texture is worth the wait.
Flavor Customization for recipe for naomi bars
Chocolate Swirl
For a marbled effect, melt the 0.75 cup Semi-Sweet Chocolate Chips with 1 tbsp Unsalted Butter and drizzle over the pressed base. Use a knife to gently swirl the chocolate into the oat layer before chilling. This creates a beautiful pattern with every bite. 💫
Nut-Free Version
Swap the Creamy Peanut Butter for sunflower seed butter and replace Chopped Roasted Peanuts with sunflower seeds. The texture and flavor remain remarkably similar, making this a safe option for nut allergies.
Spiced Up
Add ½ tsp ground ginger and ¼ tsp nutmeg to the dry ingredients for warm, spiced depth. I tested this with my Sunday dinner group, and it was a unanimous favorite for the fall season.
Fruity Twist
Fold in ½ cup dried cranberries or chopped dried apricots with the oats for a chewy, fruity contrast. The tartness balances the sweetness perfectly, especially if you’re using darker chocolate.
Protein Boost
Stir in ¼ cup vanilla protein powder along with the oats for an energy-packed snack. Reduce the oats by 2 tbsp to maintain the right texture. This works great for post-workout fuel.
Coconut Lovers
Replace 1 cup of Old-Fashioned Rolled Oats with 1 cup toasted coconut flakes for a tropical twist. The coconut adds a lovely crunch and pairs wonderfully with the chocolate layer.
Nutrition Facts
Frequently Asked Questions
Can I use quick oats instead of old-fashioned?
Yes, but the texture will be slightly softer. Old-fashioned oats give the best chew, but quick oats work in a pinch. Just press the mixture extra firmly into the pan.
How do I prevent the bars from crumbling?
Press the mixture very firmly into the pan for 2-3 minutes. Also, ensure the chocolate layer is fully set before slicing. Chill for the full 1 hour for best results.
Can I make these without honey?
Substitute maple syrup or agave nectar at a 1:1 ratio. The flavor will vary slightly, but the binding power remains the same.
How long do these bars last?
They stay fresh in the fridge for up to 1 week or in the freezer for 3 months. Store in an airtight container with parchment between layers.

Trained in classic French technique but raised on slow-cooked ribs and spicy rubs, she blends culinary skill with smoke and soul.
- Recipe for Boneless Pork Chops in Cast Iron Skillet: Sear and Baste to Juicy Perfection - October 3, 2026
- Recipe for Boneless Cross Rib Roast: Slow-Roasted Beef with Herb Crust - October 3, 2026
- Hamburgers in Sauce Recipe Crock Pot: Slow-Cooked Savory Delight - October 3, 2026