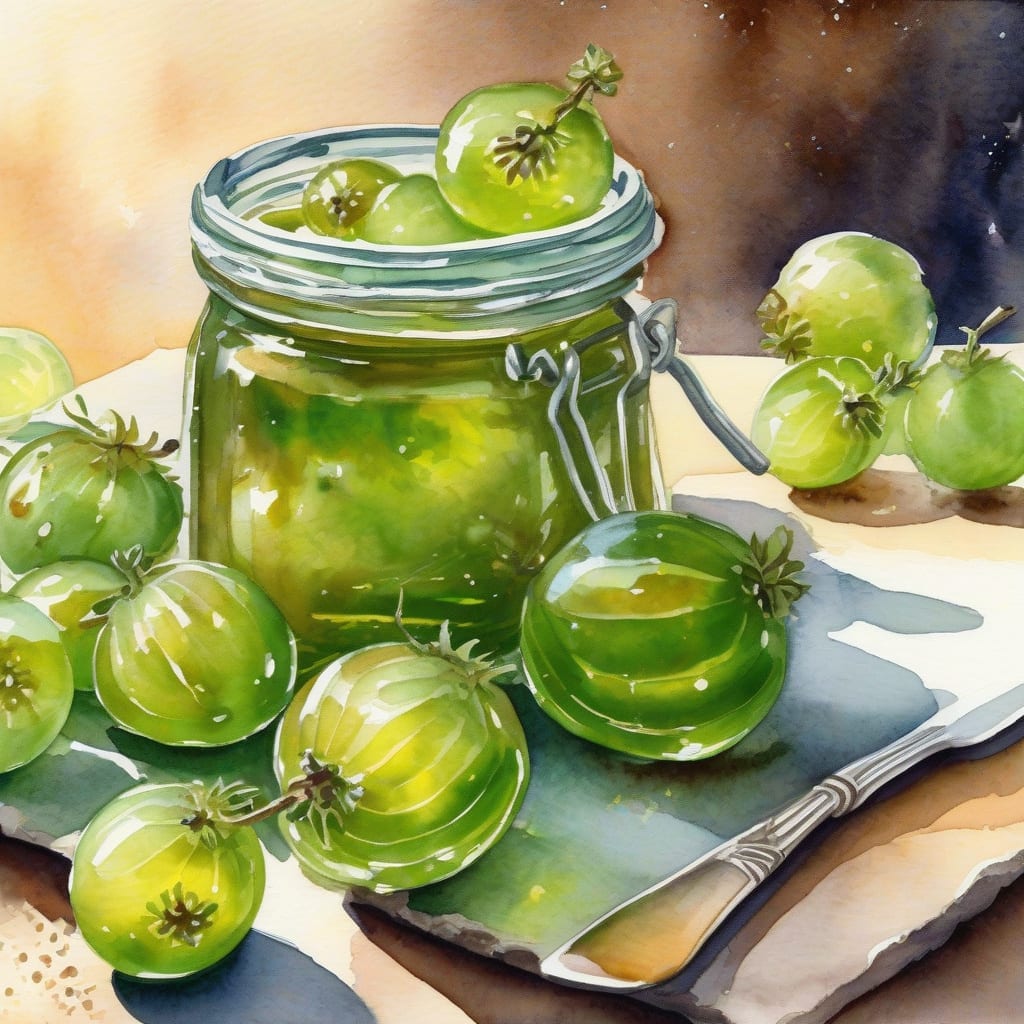
There’s something truly special about crafting your own condiments, and this gooseberry jelly is no exception. The sweet and tangy flavor profile brings a unique twist to your pantry essentials, perfect for spreading on toast or adding to your favorite recipes.
Using simple ingredients, this recipe is easy to follow and yields a beautiful, vibrant jelly. The balance of tart gooseberries with sugar creates a delightful treat that’s both refreshing and versatile. Plus, it’s a great way to preserve the season’s bounty!
Once prepared, this jelly can be stored in sterilized jars for up to a year, allowing you to enjoy its deliciousness long after the gooseberry season ends. Get ready to elevate your condiment game with this delightful creation!
Ingredients for Recipe gooseberry jelly
Gather these simple ingredients to create a delightful and vibrant gooseberry jelly at home.
| Ingredient | Amount | Notes |
|---|---|---|
| Gooseberries 🍇 | 2 cups | Fresh, washed, stems removed |
| Granulated Sugar 🍬 | 4 cups | Adjust sweetness to taste |
| Lemon Juice 🍋 | ¼ cup | Freshly squeezed preferred |
| Pectin 📦 | 1 box | For thickening jelly |
| Salt 🧂 | ½ tsp | Enhances flavor balance |
[recipe_ingredient_scaler]
You can find fresh gooseberries at local farmers markets or specialty grocery stores during the season. For the best flavor, choose plump berries without blemishes. Granulated sugar is standard for sweetness, but consider organic varieties for a purer taste. Look for pectin in the baking aisle; brands like Sure-Jell work well.
If gooseberries are unavailable, you can substitute with other tart berries like cranberries or black currants. Adjust sugar levels accordingly based on the tartness of the fruit. For a unique twist, try adding a hint of vanilla or ginger to the mix. Always use fresh lemon juice for optimal acidity and flavor.
Store the finished jelly in sterilized jars and keep them in a cool, dark place for up to a year. Once opened, refrigerate and consume within a month. To maintain freshness, use clean utensils when serving to avoid contamination.
Step-by-Step Instructions for Gooseberry Jelly
Let me guide you through the simple process of making this delightful spread that perfectly balances sweetness and tartness.
👨🍳 Step 1: Prepare the Gooseberries
Start by washing the 2 cups of gooseberries thoroughly under cold water. I like to remove the stems and any damaged berries to ensure a smooth jelly. This preparation step is crucial because any impurities can affect the final flavor and texture of your jelly.
Once cleaned, place the gooseberries in a large pot and crush them gently with a potato masher or fork. You want to release their juices without turning them into mush. This will help infuse the jelly with that wonderful tangy flavor as it cooks.
🔥 Step 2: Cook the Gooseberries
Heat the pot over medium heat, stirring occasionally. Allow the gooseberries to cook for about 10 minutes, until they soften and start to break down. You’ll notice the berries releasing their vibrant juices, which is a good sign that they are cooking down properly.
Once they are soft, add in 0.5 tsp of salt to enhance the flavor. The salt may seem counterintuitive, but it helps balance the sweetness of the sugar you’ll add next. Stir well and let it simmer for a few minutes before moving to the next step.
🥘 Step 3: Combine Ingredients for Jelling
Next, add 4 cups of granulated sugar and 0.25 cup of lemon juice to the pot. The sugar will dissolve into the mixture, creating a syrupy base while the lemon juice adds a fresh zing. Stir continuously until the sugar is fully dissolved—this usually takes about 5 minutes.
Once everything is combined, sprinkle in 1 box of pectin and stir vigorously. This is where your jelly will start to thicken. Keep cooking for an additional 1-2 minutes, allowing it to reach a rolling boil. You’ll notice a change in consistency as it bubbles vigorously.
⏰ Step 4: Test and Jar the Jelly
To check if your jelly is ready, perform the spoon test: dip a spoon into the mixture and let it cool slightly. If it coats the back of the spoon and holds its shape, it’s ready for jarring!
Carefully ladle the hot jelly into sterilized jars, leaving about ¼ inch of headspace at the top. Wipe the rims of the jars clean with a damp cloth to ensure a good seal, then cap them tightly. Allow them to cool at room temperature before storing them in the refrigerator.
This recipe yields approximately 4 cups of delicious gooseberry jelly that you can enjoy on toast or as a filling for pastries!
Elevate Your Pantry: Gooseberry Jelly Storage and Tips
When it comes to preserving your homemade gooseberry jelly, proper storage is key. After sealing the jars, store them in a cool, dark place, like a pantry or cellar, where they can last up to one year. This ensures the vibrant flavors remain intact. 🍇
Once opened, transfer any unused jelly to the refrigerator and consume it within one month. To keep your jelly fresh, always use clean utensils when serving. I find that this simple practice prevents contamination and maintains the quality of the jelly. 🧂
If you have extra jars, consider making a batch of jelly as gifts! Simply label them with the date and contents, and they make delightful presents for friends and family. I’ve packaged mine with a cute ribbon and a personalized tag—everyone loves receiving homemade goodies! 🎁
Nutrition Facts
180kcal

Trained in classic French technique but raised on slow-cooked ribs and spicy rubs, she blends culinary skill with smoke and soul.
- Recipe for Boneless Pork Chops in Cast Iron Skillet: Sear and Baste to Juicy Perfection - October 3, 2026
- Recipe for Boneless Cross Rib Roast: Slow-Roasted Beef with Herb Crust - October 3, 2026
- Hamburgers in Sauce Recipe Crock Pot: Slow-Cooked Savory Delight - October 3, 2026