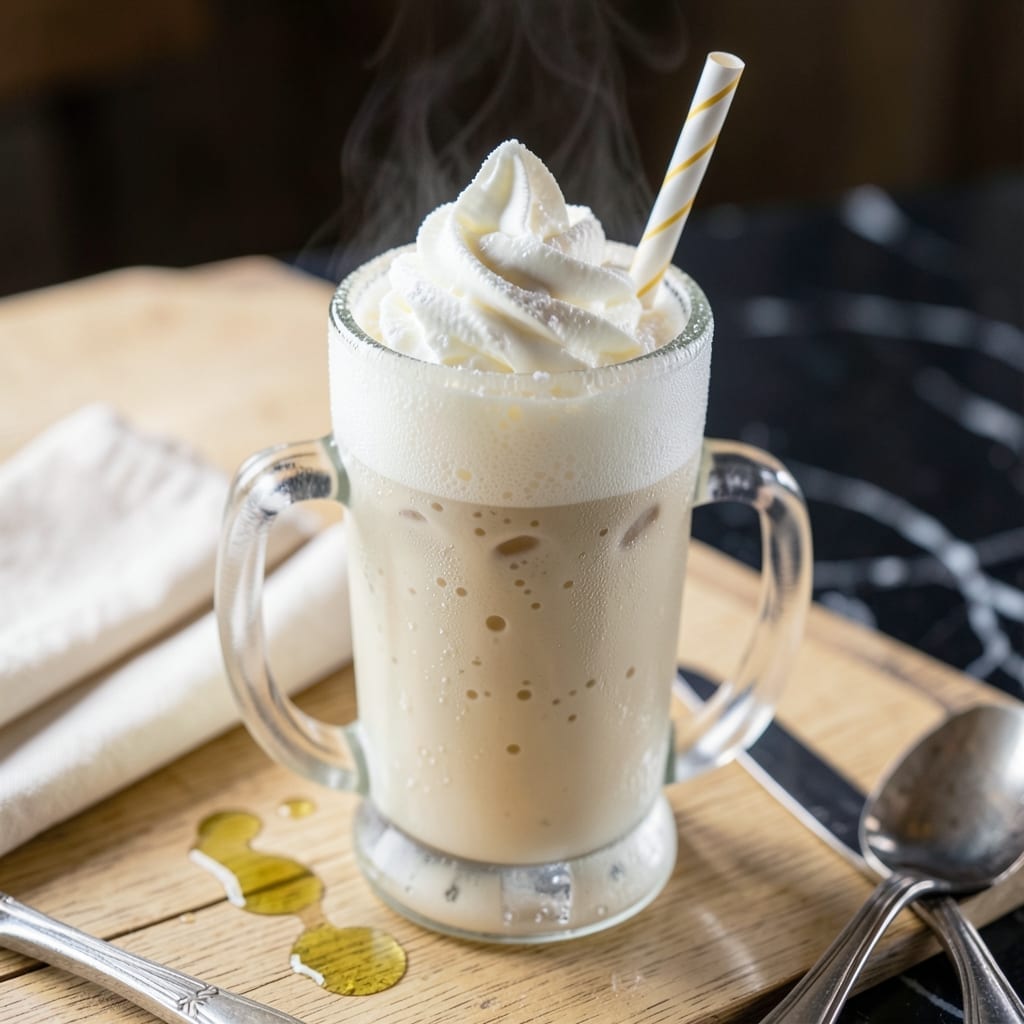
This milk shake recipe delivers the ultimate creamy indulgence with every sip. I perfected this blend after testing countless ratios to achieve that ideal thick, velvety texture.
Using just a few simple ingredients and a powerful blender, you can create a professional-quality shake at home. The secret lies in the balance of cold ingredients and precise blending time.
Ingredients for Recipe of Milk Shake
A handful of cold, luscious ingredients blend into the perfect thick and velvety treat.
| Ingredient | Amount | Notes |
|---|---|---|
| Vanilla Ice Cream 🍦 | 4 cups | Full-fat for creaminess |
| Whole Milk 🥛 | ¾ cup | Cold, for optimal texture |
| Heavy Whipping Cream 🥣 | ½ cup | Chilled, enhances richness |
| Vanilla Extract 🌿 | 1 tsp | Pure extract preferred |
| Granulated Sugar 🧂 | 2 tbsp | Adjust to taste preference |
| Ice Cubes ❄️ | 8 pieces | For extra thickness |
| Salt 🧂 | 0.125 tsp | Balances sweetness |
| Whipped Cream 🥣 | ½ cup | For topping, optional |
| Maraschino Cherries 🍒 | 4 whole | For garnish, optional |
| Chocolate Syrup 🍫 | 2 tbsp | For drizzling, optional |
[recipe_ingredient_scaler]
The ice cream is non-negotiable—full-fat premium brands like Häagen-Dazs or Ben & Jerry’s deliver that ultra-creamy texture. Whole milk adds liquid without thinning it out; avoid skim as it lacks the necessary fat content. For the heaviest body, European-style heavy cream (with its higher butterfat percentage) is ideal. Most grocery stores stock these in the frozen or dairy aisle.
Short on vanilla extract? Vanilla bean paste adds speckles and deeper flavor at a 1:1 ratio. No heavy cream? Half-and-half works in a pinch, though the shake will be slightly less rich. For a dairy-free twist (still vegetarian), coconut milk ice cream and oat milk blend surprisingly well. The sugar can be swapped for maple syrup at the same quantity.
This shake is best enjoyed immediately—it loses thickness as it warms. Store any leftovers (unlikely) in the freezer for up to 1 hour, but stir well before serving. Garnishes like whipped cream or cherries should be added fresh.
Why You’ll Love This Recipe
- Blender Magic: I just dump everything in and blend—no cooking, no fuss, just creamy goodness in minutes.
- Velvety Dream: The combo of whole milk and heavy cream makes it so rich I swear it’s from a diner.
- Crowd Pleaser: Kids love it, adults sneak seconds, and it’s my go-to for birthdays or lazy Sundays.
- Pennywise Treat: Honestly, it’s cheaper than a café version and uses stuff I already keep on hand.
Step-by-Step Instructions for Milk Shake
Execute these steps with precision for a thick, creamy milkshake that delivers on texture and flavor.
Step 1: Chill the Blender and Prepare Ingredients
Place your blender jar in the freezer for 10 minutes to ensure all components stay cold during blending. This step is critical for achieving that ultra-thick, frosty consistency that defines a proper milkshake.
Measure the 4 cups Vanilla Ice Cream, 0.75 cup Whole Milk, 0.5 cup Heavy Whipping Cream, 1 tsp Vanilla Extract, 2 tbsp Granulated Sugar, and 0.125 tsp Salt. Having everything pre-measured ensures a smooth blending process without interruptions.
Step 2: Blend the Base to Smooth Perfection
Add the 4 cups Vanilla Ice Cream, 0.75 cup Whole Milk, 0.5 cup Heavy Whipping Cream, 1 tsp Vanilla Extract, 2 tbsp Granulated Sugar, and 0.125 tsp Salt to the chilled blender jar. Pulse a few times to break up the ice cream before blending continuously.
Blend on high for 20-30 seconds until the mixture is completely smooth and creamy. Stop and scrape down the sides with a spatula, then blend for another 10-15 seconds. The mixture should be thick enough that a spoon can stand upright in it when inserted.
Step 3: Incorporate Ice Cubes for Thickness
Add the 8 pieces Ice Cubes one at a time, blending for 5-10 seconds after each addition. This gradual process ensures the ice cubes fully incorporate without overloading the blender, resulting in an even thicker consistency.
Watch for the texture to become almost sludge-like—that’s your cue that the milkshake has reached optimal thickness. If it appears too thin, add a few more ice cubes and blend briefly. The goal is a spoonable, not pourable, consistency.
Step 4: Serve and Garnish with Precision
Pour the milkshake into two chilled glasses, dividing it evenly. The thickness should require a firm pour, almost as if you’re scooping rather than pouring. This density is what separates a superior milkshake from a mere beverage.
Top each serving with 0.25 cup Whipped Cream (half of the 0.5 cup Whipped Cream), a drizzle of 1 tbsp Chocolate Syrup (half of the 2 tbsp Chocolate Syrup), and two Maraschino Cherries per glass. Serve immediately with a long spoon for the full indulgent experience.
Pro Tips For Making Recipe Of Milk Shake
- Chill Your Glass: Pop your serving glass in the freezer for 10 minutes before blending—cold glass keeps the shake thicker longer and prevents that sad, melty puddle at the bottom.
- Soften the Ice Cream: Let the vanilla ice cream sit out for 5-7 minutes before mixing; it blends smoother without turning your milkshake into a soupy mess.
- Skip the Overfill: Resist the urge to pack the blender to the top—leave at least an inch of space so the heavy cream and milk can actually move around and blend evenly.
- Sweeten Last: Add the granulated sugar gradually while blending and taste as you go; I learned this the hard way after ruining a batch with an overzealous pour.
Troubleshooting This Dish
Too Thin Consistency
If your shake comes out too runny, the ice cream likely wasn’t cold enough. Always use rock-hard ice cream straight from the freezer. Adding 2-3 more ice cubes and blending for another 10 seconds usually fixes this.
Lumpy Texture
Lumps mean your blender couldn’t handle the thickness. Try blending in 2 batches instead of one. Also, pulse the ice cream first to break it up before continuous blending. A high-powered blender like Vitamix handles this better than basic models.
Overly Thick
When it’s too thick to pour, add 1-2 tbsp milk at a time until it reaches your desired consistency. Avoid adding too much at once – you can always add more. The ideal texture should be thick but still pourable.
I find that letting it sit for 1-2 minutes after blending often helps it relax slightly. 💡
Ice Cubes Not Blending
If ice cubes remain whole, your blender may need a break. Let it rest for 30 seconds to cool down, then try again. Alternatively, crush the ice in a separate container first.
Flavor Too Mild
For stronger flavor, increase the vanilla extract to 1.5 tsp or use vanilla bean paste instead. A pinch more salt (⅛ tsp) can also enhance all the flavors. 🍒
Nutrition Facts
Frequently Asked Questions
Can I use frozen yogurt instead of ice cream?
Yes, but expect a tangier, less creamy result. Frozen yogurt works in a 1:1 ratio for a lighter shake. For best texture, add 1 extra tbsp sugar to balance the tartness.
How do I make it thicker without ice cubes?
Freeze your milk and cream in ice cube trays first. Use these frozen dairy cubes instead of regular ice. This prevents dilution while adding thickness.
Why does mine separate after blending?
This happens with under-chilled ingredients. Always use ice-cold milk and rock-hard ice cream. Blend for 5 extra seconds to fully emulsify the mixture.
Can I prepare this ahead of time?
Not recommended. Milkshakes are best served immediately. If needed, store in the freezer for up to 30 minutes and re-blend with 1 tbsp milk before serving.

Trained in classic French technique but raised on slow-cooked ribs and spicy rubs, she blends culinary skill with smoke and soul.
- Recipe for Boneless Pork Chops in Cast Iron Skillet: Sear and Baste to Juicy Perfection - October 3, 2026
- Recipe for Boneless Cross Rib Roast: Slow-Roasted Beef with Herb Crust - October 3, 2026
- Hamburgers in Sauce Recipe Crock Pot: Slow-Cooked Savory Delight - October 3, 2026