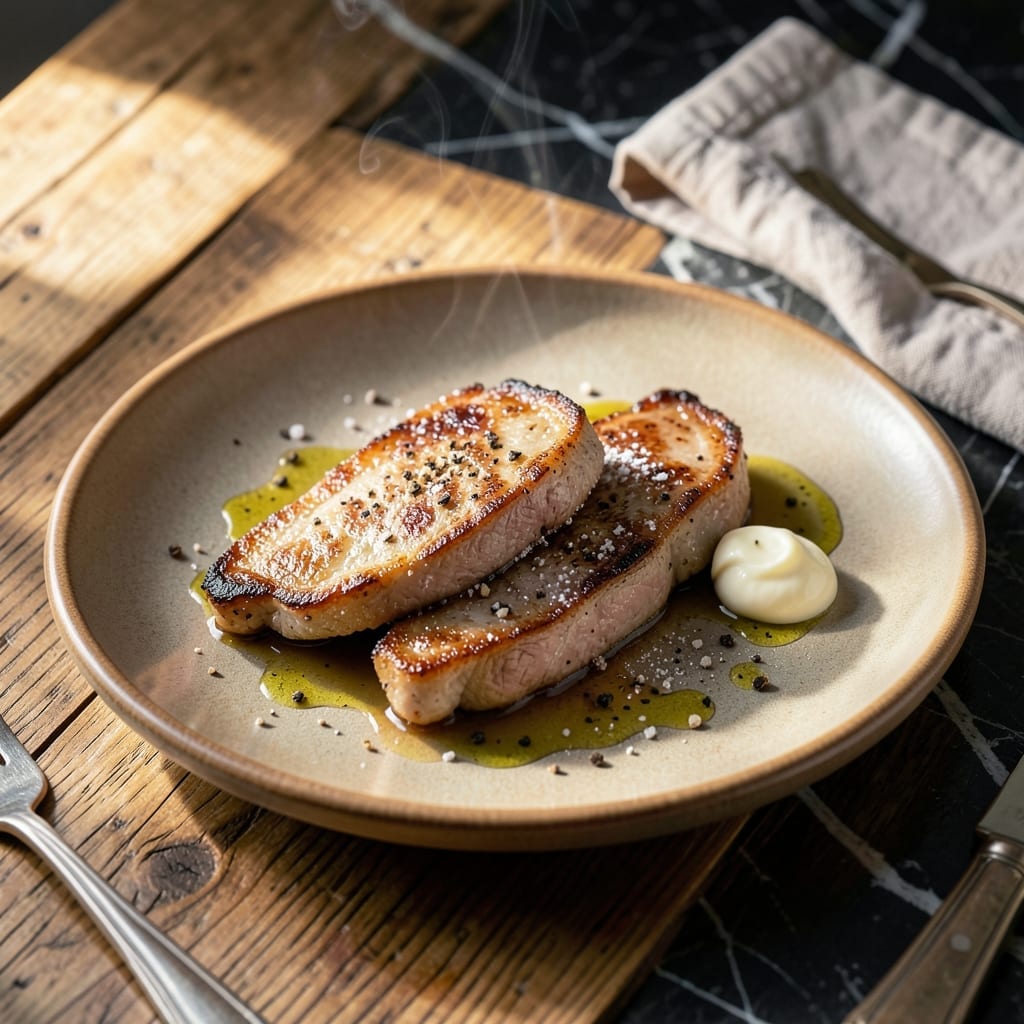
Thin pork chops cook fast, but they demand precision to stay juicy and tender. This pan-searing method delivers restaurant-quality results with a golden crust and buttery finish every time.
I learned the hard way that thin cuts overcook in seconds. High heat and a hot pan create that perfect sear without drying the meat. The butter basting adds rich flavor while keeping the chops moist.
You’ll have tender, flavorful pork ready in under 15 minutes. The secret is timing—pull them just before they’re fully done, as they’ll continue cooking off the heat.
Serve with a squeeze of lemon or a sprinkle of fresh herbs. Simple, fast, and impressive.
Ingredients for Recipe Thin Pork Chops
Pantry staples plus fresh pork. Nothing complicated, just restaurant-quality results at home.
| Ingredient | Amount | Notes |
|---|---|---|
| Thin-Cut Pork Chops 🥩 | 4 pieces | Bone-in or boneless, 1/4-inch thick |
| Kosher Salt 🧂 | 1 ½ tsp | Divided for seasoning meat |
| Black Pepper 🌶️ | ½ tsp | Freshly ground preferred |
| All-Purpose Flour 🌾 | ¼ cup | For light dredging |
| Unsalted Butter 🧈 | 4 tbsp | Divided for cooking and basting |
| Olive Oil 🫒 | 2 tbsp | Neutral oil for high heat |
| Garlic Cloves 🧄 | 2 cloves | Minced for butter sauce |
| Fresh Thyme Sprigs 🌿 | 3 pieces | For aromatic basting |
| Lemon 🍋 | 1 whole | For serving, cut into wedges |
| Fresh Parsley 🌿 | ¼ cup | Chopped, for garnish |
[recipe_ingredient_scaler]
The pork chops are the star here. Bone-in gives more flavor, but boneless works if that’s what you’ve got. Look for 1/4-inch thick cuts—any thicker and they won’t cook through in time. I grab mine from Whole Foods or Costco when I can find them pre-cut. Avoid those grayish chops at the bottom of the stack—they’ve been sitting too long.
No fresh thyme? Dried thyme at half the amount works fine. Out of parsley? Fresh cilantro or chives add a nice pop too. The butter can’t be skipped (it’s doing most of the flavor work), but ghee works in a pinch. Need gluten-free? Swap the flour for cornstarch or almond flour—same light dredge effect.
Cook these right before serving—15 minutes max from pan to plate. Leftovers? They’ll keep 3-4 days in the fridge, but reheat gently in a pan with a splash of water to keep them from drying out. Honestly, they’re best fresh off the stove.
Why You’ll Love This Recipe
- Ready in 15: I can get these from prep to plate faster than ordering takeout.
- Buttery Crisp: That flour crust fried in butter gives every bite a golden, savory crunch.
- Weeknight MVP: Honestly, it’s my go-to when I need dinner on the table between soccer practice and bedtime.
- Pocket Friendly: Thin chops stretch my grocery budget, and the pantry staples do the rest.
Step-by-Step Instructions for Buttery Pan-Seared Thin Pork Chops
Here’s how to get perfectly golden chops with a rich garlic-thyme butter sauce every time.
Step 1: Season and Dredge the Pork Chops
Pat the thin-cut pork chops completely dry with paper towels. This is crucial—moisture prevents proper browning. Season both sides generously with 1 tsp kosher salt and all of the 0.5 tsp black pepper.
Lightly dredge each chop in the 0.25 cup all-purpose flour, shaking off any excess. The flour creates a thin coating that promotes even browning and helps the sauce cling later. Don’t press too hard—just a light dusting is all you need.
Step 2: Sear the Chops to Golden Perfection
Heat 2 tbsp olive oil in a large skillet over medium-high heat until it shimmers. Add 2 tbsp unsalted butter and let it melt. When the butter stops foaming, add the dredged pork chops in a single layer.
Cook for 2-3 minutes per side until they’re golden brown and cooked through. Thin-cut chops cook fast, so keep an eye on them. They’re done when the thickest part reaches 145°F internally and the edges look crispy. Transfer to a plate and tent loosely with foil.
Step 3: Make the Garlic-Thyme Butter Sauce
Reduce heat to medium and add the 2 minced garlic cloves and 3 fresh thyme sprigs to the same skillet. Cook for 30 seconds until the garlic is fragrant but not browned—burnt garlic turns bitter.
Add the remaining 2 tbsp unsalted butter and let it melt, swirling to coat the pan. Cook for another 30-60 seconds until the butter takes on a light golden color from the garlic and thyme. The sauce should smell aromatic and look slightly foamy.
Step 4: Plate and Garnish for Serving
Return the pork chops to the skillet and spoon the garlic-thyme butter over them for 10-15 seconds to reheat and coat. This step infuses the chops with extra flavor and ensures they’re served with plenty of sauce.
Transfer to serving plates and garnish with the 0.25 cup chopped fresh parsley. Serve immediately with the 1 whole lemon cut into wedges on the side for a bright finish. The chops should be juicy inside with a crispy, buttery exterior.
Pro Tips For Making Recipe Thin Pork Chops
- Pound the Chops: Thin cuts can curl—give them a quick whack with a rolling pin or meat mallet to even them out. I learned this the hard way after too many chops cooking unevenly.
- Hot Pan, Cold Butter: Sear the chops in a screaming-hot pan first, then add the butter at the end for basting. Sounds weird, but it works: prevents burnt butter while still getting that rich flavor.
- Skip the Overcrowding: Cook in batches if needed—cramming the pan steams the chops instead of browning them. After burning three batches, I finally figured out patience pays off.
- Rest 5 Minutes: Pull the chops when they hit 140°F and let them rest under foil. They’ll climb to 145°F while the juices redistribute—my grandmother swore by this, and she was right.
Common Mistakes When Making This Recipe
Overcrowding the Pan
Never cook all pork chops at once in a standard skillet. Crowding lowers the temperature, causing them to steam rather than sear. I cook in batches—2 chops at a time in my 12-inch Lodge skillet—to maintain that perfect medium-high heat. 🔥
Skipping the Dry Pat
Moisture is the enemy of a good sear. I always pat each chop completely dry with paper towels before seasoning. Even a little water creates steam that prevents browning. This step takes 30 seconds and makes all the difference.
Moving Them Too Soon
Resist the urge to flip constantly. Let the chops cook undisturbed for the full 2-3 minutes per side. If you move them too early, they won’t develop that crispy, golden crust we’re after. I learned this the hard way at my first BBQ competition.
Overcooking Thin Cuts
Thin pork chops go from perfect to overdone in seconds. Pull them when they reach 140°F internal—they’ll rise to 145°F while resting. I use an instant-read thermometer for precision. Remember, they keep cooking off the heat.
Using Cold Butter
Cold butter won’t melt properly for basting. Take your 4 tbsp unsalted butter out of the fridge 10 minutes before cooking. Room temperature butter melts evenly and creates a smooth, emulsified sauce that coats the chops beautifully.
Neglecting to Rest
Even thin cuts need a brief rest. Tent them loosely with foil for 2-3 minutes after cooking. This allows juices to redistribute, keeping the meat moist. Skipping this step means all those flavorful juices will end up on your cutting board. 💡
Nutrition Facts
Frequently Asked Questions
What’s the best way to keep thin pork chops from drying out?
Cook them quickly over medium-high heat and pull them at 140°F. They’ll reach 145°F while resting. Basting with garlic-thyme butter adds moisture and flavor.
Can I substitute boneless for bone-in chops?
Yes! Boneless works fine, but bone-in adds more flavor. Both cook in 2-3 minutes per side. Just ensure they’re 1/4-inch thick for even cooking.
How do I know when they’re done?
Use an instant-read thermometer: 145°F internally means they’re ready. The meat should feel slightly firm but still springy to the touch.
What if I don’t have fresh thyme?
Dried thyme works—use half the amount. Fresh rosemary or oregano also add great flavor to the butter sauce.

Trained in classic French technique but raised on slow-cooked ribs and spicy rubs, she blends culinary skill with smoke and soul.