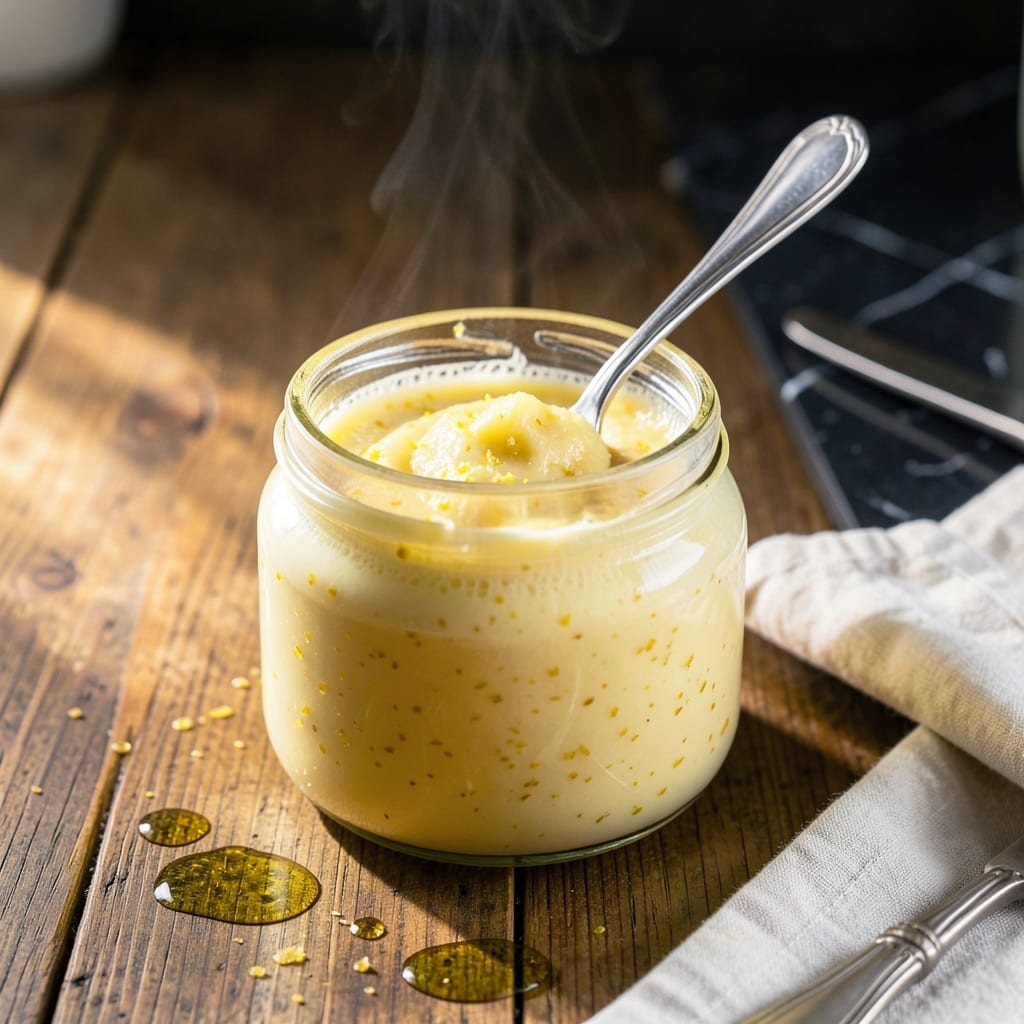
This bright citrus spread transforms any pastry or dessert with its smooth, tangy richness. I developed this method to ensure perfect consistency every time.
With just a few simple ingredients and 15 minutes of attention, you’ll create a versatile condiment that elevates cakes, tarts, and toast alike.
Ingredients for Recipe to Make Lemon Curd
Six ingredients transform into this luminous citrus spread with perfect tangy-sweet balance every time.
| Ingredient | Amount | Notes |
|---|---|---|
| Fresh Lemon Juice 🍋 | ¾ cup | From about 4-5 large lemons |
| Lemon Zest 🍋 | 2 tbsp | Finely grated from organic lemons |
| Granulated Sugar 🧂 | 1 cup | Superfine for smoothest texture |
| Large Eggs 🥚 | 4 whole | Room temperature for best results |
| Unsalted Butter 🧈 | ½ cup | Cut into small cubes |
| Pinch of Salt 🧂 | 1 pinch | Enhances citrus flavor balance |
[recipe_ingredient_scaler]
The lemons are non-negotiable for vibrant flavor. Meyer lemons (when in season) offer a sweeter profile, but regular Eureka or Lisbon work beautifully. Look for fruit with bright, firm skins at Whole Foods or your local farmers market. Organic is ideal since you’ll be zesting—conventional lemons often have wax coatings. The eggs should be fresh, high-quality (I prefer organic, free-range for richer color and flavor).
No fresh lemons? Bottled juice in a pinch (though fresh is exponentially better). Need to make it vegan? Aquafaba or cornstarch slurry can replace eggs, but texture differs. Superfine sugar dissolves faster—pulse regular sugar in a blender if needed. The butter must be unsalted to control sweetness; European-style (like Plugrá) has higher fat for extra creaminess.
Store in an airtight container with plastic wrap pressed directly on the surface to prevent a skin from forming. Keeps in the fridge for 1 week, or freeze in small jars for up to 3 months. The flavor actually deepens after a day—perfect for making ahead.
Why You’ll Love This Recipe
- One Pot Wonder: I just whisk the eggs, sugar, and lemon juice in a saucepan—no fancy equipment, no mess.
- Bright & Zesty: That fresh lemon zest and juice give it a tangy kick that’s way better than store-bought.
- Endless Uses: I slather it on scones, swirl it into yogurt, or fill tarts—honestly, it disappears fast.
- Keeps for Days: A jar lasts me a week in the fridge, so I can make a big batch and enjoy it whenever.
Step-by-Step Instructions for Lemon Curd
This method ensures a silky, luminous curd with the perfect balance of sweetness and tart citrus.
Step 1: Whisk Eggs and Sugar to Ribbon Stage
In a medium saucepan, combine the 4 whole large eggs with the 1 cup granulated sugar. Whisk vigorously for 2-3 minutes until the mixture turns pale yellow and thickens slightly, leaving ribbons that hold their shape for a few seconds when the whisk is lifted.
This step incorporates air, which gives the finished curd its light, velvety texture. The sugar also begins to dissolve, preventing graininess in the final product. Ensure the eggs are at room temperature to maximize volume during whisking.
Step 2: Incorporate Citrus and Butter
Add the 0.75 cup fresh lemon juice, 2 tbsp lemon zest, and 1 pinch pinch of salt to the egg-sugar mixture. Whisk until fully combined. The zest adds aromatic oils that deepen the lemon flavor, while the salt enhances the overall brightness.
Next, add the 0.5 cup unsalted butter, cut into small cubes. Place the saucepan over medium-low heat and stir constantly with a silicone spatula, ensuring the butter melts evenly and the mixture remains smooth. The low heat prevents the eggs from scrambling prematurely.
Step 3: Cook to Thickened Consistency
Continue cooking over medium-low heat, stirring constantly, for 8-12 minutes. The mixture will initially appear thin and frothy, but it will gradually thicken as the eggs cook. You’ll know it’s ready when the curd coats the back of the spatula and leaves a distinct trail when you draw a finger through it.
Pay close attention during this phase—the curd can go from perfect to overcooked in moments. If it begins to look lumpy or grainy, remove it from heat immediately and whisk vigorously to smooth it out before returning it to low heat.
Step 4: Strain and Cool for Smooth Finish
Immediately pour the curd through a fine-mesh sieve into a clean bowl to remove any cooked egg bits or zest, ensuring an ultra-smooth texture. Press gently with the spatula to extract all the liquid, but avoid forcing solids through the sieve.
Let the curd cool at room temperature for 10 minutes, stirring occasionally to release heat evenly. Then, cover the surface directly with plastic wrap to prevent a skin from forming. Refrigerate for at least 2 hours to fully set before using. The curd will thicken further as it chills.
Pro Tips For Making Recipe To Make Lemon Curd
- Strain the Juice: Fresh lemon juice often carries pulp or seeds—strain it through a fine-mesh sieve before mixing with sugar. I learned this the hard way after biting into a seed in my first batch.
- Temper the Eggs: Slowly whisk the hot lemon-sugar mixture into the eggs, a little at a time, to prevent scrambling. After ruining two batches, I finally figured out patience is non-negotiable here.
- Low and Slow Heat: Keep the heat on medium-low when thickening the curd—too high and it’ll curdle or turn grainy. My grandmother swore by this, and she was right.
- Chill Before Serving: Let the curd cool completely in the fridge for at least 2 hours before using. Sounds weird, but it works: the texture thickens and the flavors deepen.
Flavor Customization for This recipe to make lemon curd
Citrus Variations
Swap lime juice and zest for a zippy key lime curd perfect for pies. For a floral twist, use orange juice and zest, adding 1 tsp vanilla extract at the end. I love blood orange for its deep color and complex flavor. 🍊
Herbal Infusions
Add 1 tbsp finely chopped fresh lavender or 2 sprigs thyme while cooking for aromatic depth. Strain them out with the zest. A pinch of ground cardamom adds warmth that complements the citrus beautifully.
Sweetness Adjustments
Reduce sugar to ¾ cup for a more tart curd, ideal for filling macarons. Increase to 1¼ cups if you prefer a sweeter spread for toast. I find honey or agave can replace ¼ cup of sugar for a different flavor profile.
Texture Modifications
For a lighter texture, fold in ½ cup whipped cream after cooling. This creates a mousse-like spread perfect for cakes. To make it thicker for piping, add 1 tsp cornstarch to the egg mixture before cooking. 💫
Flavor Boosters
Add 1 tsp vanilla bean paste at the end for depth. A pinch of turmeric enhances color without affecting taste. I sometimes mix in 1 tbsp poppy seeds for crunch and visual appeal.
Seasonal Twists
In summer, add 2 tbsp fresh raspberry purée for a berry-lemon fusion. During winter, mix in 1 tsp ground ginger and ½ tsp cinnamon for a spiced version that pairs wonderfully with holiday desserts.
Nutrition Facts
Frequently Asked Questions
Why did my curd turn out lumpy?
This usually means the eggs scrambled from too high heat. Next time, use medium-low heat and stir constantly. If it happens, immediately strain through a fine sieve while warm to smooth it out.
Can I use bottled lemon juice?
Yes, but fresh tastes brighter and more complex. If using bottled, choose 100% pure juice without additives. You may need to reduce other liquids slightly to compensate for the different acidity.
How long will it keep in the fridge?
Properly stored in an airtight container with plastic wrap on the surface, it stays fresh for up to 1 week. For longer storage, freeze for up to 3 months.
Can I make it without butter?
Yes! Substitute with coconut oil for a dairy-free version. The texture will be slightly different but still delicious. Add it slowly at the end to maintain smoothness.

Trained in classic French technique but raised on slow-cooked ribs and spicy rubs, she blends culinary skill with smoke and soul.
- Recipe for Boneless Pork Chops in Cast Iron Skillet: Sear and Baste to Juicy Perfection - October 3, 2026
- Recipe for Boneless Cross Rib Roast: Slow-Roasted Beef with Herb Crust - October 3, 2026
- Hamburgers in Sauce Recipe Crock Pot: Slow-Cooked Savory Delight - October 3, 2026