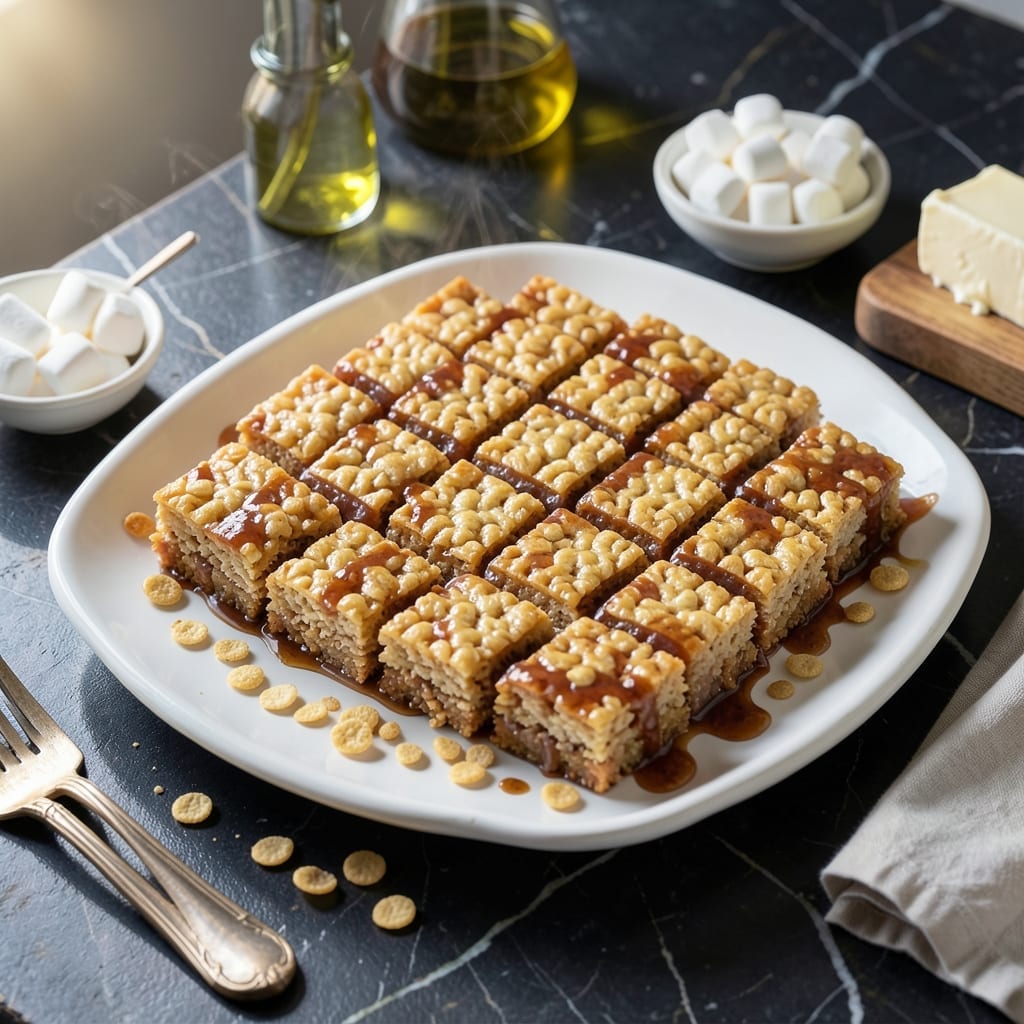
There’s something timeless about the simple combination of melted marshmallows and crispy cereal. This recipe delivers that perfect balance of chewy and crunchy in every bite.
I’ve refined this method to ensure consistent results, using just a few pantry staples. The key is timing—work quickly while the mixture is still warm and pliable.
Ingredients for Rice Keispie Treat
Six ingredients. One bowl. Classic chewy crunch ready in minutes.
| Ingredient | Amount | Notes |
|---|---|---|
| Rice Krispies Cereal 🥣 | 6 cups | Standard or generic brand works |
| Miniature Marshmallows ⚪ | 10 oz | Or 40 regular marshmallows |
| Unsalted Butter 🧈 | 3 tbsp | For melting with marshmallows |
| Vanilla Extract 🌿 | ½ tsp | Pure extract recommended |
| Kosher Salt 🧂 | ¼ tsp | Fine grain for even distribution |
| Light Corn Syrup 💧 | 1 tbsp | Optional for extra chewiness |
[recipe_ingredient_scaler]
The cereal is the foundation here. Kellogg’s Rice Krispies are the gold standard for that signature snap, but store-brand crisp rice cereal works identically (and often costs less). For marshmallows, Jet-Puffed or Kraft melt the smoothest. Unsalted butter lets you control the salt content—Land O’Lakes or Plugrá are reliable choices for consistent melting.
Out of mini marshmallows? Regular marshmallows cut in half work perfectly (count on about 40). No corn syrup? Honey or agave can substitute at the same ratio, though the texture will be slightly different. Want extra flavor? Add a pinch of cinnamon or almond extract with the vanilla. The vanilla extract matters—imitation vanilla can leave an odd aftertaste.
These keep beautifully at room temperature in an airtight container for 2-3 days. For longer storage, freeze in a single layer, then stack with parchment between layers. They’ll stay fresh for 6 weeks in the freezer (if they last that long).
Why You’ll Love This Recipe
- One Pot Wonder: I melt the butter and marshmallows in a single saucepan, then stir in the cereal—cleanup is a breeze.
- Sweet & Salty Magic: The vanilla and kosher salt balance the marshmallow sweetness in a way that’s ridiculously good.
- Crowd Pleaser: Honestly, I’ve never met a kid (or adult) who could resist these at a party or potluck.
- Budget Friendly: A box of cereal and a bag of marshmallows make dozens of treats for pennies per serving.
Step-by-Step Instructions for Rice Krispie Treats
This method ensures perfect texture with minimal effort and maximum flavor.
Step 1: Melt the Butter and Marshmallows
In a large pot, melt the 3 tbsp Unsalted Butter over low heat. You want it fully liquid but not browned—watch for the foaming to subside. This gentle heat prevents burning and ensures even melting throughout the process.
Add the 10 oz Miniature Marshmallows and stir constantly with a silicone spatula. The marshmallows will begin to soften and collapse within 2-3 minutes. Continue stirring until the mixture becomes completely smooth with no visible marshmallow lumps remaining.
Step 2: Incorporate Flavorings
Remove the pot from heat and immediately stir in the 0.5 tsp Vanilla Extract, 0.25 tsp Kosher Salt, and 1 tbsp Light Corn Syrup. The residual heat will distribute these ingredients evenly without cooking them.
The vanilla adds depth while the salt enhances all flavors. The corn syrup, though optional, contributes that classic chewy texture that makes these treats irresistible. Stir for 15-20 seconds until fully combined and glossy.
Step 3: Combine with Rice Krispies Cereal
Add all 6 cups Rice Krispies Cereal to the pot at once. Using the same spatula, fold the cereal into the marshmallow mixture with a gentle but firm motion. The goal is to coat every piece evenly without crushing the cereal.
You’ll notice the mixture becoming thicker and more difficult to stir as the cereal absorbs the marshmallow coating. This should take 45-60 seconds of consistent folding. Stop when no dry cereal remains visible and the mixture holds together when pressed.
Step 4: Press and Shape the Treats
Transfer the mixture to a 9×13-inch baking dish lined with parchment paper. Use the spatula to spread it evenly, then lightly grease your hands with butter or cooking spray to prevent sticking.
Press the mixture firmly and evenly into the dish using your palms. Apply consistent pressure for 30 seconds to create a uniform layer. The treats should be compact but not so dense that they lose their characteristic lightness.
Step 5: Cool and Cut
Allow the treats to cool at room temperature for 30 minutes before cutting. This cooling period lets the marshmallow set properly, making clean cuts possible. Use a sharp knife to slice into 12 equal squares.
For best results, lift the entire sheet out of the pan using the parchment paper before cutting. This prevents the bottom layer from sticking and ensures each piece maintains its shape. The treats will continue to firm up as they cool completely.
Pro Tips For Making Rice Keispie Treat
- Melt Butter Low: Use medium-low heat when melting the butter to prevent the marshmallows from seizing up or burning—I learned this the hard way after ruining two batches with scorched sugar.
- Use Fresh Marshmallows: Older marshmallows get dry and tough, so check the bag’s date; the softer and stickier they are, the better they’ll bind the cereal.
- Press While Warm: Don’t wait for the mixture to cool before pressing it into the pan, or it’ll harden too fast and won’t stick together properly—work quickly while it’s still pliable.
- Add Salt Last: Sprinkle the kosher salt over the top just before the final press; it distributes evenly and enhances the sweetness without making the mixture taste flat.
Storing and Reheating rice keispie treat
Room Temperature Storage
Let your treats cool completely before storing. I use an airtight container lined with parchment paper to prevent sticking. They’ll stay fresh for 2-3 days at room temperature. The cereal maintains its crispness best this way. 💪
Refrigerator Storage
For slightly longer storage, place in the fridge in a sealed container. They’ll last up to 1 week, though the cereal may soften a bit. I recommend bringing them to room temperature before serving to restore that perfect texture.
Freezing for Longevity
Wrap individual treats in plastic wrap, then place in a freezer bag. They freeze beautifully for up to 6 weeks. When ready to eat, thaw at room temperature for 30 minutes. This method preserves freshness remarkably well. ❄️
Reheating Treats
These are best enjoyed at room temperature, but if you prefer them warm, microwave for 5-10 seconds just to take the chill off. Be careful not to overheat, as the marshmallow can become too soft and sticky.
Serving After Storage
If your treats have lost some crispness, a quick trick is to spread them on a baking sheet at 300°F for 2-3 minutes. This revives the cereal’s crunch without melting the marshmallow too much. I learned this from a local baker at our farmers market.
Nutrition Facts
Frequently Asked Questions
Can I use regular marshmallows instead of mini ones?
Yes! Use about 40 regular marshmallows cut in half for the same result. They melt just as smoothly with the same timing.
Why did my treats turn out hard?
This usually happens from overcooking the marshmallow mixture or pressing too firmly. Keep heat low and press just until compact.
How do I add mix-ins like chocolate chips?
Fold in 1 cup of add-ins after combining cereal with marshmallow. Let cool slightly first to prevent melting.
Can these be made without butter?
Coconut oil works as a 1:1 substitute. Use refined for neutral flavor. The texture will be nearly identical.

Trained in classic French technique but raised on slow-cooked ribs and spicy rubs, she blends culinary skill with smoke and soul.
- Recipe for Boneless Pork Chops in Cast Iron Skillet: Sear and Baste to Juicy Perfection - October 3, 2026
- Recipe for Boneless Cross Rib Roast: Slow-Roasted Beef with Herb Crust - October 3, 2026
- Hamburgers in Sauce Recipe Crock Pot: Slow-Cooked Savory Delight - October 3, 2026