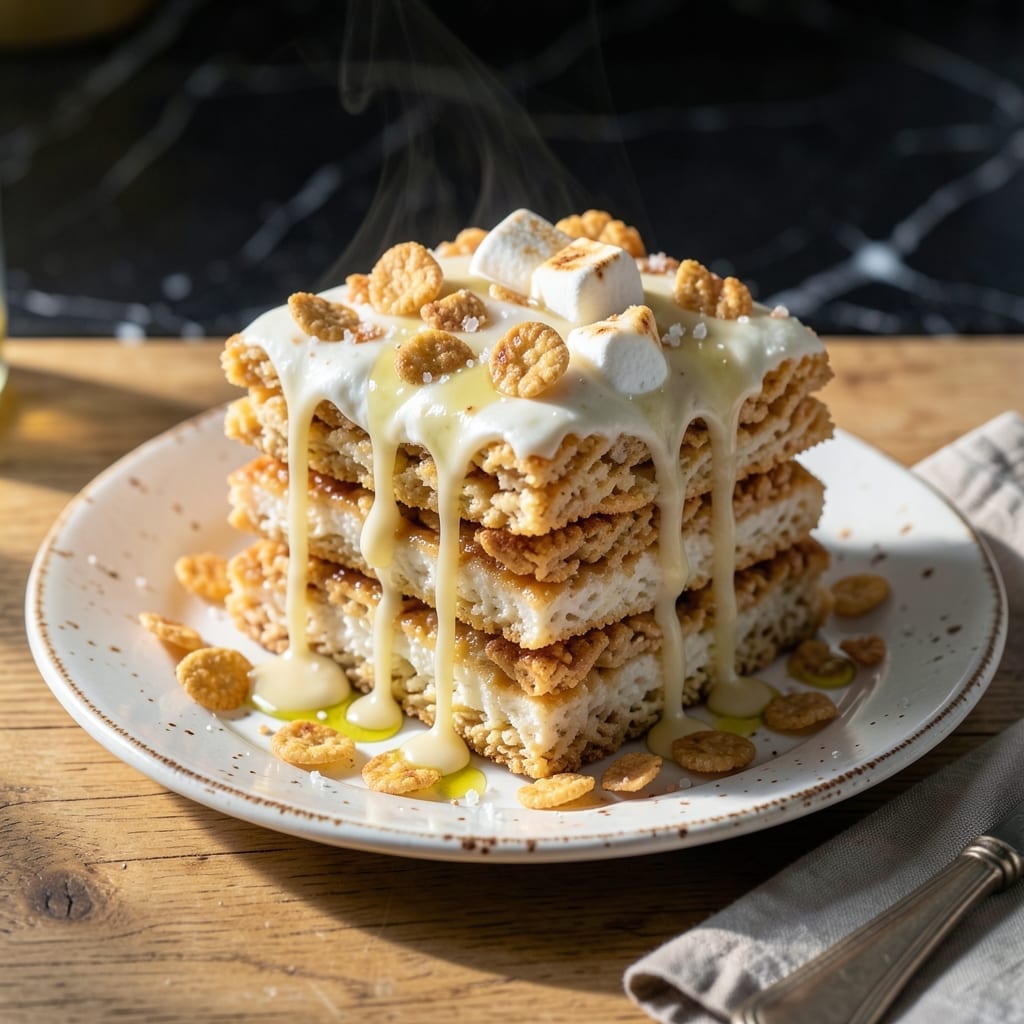
There’s a better way to make Rice Krispie treats, and it starts with marshmallow fluff for an ultra-light, cloud-like texture. This method transforms the classic into something even more irresistible.
The fluff blends seamlessly with melted butter and cereal, creating a melt-in-your-mouth consistency that’s tender yet perfectly held together. Simple, quick, and consistently delicious.
Ingredients for Rice Krispie Treats Recipe with Fluff
Six ingredients, one bowl, zero fuss. All you need for cloud-like perfection.
| Ingredient | Amount | Notes |
|---|---|---|
| Rice Krispies Cereal 🥣 | 6 cups | Fresh for best crunch |
| Marshmallow Fluff ⬜ | 10 oz | 1 jar, about 2 cups |
| Unsalted Butter 🧈 | ½ cup | 1 stick, for melting |
| Vanilla Extract 🌿 | 1 tsp | Pure for best flavor |
| Fine Sea Salt 🧂 | ¼ tsp | Balances sweetness |
| Large Marshmallows ⬜ | 2 cups | Optional for extra gooeyness |
[recipe_ingredient_scaler]
The marshmallow fluff is non-negotiable here—Jet-Puffed is the gold standard (the one in the jar, not the tub). Kroger or Walmart always stock it. Use fresh cereal too; stale Rice Krispies won’t give you that signature snap. Butter quality matters less here, but since you’re melting it anyway, any store brand works fine. Just don’t burn it—low and slow wins the race.
No fluff? Two 7-oz bags of mini marshmallows melt down to about the same volume. Out of vanilla? Skip it, but the flavor will be flatter. Want a richer taste? Swap half the butter for brown butter (cooled slightly). If you’re feeling fancy, a pinch of flaky salt on top takes these to next-level status. Vegetarian note: regular marshmallows are fine (gelatin is allowed here).
These keep in an airtight container at room temp for 3 days—if they last that long. For longer storage, wrap individual squares in parchment, then foil, and freeze for up to 2 months. Thaw 30 minutes before serving (or don’t, they’re still delicious cold).
Why You’ll Love This Recipe
- One Bowl Wonder: I melt the butter, stir in the fluff, and fold in the cereal—no extra dishes, no fuss.
- That Fluff Magic: The marshmallow fluff makes them lighter than the classic version, with a melt-in-your-mouth texture.
- Party or Lunchbox: I’ve packed these for school snacks and served them at birthday parties—always disappear first.
- Pennies per Batch: Rice Krispies and fluff are cheap, and this recipe makes a full 9×13 pan for under five bucks.
Step-by-Step Instructions for Rice Krispie Treats With Fluff
Here’s the method that guarantees perfectly gooey, cloud-like treats every time.
Step 1: Melt Butter and Prepare the Base
In a large pot, melt the 0.5 cup Unsalted Butter over low heat. I prefer using a light-colored pot so I can monitor the melting process and prevent burning. The butter is ready when it’s completely liquid and just beginning to foam.
Once melted, add the 0.25 tsp Fine Sea Salt and 1 tsp Vanilla Extract. Stir for 10-15 seconds to distribute evenly. This step builds the flavor foundation before we add the sweet components.
Step 2: Incorporate Marshmallow Components
Add the 10 oz Marshmallow Fluff to the pot first. The fluff will begin to melt almost immediately due to its airy texture. Stir constantly with a silicone spatula, scraping the sides and bottom to prevent any hot spots or sticking.
After the fluff is about 70% melted, add the 2 cups Large Marshmallows. Continue stirring until both the fluff and marshmallows are completely smooth and combined. You’ll notice the mixture becomes glossy and pulls away slightly from the sides of the pot—this is your visual cue that it’s ready.
Step 3: Combine with Cereal Off Heat
Remove the pot from heat and immediately add all 6 cups Rice Krispies Cereal. Using the same spatula, fold the cereal into the marshmallow mixture with a gentle but firm hand. The key here is to coat every piece of cereal without crushing it—you want those distinctive crispy bits to remain intact.
Work quickly as the mixture will begin to set as it cools. After about 30-45 seconds of folding, you should have an even distribution of cereal throughout the sticky marshmallow base. If you notice any dry cereal spots, keep folding until they’re all incorporated.
Step 4: Press and Set the Treats
Transfer the mixture to a greased 9×13-inch baking dish (or line with parchment paper for easy removal). Using the spatula or lightly buttered hands, press the mixture evenly into the pan. I find that pressing down firmly with the spatula first, then using my hands to smooth the surface works best.
Don’t over-compress the mixture—you want the treats to maintain some airiness. Let them set at room temperature for 1-2 hours until firm enough to cut. For faster setting, you can refrigerate for 30-45 minutes, but room temperature yields the best texture.
Step 5: Cut and Serve
Once set, use a sharp knife to cut into 2-inch squares. For clean cuts, dip the knife in hot water between each slice. The treats should hold their shape but still feel slightly soft to the touch.
Serve immediately for the best texture—they’re at their peak when the marshmallow is still slightly tacky. Store leftovers in an airtight container at room temperature for up to 3 days, though they’re best enjoyed fresh the same day.
Pro Tips For Making Rice Krispie Treats Recipe With Fluff
- Melt Butter Low: Keep the heat on medium-low when melting butter for the fluff mixture—too hot and it’ll separate or burn, leaving your treats greasy instead of creamy.
- Use Fresh Fluff: Marshmallow fluff can dry out over time, so check the jar’s date; old fluff won’t melt as smoothly or bind the cereal as well.
- Press Lightly: I learned this the hard way—packing the mixture too tightly into the pan makes the treats dense and chewy instead of light and crispy.
- Salt the Fluff: Add a pinch of fine sea salt directly to the melted fluff and butter before mixing in the cereal—it balances the sweetness without tasting salty.
Flavor Customization for These Flavors
Chocolate Swirl
Fold in ½ cup semi-sweet chocolate chips after mixing the cereal into the marshmallow base. The residual heat will soften them just enough to create melty ribbons throughout. For extra richness, use Ghirardelli chips—they melt smoother than store brands. 💫
Peanut Butter Blend
Stir 1 cup creamy peanut butter into the melted marshmallow mixture before adding cereal. I use Jif Natural for its smooth texture. This adds a nutty depth that pairs perfectly with the buttery base.
Colorful Cereal Mix
Swap 2 cups Rice Krispies for Fruity Pebbles or Cocoa Pebbles for a fun twist. The colorful or chocolatey cereal adds visual appeal while keeping the same satisfying crunch. Just keep the total cereal volume at 6 cups.
Cinnamon Spice
Add 1 tsp ground cinnamon and a pinch of nutmeg to the melted butter mixture. This warm spice blend enhances the vanilla notes. I also sprinkle a bit on top before pressing for extra aroma.
Coconut Dream
Mix in 1 cup toasted coconut flakes with the cereal for a tropical flair. Toast the flakes in a dry pan over medium-low heat for 3-4 minutes until golden. The texture contrast with the crispy cereal is amazing.
Salted Caramel
Drizzle ¼ cup caramel sauce over the treats after pressing into the pan. I use Smucker’s for convenience, but homemade works too. Sprinkle with flaky sea salt before setting for that sweet-salty balance.
Nutrition Facts
Frequently Asked Questions
Can I use mini marshmallows instead of fluff?
Yes! Use 2 7-oz bags of mini marshmallows to replace the 10 oz fluff. They melt similarly but may create a denser texture. Stir constantly on low heat to prevent burning.
How do I prevent the treats from sticking to the pan?
Line your 9×13-inch baking dish with parchment paper or lightly grease it with butter. Both methods ensure easy removal and clean cuts without tearing.
Why did my treats turn out hard?
Overmixing or over-pressing the cereal can cause hardness. Fold gently until just combined, and press lightly into the pan. Let them set at room temperature for 1-2 hours for ideal texture.
Can I make these gluten-free?
Swap the cereal for 6 cups gluten-free crispy rice cereal. Ensure all other ingredients, including marshmallows, are certified gluten-free to avoid cross-contamination.

Trained in classic French technique but raised on slow-cooked ribs and spicy rubs, she blends culinary skill with smoke and soul.
- Recipe for Boneless Pork Chops in Cast Iron Skillet: Sear and Baste to Juicy Perfection - October 3, 2026
- Recipe for Boneless Cross Rib Roast: Slow-Roasted Beef with Herb Crust - October 3, 2026
- Hamburgers in Sauce Recipe Crock Pot: Slow-Cooked Savory Delight - October 3, 2026