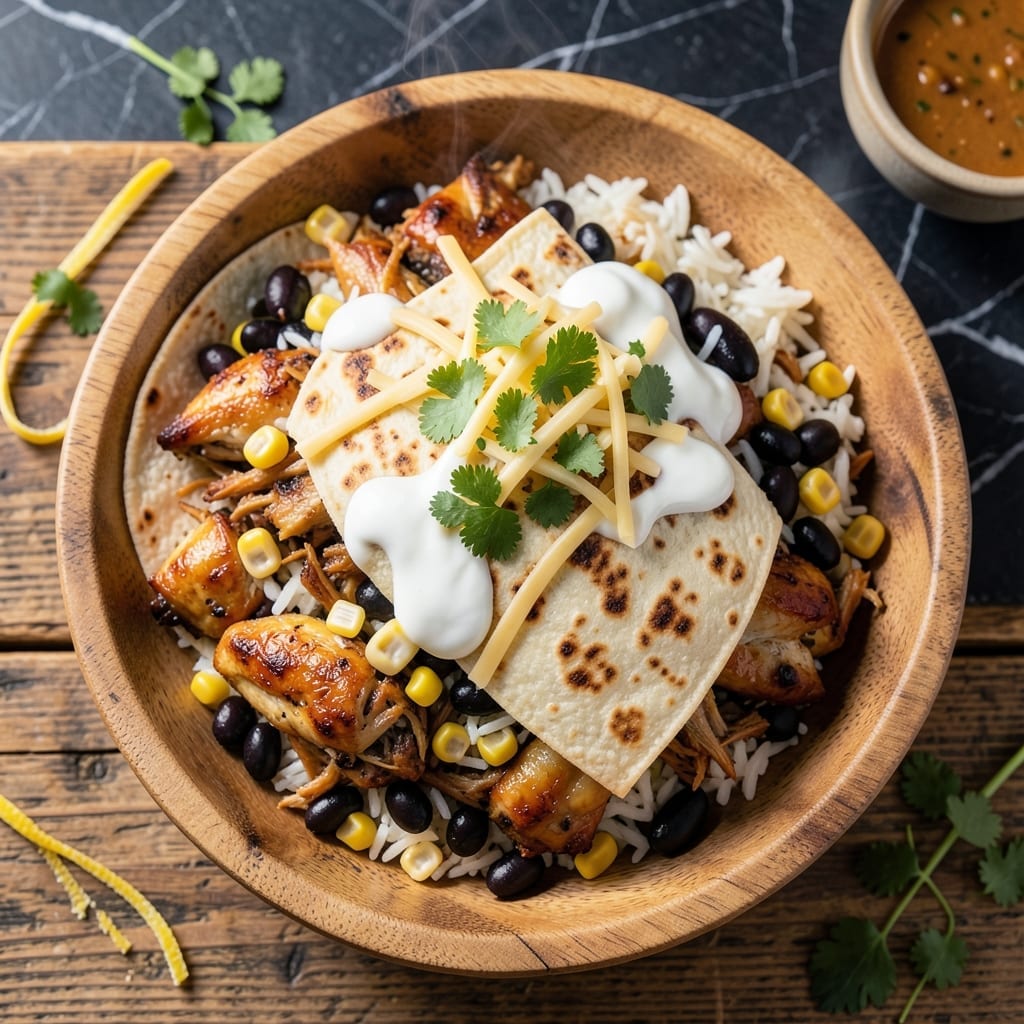
This recipe transforms store-bought rotisserie chicken into a perfect burrito worth bragging about. The secret lies in the seasoning and assembly technique I developed after too many dry, bland attempts.
I start by shredding the chicken and tossing it with spices while still warm, allowing the flavors to penetrate deeply. The tortillas get a quick char in a dry pan for that restaurant-quality touch.
What results is a burrito with tender chicken, perfectly seasoned rice, and just the right amount of meltiness. The texture contrast between the warm filling and slightly crisp tortilla makes all the difference.
This method works every time, whether you’re feeding a crowd or meal prepping for the week. The assembly takes less than 20 minutes from start to finish.
Ingredients for Rotisserie Chicken Burrito
Store-bought rotisserie chicken and pantry staples create a restaurant-worthy burrito in minutes.
| Ingredient | Amount | Notes |
|---|---|---|
| Rotisserie Chicken 🍗 | 3 cups | Shredded, skin removed |
| Long-Grain White Rice 🍚 | 2 cups | Cooked and cooled |
| Black Beans 🫘 | 1 can | Drained and rinsed |
| Corn Kernels 🌽 | 1 cup | Fresh, frozen, or canned |
| Cheddar Cheese 🧀 | 1 ½ cups | Shredded from block |
| Sour Cream 🥣 | ½ cup | Full-fat for creaminess |
| Fresh Cilantro 🌿 | ¼ cup | Chopped, stems removed |
| Large Flour Tortillas 🌯 | 4 pieces | Burrito-sized, about 10-inch |
| Ground Cumin 🌿 | 1 tsp | Toasted for deeper flavor |
| Smoked Paprika 🌶️ | 1 tsp | For depth and color |
| Garlic Powder 🧄 | 1 tsp | Not garlic salt |
| Onion Powder 🧅 | 1 tsp | Fresh ground preferred |
| Salt 🧂 | ½ tsp | Diamond Crystal kosher preferred |
| Ground Black Pepper 🌶️ | ½ tsp | Freshly ground preferred |
| Lime Juice 🍈 | 2 tbsp | Freshly squeezed |
[recipe_ingredient_scaler]
The chicken is the foundation, so start with a well-seasoned rotisserie chicken from a reputable grocery store—Costco or Whole Foods consistently deliver. Shred it while warm (the meat absorbs seasoning better this way). For the rice, jasmine or basmati work well too, but long-grain white holds its shape best. Use block cheddar for shredding; pre-shredded contains anti-caking agents that affect meltiness.
No black beans? Pinto beans at a 1:1 swap work perfectly. Fresh corn off the cob is ideal, but frozen (thawed and drained) or canned are fine in a pinch. Sour cream can be swapped for Greek yogurt if you prefer tang. For extra heat, add diced jalapeños or a pinch of cayenne. The spices are flexible—adjust cumin and paprika to taste.
Assemble burritos just before serving for the best texture. Wrap tightly in foil and refrigerate for up to 3 days. To freeze, wrap individually in foil then place in a ziplock bag—they’ll keep for 1 month. Reheat in a dry skillet for that crisp exterior.
Why You’ll Love This Recipe
- No-Cook Protein: I just shred the store-bought rotisserie chicken—no raw meat to handle, no oven to preheat.
- Cheesy Corn Pop: The melted cheddar and sweet corn kernels hit that perfect sweet-savory balance in every bite.
- Feeds the Crew: One batch makes six hearty burritos, so it’s my go-to for family dinners or weekend lunches.
- Leftovers Love: They reheat beautifully, and honestly, the flavors taste even better the next day.
Step-by-Step Instructions for Rotisserie Chicken Burritos
Master the assembly process to create restaurant-quality burritos with balanced flavors and textures.
Step 1: Season and Prepare the Filling Base
In a large mixing bowl, combine the 3 cups Rotisserie Chicken, 2 cups Long-Grain White Rice, 1 can Black Beans, and 1 cup Corn Kernels. I use my hands for this—it gives you better control over the distribution of ingredients.
Add the 1 tsp Ground Cumin, 1 tsp Smoked Paprika, 1 tsp Garlic Powder, 1 tsp Onion Powder, 0.5 tsp Salt, and 0.5 tsp Ground Black Pepper. Toss gently until all components are evenly coated. The spices should create a visible dusting over the mixture, and you’ll smell their aromatic warmth immediately.
Drizzle the 2 tbsp Lime Juice over the mixture and stir once more. The acidity brightens all the flavors and prevents the filling from tasting flat. Let this sit for 5 minutes to allow the seasonings to meld.
Step 2: Warm and Prepare the Tortillas
Place each of the 4 pieces Large Flour Tortillas between damp paper towels and microwave for 30 seconds to make them pliable. Alternatively, warm them in a dry skillet over medium heat for 20 seconds per side until they’re soft and slightly puffed.
Warming is non-negotiable—cold tortillas crack when folded. You want them warm enough to bend without resistance but not so hot they tear. Keep them covered with a clean towel to retain moisture until you’re ready to assemble.
Step 3: Add Creamy and Fresh Elements
Stir the 0.5 cup Sour Cream into the chicken mixture until it’s evenly distributed. The sour cream should create a light, creamy coating over all the ingredients without making the filling soggy.
Add 1 cup of the 1.5 cups Cheddar Cheese—reserve the rest for topping. The cheese will begin to melt slightly from the warmth of the other ingredients, creating gooey pockets throughout the filling. Fold in the 0.25 cup Fresh Cilantro last, ensuring its bright green flecks are visible throughout.
The filling should now have a cohesive but not mushy texture, with distinct pieces of chicken, rice, and beans visible. If it seems dry, add a splash of water, but remember the tortillas will release moisture as they sit.
Step 4: Assemble the Burritos with Precision
Lay a tortilla on a flat surface and place about 1½ cups of filling in the center, leaving a 2-inch border at the top and bottom and 1½-inch border on the sides. The portion should look generous but not overflowing.
Fold the sides inward, then roll from the bottom up, tucking the filling tightly as you go. The burrito should feel firm when you give it a gentle squeeze—this prevents it from unraveling. Place each finished burrito seam-side down to help it hold its shape.
Sprinkle the remaining 0.5 cup Cheddar Cheese over the tops of the burritos. If serving immediately, broil for 2-3 minutes until the cheese melts and turns golden brown in spots. This final touch adds both visual appeal and an extra layer of texture.
Pro Tips For Making Rotisserie Chicken Burrito
- Warm the Tortillas: Heat your tortillas for 10-15 seconds per side in a dry skillet before assembling—this prevents cracking when you fold them, and I learned this the hard way after too many burritos fell apart in my hands.
- Shred While Hot: Pull the rotisserie chicken apart as soon as you bring it home; the meat shreds easier when warm, and you’ll save yourself a ton of effort later when you’re hungry and impatient.
- Drain the Beans: Rinse and drain the black beans well, or your burrito will end up soggy—I skip this step when I’m in a rush, but the filling always stays together better when I don’t.
- Cheese Last: Sprinkle the cheddar on top of the filling just before rolling, not mixed in, so it melts evenly and glues everything together instead of disappearing into the rice.
Pro Cooking Tips for rotisserie chicken burrito
Spice Blooming
Toast your cumin, paprika, and other spices in a dry pan over medium heat for 30-45 seconds before adding to the chicken. This wakes up the essential oils and deepens their aroma. I learned this trick from my Nonna—it’s a game-changer. 🌶️
Tortilla Char
For that authentic smoky flavor, char your tortillas directly over a gas flame for 5-10 seconds per side using tongs. If you don’t have a gas stove, a cast-iron skillet over medium-high heat works just as well. The slight crispness adds texture contrast.
Even Shredding
Use two forks to shred the rotisserie chicken—it gives you more control than your hands. Aim for uniform, bite-sized pieces so every mouthful has the same great texture. I find that Costco’s rotisserie chicken shreds the easiest, with just the right moisture content.
Filling Temperature
Make sure your filling is at room temperature or slightly warm when assembling. Cold filling can make the tortillas soggy and harder to roll. If you’ve stored leftovers, reheat the mixture gently in a skillet over low heat for 2-3 minutes. 🔥
Seam Sealing
After rolling, press the seam firmly against the counter to seal it. Then, place the burrito seam-side down in your serving dish or storage container. This helps it hold its shape and prevents unraveling when you take that first bite.
Rest Before Serving
Let your assembled burritos rest for 5 minutes before serving. This gives the filling time to settle and the cheese a chance to melt slightly, ensuring every bite is cohesive and delicious.
Nutrition Facts
Frequently Asked Questions
Can I use a different type of rice?
Yes! Jasmine or basmati work well, though long-grain white holds its shape best. Just ensure it’s cooked and cooled before mixing with other ingredients.
How do I keep burritos from falling apart?
Warm tortillas first and don’t overfill—use 1½ cups of filling per burrito. Press the seam firmly against the counter to seal it.
Can I make these ahead of time?
Wrap tightly in foil and refrigerate for up to 3 days. Freeze for up to 1 month in a ziplock bag.
What’s the best way to reheat?
Place in a dry skillet over medium heat for 2-3 minutes per side until crisp. Microwave works but makes the tortilla soggy.

Trained in classic French technique but raised on slow-cooked ribs and spicy rubs, she blends culinary skill with smoke and soul.
- Recipe for Boneless Pork Chops in Cast Iron Skillet: Sear and Baste to Juicy Perfection - October 3, 2026
- Recipe for Boneless Cross Rib Roast: Slow-Roasted Beef with Herb Crust - October 3, 2026
- Hamburgers in Sauce Recipe Crock Pot: Slow-Cooked Savory Delight - October 3, 2026