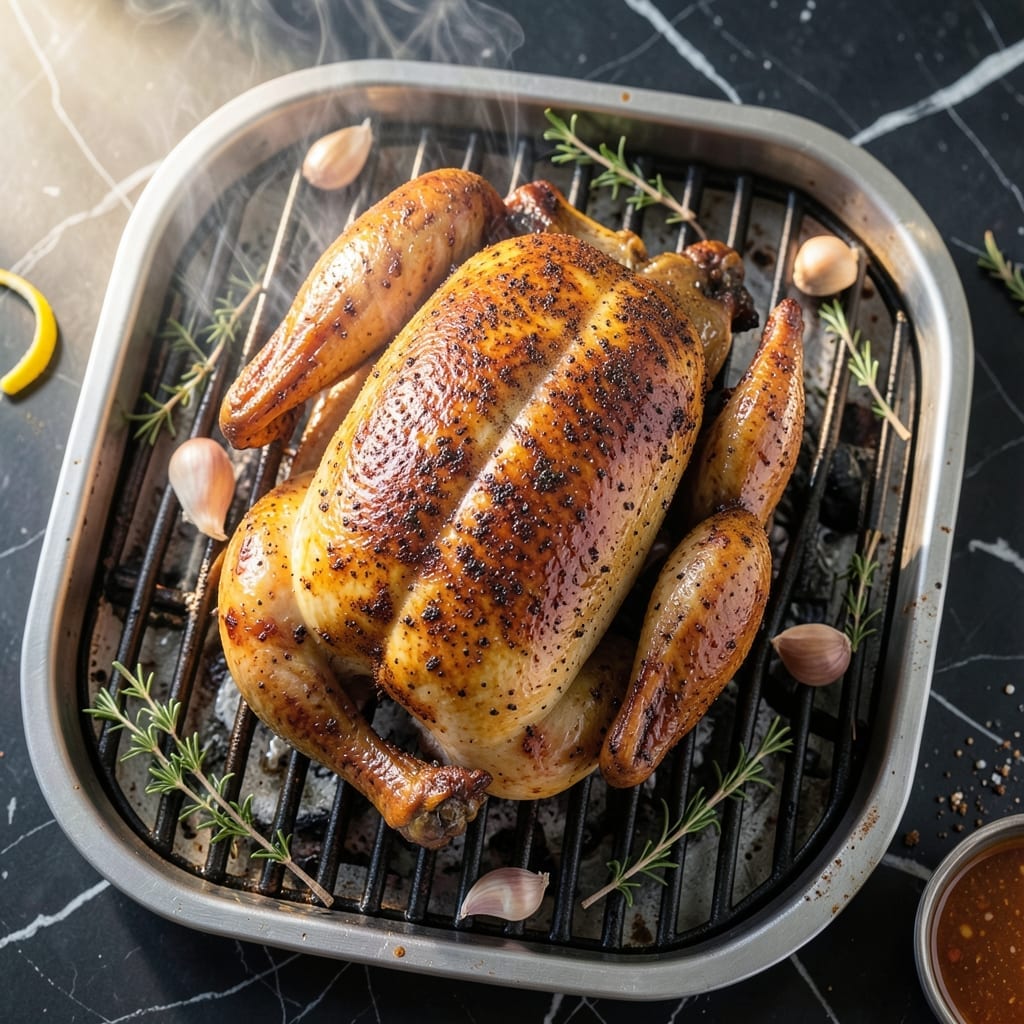
Nothing beats the aroma of a whole chicken slowly rotating on the grill, its skin crisping to golden perfection while juices baste every turn. I developed this method to capture that classic rotisserie flavor at home.
This technique delivers tender meat and crispy skin with minimal effort. The spice rub forms a flavorful crust while the self-basting action keeps it moist. Perfect for feeding a crowd or meal prepping for the week.
Ingredients for Rotisserie Chicken Recipe on Grill
Whole chicken and a bold spice rub deliver that classic rotisserie flavor with crispy skin and tender meat.
| Ingredient | Amount | Notes |
|---|---|---|
| Whole Chicken 🍗 | 4 lb | Giblets removed, patted dry |
| Kosher Salt 🧂 | 1 ½ tbsp | Diamond Crystal preferred |
| Black Pepper 🌶️ | 1 tsp | Freshly ground for best flavor |
| Garlic Powder 🧄 | 1 tbsp | Not garlic salt |
| Onion Powder 🧅 | 1 tbsp | Fresh ground preferred |
| Smoked Paprika 🌶️ | 1 tsp | For depth of flavor |
| Dried Thyme 🍃 | 1 tsp | Rubbed between fingers to release oils |
| Dried Rosemary 🍃 | 1 tsp | Crushed for better distribution |
| Cayenne Pepper 🔥 | ½ tsp | Adjust for heat preference |
| Olive Oil 🫒 | 2 tbsp | Extra-virgin for richness |
| Unsalted Butter 🧈 | 2 tbsp | Melted for basting |
| Fresh Lemon 🍋 | 1 whole | Juiced and zested for brightness |
| Fresh Garlic 🧄 | 4 cloves | Minced for under the skin |
[recipe_ingredient_scaler]
The chicken quality is paramount. Opt for a free-range or organic bird (around 4 pounds) from Whole Foods or a trusted butcher—it makes a noticeable difference in flavor and texture. Ensure the skin is dry before applying the rub; patting it thoroughly with paper towels is essential. For the spices, Penzeys offers exceptional quality, but bulk bins at natural food stores work well too.
No smoked paprika? Regular paprika plus a pinch of liquid smoke (just 1/4 teaspoon) mimics the depth. Fresh herbs can replace dried—use triple the amount of fresh thyme or rosemary, finely chopped. If you lack a rotisserie attachment, a beer can setup on the grill works in a pinch, though the even rotation of a proper spit yields superior results.
The spice rub can be mixed ahead and stored in an airtight container for up to 1 month. Leftovers keep in the fridge for 4 days or freeze for 3 months—perfect for quick meals. Always bring the chicken to room temperature before grilling for even cooking.
Why You’ll Love This Recipe
- Set It & Forget: I just season the chicken, pop it on the grill, and let the rotisserie do the work—no babysitting required.
- That Smoky Crust: The combo of garlic powder and onion powder gives it this deep, savory crust that’s impossible to resist.
- Meal Prep MVP: One chicken means sandwiches, tacos, and salads for days—honestly, it’s my weekly shortcut.
- Budget Hero: A whole chicken and a handful of pantry spices stretch further than takeout ever could.
Step-by-Step Instructions for Rotisserie Chicken on Grill
Master the technique for juicy, evenly cooked chicken with crispy skin every time.
Step 1: Prepare and Season the Chicken
Begin by patting the 4 lb whole chicken completely dry with paper towels. This step is crucial for achieving crispy skin. Remove any remaining giblets from the cavity if present.
In a small bowl, combine 1.5 tbsp kosher salt, 1 tsp black pepper, 1 tbsp garlic powder, 1 tbsp onion powder, 1 tsp smoked paprika, 1 tsp dried thyme, 1 tsp dried rosemary, and 0.5 tsp cayenne pepper. Rub this mixture all over the chicken, including under the skin and inside the cavity.
Drizzle 2 tbsp olive oil over the chicken and rub it in to help the spices adhere. This creates a flavorful base for the self-basting process.
Step 2: Add Aromatics and Secure for Rotisserie
Zest and juice the 1 whole fresh lemon. Mince the 4 cloves fresh garlic. Combine the lemon zest, half the lemon juice, and all the minced garlic in a small bowl.
Carefully loosen the skin over the breasts and thighs, then rub about half of the lemon-garlic mixture directly onto the meat. Place the remaining lemon halves inside the chicken cavity along with any remaining lemon-garlic mixture. This infuses flavor from within as the chicken cooks.
Secure the chicken onto the rotisserie spit according to your grill’s manufacturer instructions. Tie the legs together with kitchen twine and tuck the wings behind the back to create a compact shape. This ensures even cooking and rotation.
Step 3: Set Up the Grill and Begin Cooking
Preheat your grill for rotisserie cooking according to manufacturer instructions, aiming for 350-375°F indirect heat. If your grill has a rear infrared burner, use it for rotisserie cooking. Otherwise, light only the outer burners to create indirect heat.
Place a drip pan under the chicken to catch drippings. Melt the 2 tbsp unsalted butter and mix it with the remaining lemon juice. This will be your basting liquid.
Mount the rotisserie spit on the grill and begin cooking with the lid closed. Cook for approximately 1.5 to 2 hours, basting with the butter-lemon mixture every 20-30 minutes.
Step 4: Monitor and Finish Cooking
Check the chicken’s internal temperature after about 1 hour using a meat thermometer inserted into the thickest part of the thigh, avoiding the bone. You’re aiming for 165°F.
The skin should be golden brown and crispy when done. If the chicken is browning too quickly, reduce the heat slightly or tent loosely with foil. If it’s not browning enough, increase the heat slightly for the last 15-20 minutes.
Once the chicken reaches 165°F and the juices run clear, remove it from the grill. The self-basting action during rotation ensures the meat stays moist while the skin crisps perfectly.
Step 5: Rest and Carve
Transfer the chicken to a cutting board and let it rest for 10-15 minutes before carving. This allows the juices to redistribute throughout the meat, ensuring every bite is flavorful and moist.
Remove the rotisserie spit and any trussing. Carve the chicken and serve immediately. The result should be tender, juicy meat with a perfectly seasoned, crispy skin that showcases all the spices from your rub.
Pro Tips For Making Rotisserie Chicken Recipe On Grill
- Truss the Chicken: Tie the legs together with kitchen twine before grilling—it keeps the bird compact so it cooks evenly and doesn’t dry out on the edges. I learned this the hard way after pulling off one too many charred drumsticks.
- Dry the Skin: Pat the chicken thoroughly dry with paper towels before seasoning, then let it sit uncovered in the fridge for 30 minutes. Sounds tedious, but it’s the only way to get that crispy, golden skin everyone fights over.
- Skip the High Heat: Start at medium-low (around 325°F) and resist the urge to crank it up—rotisserie chicken needs slow, steady heat to cook through without burning the outside. After burning two birds, I finally got the message.
- Butter Under Skin: Loosen the skin over the breasts and thighs, then rub a little softened butter mixed with garlic and onion powder underneath. This isn’t the prettiest method, but it’s the tastiest—guarantees juicy meat and extra flavor.
Common Mistakes When Making Great rotisserie chicken recipe on grill
Uneven Seasoning
Don’t just sprinkle the rub on top—get your hands in there and work it under the skin and into every crevice. I learned this the hard way at my first BBQ competition when the judges noted uneven flavor. 1.5 tbsp kosher salt and other spices need full coverage for that consistent rotisserie taste. 🌶️
Skipping the Drying Step
Wet skin equals steamed, soggy results. After patting the 4 lb whole chicken dry, let it air-dry in the fridge uncovered for 1 hour if time allows. This is my secret for extra-crispy skin that cracks when you bite into it.
Overloading the Spit
Tie those legs tight and tuck the wings back—I use kitchen twine for a snug fit. A compact shape prevents wobbling and ensures even cooking. I’ve seen chickens flop around like a drunk pelican when not secured properly.
Ignoring Temperature Control
Your grill isn’t a set-it-and-forget-it appliance. Maintain 350-375°F and adjust as needed. If the skin darkens too fast, reduce heat or tent with foil. Too slow? Bump up the temp for the final 15-20 minutes. 🔥
Neglecting the Baste
That butter-lemon mixture isn’t just for flavor—it’s insurance against dry meat. Baste every 20-30 minutes to keep the surface moist. I use a long-handled brush to avoid opening the lid too often.
Cutting Too Soon
Resist the urge to dive in. Let it rest for 10-15 minutes after reaching 165°F. This lets the juices settle back into the meat. My grandpa taught me this patience pays off with every juicy bite.
Nutrition Facts

Trained in classic French technique but raised on slow-cooked ribs and spicy rubs, she blends culinary skill with smoke and soul.
- Recipe for Boneless Pork Chops in Cast Iron Skillet: Sear and Baste to Juicy Perfection - October 3, 2026
- Recipe for Boneless Cross Rib Roast: Slow-Roasted Beef with Herb Crust - October 3, 2026
- Hamburgers in Sauce Recipe Crock Pot: Slow-Cooked Savory Delight - October 3, 2026