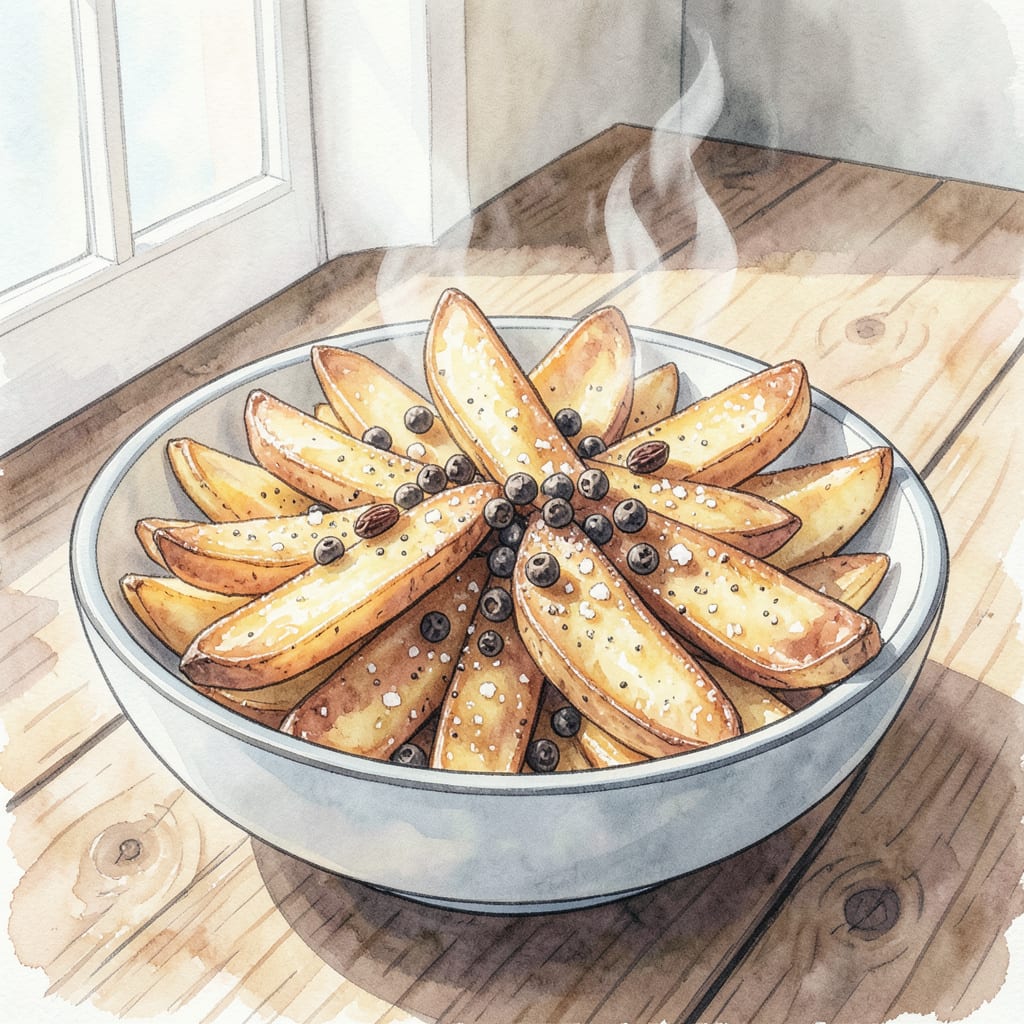
I’m obsessed with achieving perfectly crispy salt and pepper chips at home. 🔥 After years of experimenting, I’ve cracked the code: precise temperature control and a special seasoning blend. My technique combines classic French crispiness with modern spice blends.
You’ll get crispy, flavorful chips with just the right kick. Let’s make them!
Ingredients for Salt and Pepper Chips
Crispy salt and pepper chips start with the right ingredients. Simple, quality matters.
| Ingredient | Amount | Notes |
|---|---|---|
| Russet Potatoes 🥔 | 2 ½ lb | High-starch for crispiness |
| Vegetable Oil 🫒 | 4 cups | For frying, can reuse |
| Salt 🧂 | 2 tbsp | Kosher or flaky sea salt |
| Black Peppercorns 🌶️ | 1 tbsp | Freshly ground preferred |
| Sichuan Peppercorns 🌿 | 1 tsp | Toasted for best flavor |
| Garlic Powder 🧄 | ½ tsp | For depth of flavor |
| Chili Flakes 🔥 | ¼ tsp | Adjust for heat preference |
| Cornstarch 🌾 | 2 tbsp | For extra crispiness |
| Water 💧 | 1 cup | Ice-cold for soaking |
| White Vinegar 🍋 | 1 tbsp | For soaking potatoes |
| Scallions 🌿 | ¼ cup | Thinly sliced for garnish |
[recipe_ingredient_scaler]
For the crispiest chips, Russet potatoes are non-negotiable. Look for high-starch varieties at Whole Foods or your local farmers market. The oil matters too—avocado oil or peanut oil work great for high-heat frying. Don’t skimp on the Sichuan peppercorns; they’re worth the trip to an Asian market.
No Sichuan peppercorns? Black peppercorns are a fine substitute, just adjust the amount since they’re milder. For an extra kick, add more chili flakes—or swap in cayenne pepper at half the amount. The cornstarch is crucial for that signature crispiness—don’t skip it. If you’re out of garlic powder, minced fresh garlic works too (use about one-third the amount).
These chips are best fresh, but you can soak the cut potatoes in ice water for up to 24 hours before frying. Store leftovers in an airtight container for up to 2 days—though they’ll lose some crispiness. To re-crisp, bake at 400°F for about 10 minutes.
Step-by-Step Instructions for Salt and Pepper Chips
Let’s make these addictive salt and pepper chips that’ll become your new snack obsession.
🔥 Step 1: Prepare the Potatoes for Frying
Start by peeling the 2.5 lb Russet Potatoes and cutting them into your desired chip shape. I prefer thin, uniform slices for maximum crispiness. To prevent browning, immediately submerge the cut potatoes in a bowl of ice-cold water with 1 tbsp White Vinegar added. Let them soak for at least 30 minutes to remove excess starch.
After soaking, drain the potatoes and dry them thoroughly with paper towels. This step is crucial because any remaining moisture will cause the oil to splatter when you fry the chips. For extra crispiness, toss the dried potato slices with 2 tbsp Cornstarch until they’re evenly coated.
🔥 Step 2: Fry the Potato Chips in Batches
Heat 4 cups Vegetable Oil in a deep fryer or large pot to 325°F. Use a thermometer to maintain the correct temperature, as this is key to achieving crispy chips. Once the oil is hot, carefully add the potato slices in batches to avoid overcrowding. Fry for about 3-4 minutes or until they’re pale and slightly tender. Remove them with a slotted spoon and drain on paper towels.
Here’s the thing—don’t worry if they’re not perfectly crispy yet. We’re doing a double-fry method, which is the secret to achieving that perfect crunch. Let the chips cool completely before the second fry.
🔥 Step 3: Double-Fry for Ultimate Crispiness
Increase the oil temperature to 375°F for the second fry. When the oil is hot, add the partially cooked chips back in batches and fry for another 2-3 minutes until they’re golden brown and crispy. Watch closely as they’ll go from perfectly cooked to burnt quickly.
Remove the chips from the oil with a slotted spoon and place them on a paper towel-lined plate to drain excess oil. While they’re still hot, sprinkle them with a mixture of 2 tbsp Salt, freshly ground Black Peppercorns, 1 tsp Sichuan Peppercorns (toasted and ground), 0.5 tsp Garlic Powder, and 0.25 tsp Chili Flakes. Toss gently to coat evenly.
👨🍳 Step 4: Garnish and Serve Immediately
Transfer the salt and pepper chips to a serving bowl and garnish with thinly sliced 0.25 cup Scallions. Serve immediately while the chips are still crispy. If you want to get fancy, you can drizzle them with a bit more oil or sprinkle additional seasoning to taste.
Enjoy your perfectly crispy, spicy, and flavorful salt and pepper chips! These are perfect for snacking on their own or serving alongside your favorite dips.
Troubleshooting This Recipe
Common Frying Mistakes
One of the most common issues with making salt and pepper chips is inconsistent oil temperature. If your oil is too hot (above 375°F), the outside will burn before the inside cooks properly. Too cold (below 325°F), and you’ll end up with greasy chips. I always use a thermometer to maintain the perfect temperature.
Preventing Soggy Chips
Soggy chips usually result from excess moisture or improper cooling between frying stages. After the first fry,
Fixing Undercooked or Overcooked Chips
If your chips are undercooked, simply return them to the hot oil for another 1-2 minutes. For overcooked chips, there’s not much you can do except start over. To avoid this, keep a close eye on them during the second fry—they can go from perfectly cooked to burnt quickly. I check on mine every 30 seconds during the final fry.
Oil Temperature Recovery Tips
When frying in batches, the oil temperature can drop significantly. To maintain consistent results, let the oil recover to your target temperature between batches. This might mean waiting 2-3 minutes between batches. I also
Batch Frying Strategies
Frying in small batches is crucial for achieving uniform crispiness. Overcrowding the pot lowers the oil temperature too much, resulting in greasy or undercooked chips. I typically fry in batches of about 1 cup of potato slices at a time. This ensures that each chip has enough room to cook evenly.
Storage and Reheating Solutions
If you need to store leftover chips, let them cool completely first. Store them in an airtight container for up to 2 days. To re-crisp, bake them in a single layer on a baking sheet at 400°F for about 10 minutes. I like to sprinkle a little extra seasoning on them during reheating to refresh the flavor.

Trained in classic French technique but raised on slow-cooked ribs and spicy rubs, she blends culinary skill with smoke and soul.
- Recipe for Boneless Pork Chops in Cast Iron Skillet: Sear and Baste to Juicy Perfection - October 3, 2026
- Recipe for Boneless Cross Rib Roast: Slow-Roasted Beef with Herb Crust - October 3, 2026
- Hamburgers in Sauce Recipe Crock Pot: Slow-Cooked Savory Delight - October 3, 2026