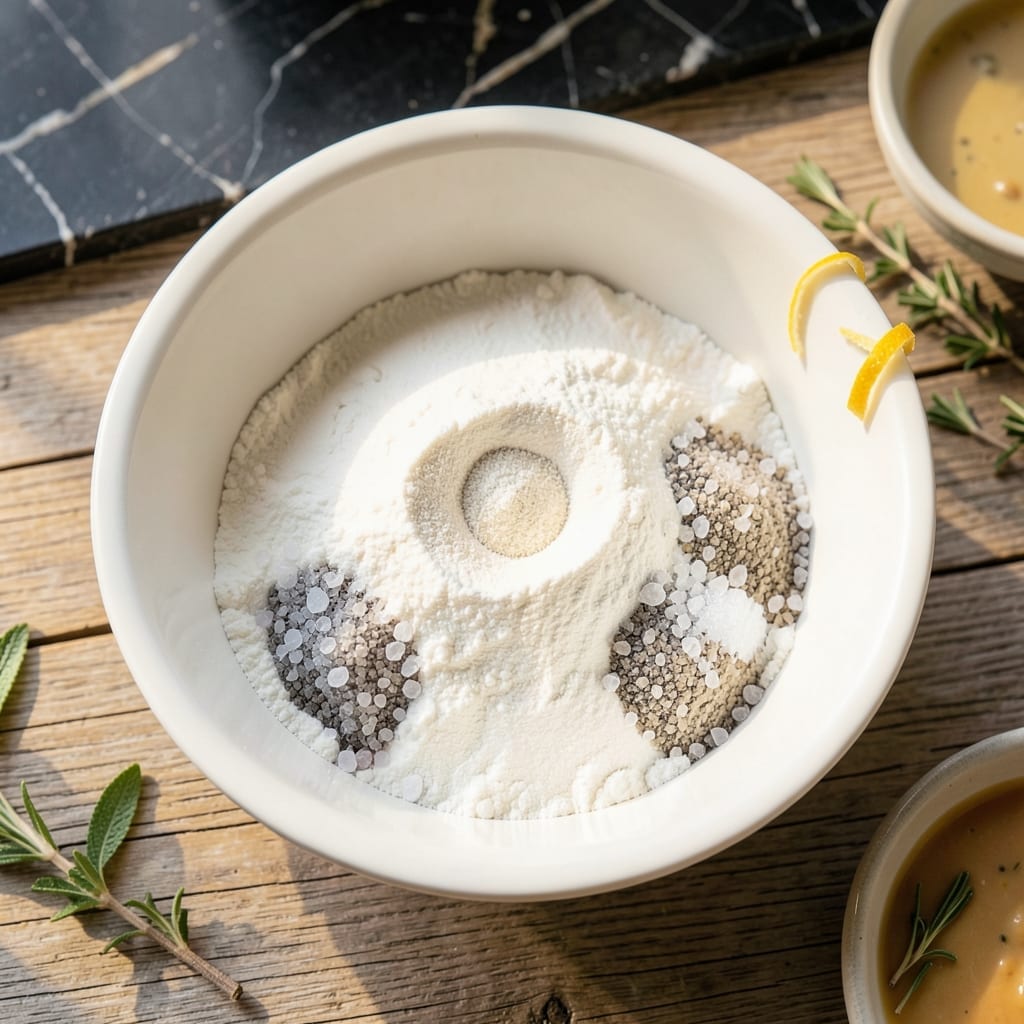
This salt dough recipe creates a durable, smooth crafting clay that hardens beautifully when baked. The addition of cream of tartar extends shelf life and improves elasticity, making it perfect for long-lasting decorative projects.
With just four pantry staples and 10 minutes of prep time, you can create a malleable dough that holds fine details. The dough stays fresh for weeks when stored properly, allowing for extended crafting sessions.
The baked results are hard and sturdy, ideal for ornaments, figurines, or educational projects. Note that while non-toxic, this dough is not intended for consumption.
Children and adults alike will enjoy working with this versatile medium. The recipe scales easily for larger projects.
Ingredients for Salt Dough Recipe with Cream of Tartar
Four pantry staples transform into durable crafting clay with remarkable longevity and workability.
| Ingredient | Amount | Notes |
|---|---|---|
| All-Purpose Flour 🌾 | 4 cups | Plus extra for dusting surface |
| Fine Sea Salt 🧂 | 1 cup | Non-iodized preferred for smooth texture |
| Water 💧 | 1 ½ cups | Room temperature for best consistency |
| Cream of Tartar 🧂 | 2 tbsp | Essential for elasticity and preservation |
[recipe_ingredient_scaler]
The cream of tartar is non-negotiable here—McCormick or Badia brands are reliable and widely available at Walmart or Kroger. Use fine sea salt rather than coarse kosher to avoid grainy texture in the finished dough. All-purpose flour from King Arthur or Gold Medal yields the smoothest results. Room temperature water incorporates more evenly than cold.
No cream of tartar? Lemon juice at half the amount can substitute in a pinch, but expect slightly reduced shelf life. Table salt works if that’s all you have, though the dough may be slightly grittier. For a finer clay, bread flour can replace up to half the all-purpose. The dough can be scaled up or down without issue—just maintain the same ratios.
Unbaked dough keeps in an airtight container at room temperature for up to 2 weeks. For longer storage, refrigerate for 1 month or freeze for 3 months. Baked pieces last indefinitely when kept dry.
Why You’ll Love This Recipe
- No-Fuss Mixing: I dump flour, salt, water, and a pinch of cream of tartar in a bowl—no fancy tools, just my hands and five minutes.
- Crispy & Tangy: The cream of tartar adds that subtle zing that makes the dough taste way more interesting than plain salt dough.
- Endless Crafting: I’ve used this for ornaments, pretend food for the kids, and even emergency playdough on rainy days.
Step-by-Step Instructions for Salt Dough With Cream of Tartar
This method ensures a smooth, durable clay that cures perfectly for long-lasting crafting projects.
Step 1: Combine Dry Ingredients for Uniform Texture
In a large mixing bowl, whisk together the 4 cups All-Purpose Flour, 1 cup Fine Sea Salt, and 2 tbsp Cream of Tartar until completely homogeneous. The cream of tartar acts as a preservative and improves elasticity, so ensure it’s evenly distributed throughout the dry mix.
I use a fine-mesh sieve for the flour to eliminate lumps, which guarantees a silky-smooth finished dough. The non-iodized sea salt provides the best texture—iodized versions can create a slightly grainy consistency in the final product.
Step 2: Gradually Incorporate the Water
Create a well in the center of your dry ingredients and add ½ cup of the 1.5 cups Water. Using a wooden spoon or silicone spatula, begin mixing from the center outward, incorporating the dry ingredients into the water gradually.
Continue adding the remaining 1 cup of water in ¼ cup increments, mixing thoroughly after each addition. The dough will start to come together into a shaggy mass. At this stage, you want it just moist enough to hold its shape when pressed—too much water makes the dough sticky and difficult to work with.
Step 3: Knead to Develop Elasticity
Turn the dough out onto a surface lightly dusted with additional all-purpose flour. Knead vigorously for 8-10 minutes until the dough becomes smooth and elastic. You’ll notice the texture transform from rough and crumbly to supple and slightly tacky.
If the dough feels too sticky during kneading, add flour 1 tablespoon at a time rather than all at once. The goal is a firm, pliable consistency that doesn’t crack when stretched. Proper kneading ensures the cream of tartar activates fully, giving your clay its characteristic durability.
Step 4: Rest and Condition the Dough
Wrap the kneaded dough tightly in plastic wrap and let it rest at room temperature for 30 minutes. This resting period allows the flour to fully hydrate and the gluten to relax, making the dough easier to shape and reducing spring-back when rolled.
After resting, test the consistency by pressing your thumb into the dough—it should bounce back slightly but retain the impression. If it’s too stiff, work in a few drops of water; if too soft, knead in a bit more flour until you achieve the ideal modeling clay texture.
Step 5: Shape and Cure Your Creations
Divide the dough into portions and shape as desired for your crafting project. For best results, keep unused portions wrapped in plastic to prevent drying. When ready to cure, place creations on a parchment-lined baking sheet.
Bake at 200°F for 2-3 hours, flipping halfway through, until completely dry and hard to the touch. For thicker pieces, extend baking time by 30-minute increments until fully cured. The low temperature prevents cracking while ensuring even drying throughout.
Pro Tips For Making Salt Dough Recipe With Cream Of Tartar
- Knead Thoroughly: Work the dough for at least 8-10 minutes until smooth and elastic—I learned this the hard way when my first batch cracked because it was under-kneaded.
- Use Fine Salt: Fine sea salt dissolves better than coarse, so you won’t end up with gritty texture in your finished dough.
- Avoid Too Much Water: Add water gradually, about a tablespoon at a time, because too much makes the dough sticky and hard to handle.
- Rest Before Shaping: Let the dough sit for 15-20 minutes after kneading—it relaxes the gluten and makes rolling out so much easier.
Essential Equipment for salt dough recipe with cream of tartar
Mixing Tools
Start with a large stainless steel mixing bowl—I prefer Cuisinox for its durability. A fine-mesh sieve is essential for lump-free flour. The OXO Good Grips sieve handles well and prevents hand fatigue during extended use.
Measuring Essentials
Use dry measuring cups for flour and salt, and a liquid measuring cup for water. I recommend Pyrex for accuracy. A kitchen scale helps verify amounts, especially for scaling the recipe up or down.
Kneading Surface
A silicone baking mat provides a non-slip surface for kneading. Joseph Joseph makes excellent mats that are easy to clean. Lightly dust with flour to prevent sticking. A bench scraper helps lift and turn the dough efficiently.
Baking Equipment
For curing, a half-sheet baking pan with parchment paper ensures even drying. Nordic Ware pans are my go-to. A cooling rack allows air circulation after baking, preventing moisture buildup on the underside of creations. 💡
Storage Solutions
Store unbaked dough in airtight containers—Rubbermaid Brilliance containers seal tightly. For baked pieces, use glass canisters with silica gel packets to absorb any residual moisture and maintain crispness.
Finishing Touches
For decorative projects, keep acrylic paint and sealant on hand. Mod Podge works well for sealing painted pieces. A small paintbrush allows for detailed finishing touches on your cured creations.
Nutrition Facts
Frequently Asked Questions
Why add cream of tartar to salt dough?
Cream of tartar acts as a preservative and improves elasticity. It helps the dough maintain its shape and extends its shelf life significantly.
How long does unbaked dough last?
When stored in an airtight container at room temperature, it stays fresh for up to 2 weeks. For longer storage, refrigerate for 1 month or freeze for 3 months.
Can I bake thicker pieces?
Yes, but increase baking time by 30-minute increments. Thicker pieces need more time to dry completely at 200°F to prevent cracking.
What’s the ideal dough consistency?
It should be firm yet pliable, not sticky. If too soft, knead in more flour 1 tablespoon at a time. If too stiff, add water drop by drop.

Trained in classic French technique but raised on slow-cooked ribs and spicy rubs, she blends culinary skill with smoke and soul.
- Recipe for Boneless Pork Chops in Cast Iron Skillet: Sear and Baste to Juicy Perfection - October 3, 2026
- Recipe for Boneless Cross Rib Roast: Slow-Roasted Beef with Herb Crust - October 3, 2026
- Hamburgers in Sauce Recipe Crock Pot: Slow-Cooked Savory Delight - October 3, 2026