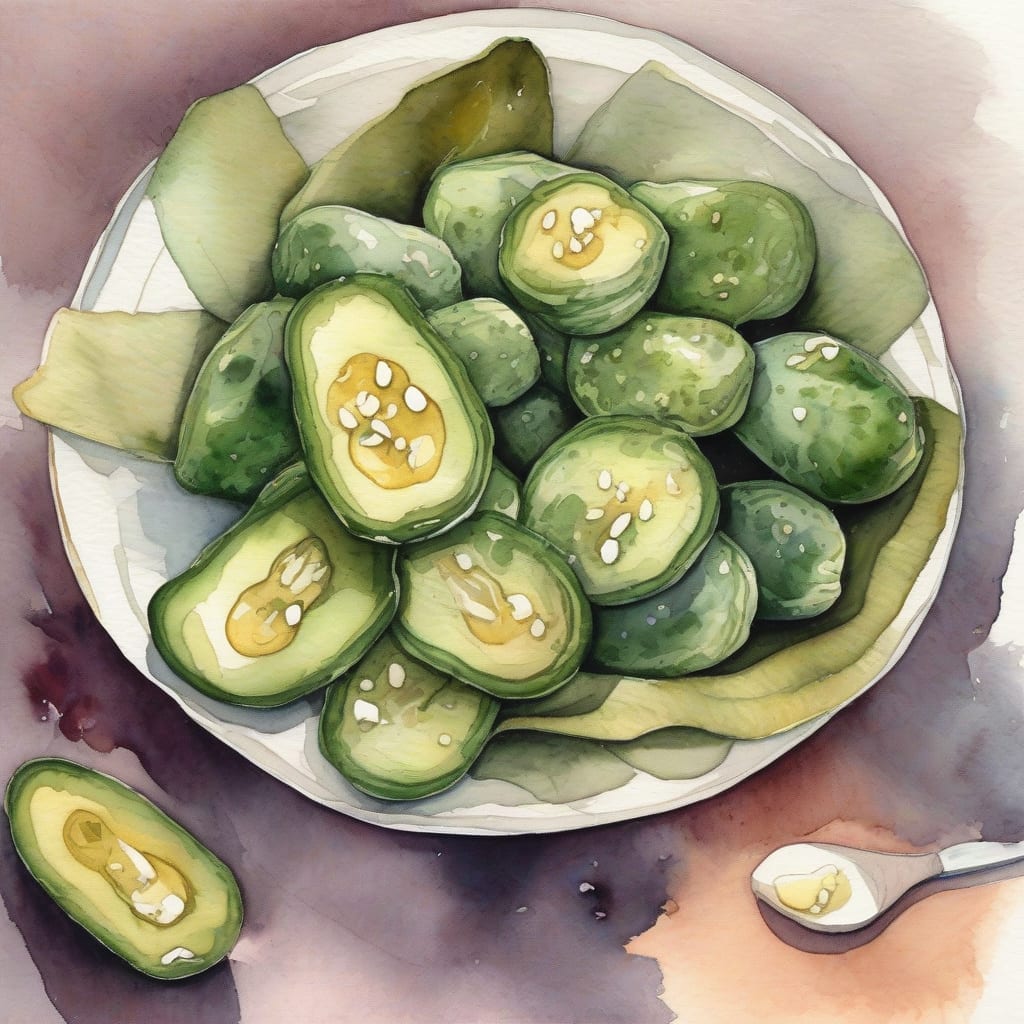
I’ve perfected my dill pickle recipe to achieve that ideal balance of salty, tangy, and crunchy. ✨ The secret lies in a precise brine and careful processing to create pickles that are both flavorful and fresh.
The process begins with selecting the right cucumbers and preparing them for brining. I use a combination of salt, water, and spices to create a brine that infuses the pickles with deep flavor.
By following this recipe, you’ll achieve perfectly salty pickles with a satisfying crunch. The detailed instructions will guide you through every step, from preparation to storage.
Let’s get started on making these delicious pickles that will elevate your snacking and meal prep game! 🔥
Ingredients for salty pickle
Make these crunchy, salty dill pickles with fresh cucumbers and a flavorful brine solution.
| Ingredient | Amount | Notes |
|---|---|---|
| Kirby Cucumbers 🥒 | 4 whole | Fresh, firm, and small |
| Kosher Salt 🧂 | 1 cup | Non-iodized, for brining |
| Water 💧 | 4 cups | Filtered, cold |
| Fresh Dill 🌿 | 1/4 cup | Chopped, fresh heads |
| Garlic Cloves 🧄 | 4 cloves | Peeled, smashed |
| Black Peppercorns 🌶️ | 1 tbsp | Whole, freshly ground |
| Dill Seeds 🌱 | 1 tsp | Optional, for extra flavor |
| Red Pepper Flakes 🔥 | ½ tsp | Optional, for some heat |
| White Vinegar 🍋 | 2 cups | Distilled, for acidity |
| Pickling Spice 🌿 | 1 tbsp | Store-bought or homemade |
| Fresh Grape Leaves 🍃 | 4 whole | Optional, for crunch |
[recipe_ingredient_scaler]
Find Kirby cucumbers at farmers markets or well-stocked grocery stores. For the best flavor, use fresh dill heads and high-quality spices. You can source pickling spice from Penzeys or make your own blend using mustard seeds, coriander, and bay leaves.
For a spicy kick, increase red pepper flakes to 1 tsp. If you prefer a milder pickle, omit them entirely. You can substitute white vinegar with apple cider vinegar for a slightly different flavor profile. Use fresh garlic for the best taste.
Store pickles in the refrigerator to maintain crunch and flavor. They'll keep for up to 6 weeks. Always use clean utensils when serving to prevent contamination. Keep the brine chilled and check for any signs of spoilage before consuming.
Step-by-Step Instructions for Salty Dill Pickles
I’ll guide you through creating these crunchy, tangy pickles that’ll be the perfect snack.
👨🍳 Step 1: Prepare the Brine and Cucumbers
In a large bowl, combine the 4 cups water and 1 cup kosher salt. Stir until the salt dissolves completely, creating a clear brine. I like to use a non-iodized kosher salt for this process as it provides a clean flavor that won’t affect the pickles’ taste.
While the brine is preparing, wash the 4 whole Kirby cucumbers thoroughly under cold running water to remove any dirt or wax. Trim both ends of each cucumber and slice off any blossom ends, as these can make the pickles soft. I always inspect the cucumbers carefully to ensure they’re firm and free of blemishes.
🥘 Step 2: Create the Pickling Spice Blend and Pack the Jar
In a small bowl, mix together the 1 tbsp black peppercorns, 1 tsp dill seeds, and 0.5 tsp red pepper flakes. This spice blend adds depth and a touch of heat to our pickles. You can adjust the amount of red pepper flakes based on your desired level of spiciness.
In a clean, 1-quart glass jar, create a layer of the spice blend, 1/4 cup fresh dill, and 2 cloves garlic cloves at the bottom. Then, pack the prepared cucumbers into the jar, standing them upright and snug against each other. Add the remaining 1/4 cup fresh dill and 2 cloves garlic cloves on top, along with the remaining spice blend.
🍳 Step 3: Add the Brine and Vinegar
Pour the prepared brine over the cucumbers, making sure they’re completely submerged. If necessary, weigh down the cucumbers with a clean stone or a jar filled with water to keep them under the brine. Cover the jar with a lid and let it sit at room temperature (68-72°F) for 3-5 days, or until you notice bubbles forming and the brine becoming cloudy.
Once the initial fermentation is complete, transfer the jar to the refrigerator. Add the 2 cups white vinegar and 1 tbsp pickling spice to the brine, stirring gently to combine. The vinegar will help preserve the pickles and add a tangy flavor. If using 4 whole fresh grape leaves, place them on top of the pickles to help maintain crunch.
⏰ Step 4: Store and Enjoy
Store the pickles in the refrigerator, keeping them submerged in the brine. The pickles will be ready to eat in a few hours and will continue to develop flavor over the next few days. They’ll keep for several weeks in the refrigerator, though they’ll be at their best within the first week.
When serving, you can slice the pickles and enjoy them on their own, add them to sandwiches, or use them as a tangy snack. The pickles should be crunchy, salty, and full of dill flavor, with a slight tang from the vinegar.
Let’s dive into the world of salty pickle recipe and explore the magic behind creating these tangy treats. The best part? You can customize the level of saltiness to your taste. Whether you’re a fan of a light touch or a bold, salty kick, this recipe is easily adaptable. 🌡️
🔪 Preparing the Cucumbers
Start by selecting the freshest cucumbers you can find. For a classic salty pickle, you’ll want to use pickling cucumbers or Kirby cucumbers. Slice them into your desired shape – spears, slices, or whole pickles work great.
- Soak the sliced cucumbers in an ice bath for at least 30 minutes to help them retain their crunch.
- Drain the cucumbers and pat them dry with paper towels to remove excess moisture.
🍳 Creating the Brine
The brine is where the magic happens. A good brine is a balance of salt, water, and spices. For a salty pickle recipe, you’ll want to focus on the salt component. Here’s a basic brine recipe you can adjust to your taste:
| Water | 1 cup |
| Kosher Salt | 1/2 cup (adjust to taste) |
| Granulated Sugar | 1 tablespoon |
| Dill Weed | 1/4 cup (fresh or dried) |
| Garlic Cloves | 2-3, smashed |
💡 Pro tip: You can adjust the amount of salt to your taste. For a saltier pickle, use more salt or let the pickles ferment for a longer period.
⏰ Fermentation Time
Once you’ve prepared your cucumbers and created the brine, it’s time to let the fermentation process begin. Store the pickles in the refrigerator to slow down the fermentation process, or let them ferment at room temperature for a tangier flavor. Keep an eye on the pickles and taste them regularly to achieve your desired level of sourness.
Tips & Tricks for Perfect Salty Pickles
These tried-and-tested tips will help you achieve crunchy, tangy pickles that are full of flavor.
Cucumber Selection: Choose firm, fresh Kirby cucumbers for the best results. Avoid cucumbers with soft spots or blemishes, as they can lead to soft pickles. I always inspect my cucumbers carefully before using them.
Brine Temperature: Ensure your brine is at room temperature (68-72°F) before pouring it over the cucumbers. A cold brine can slow down fermentation, while a warm one can cause it to happen too quickly. 🌡️
Maintaining Crunch: To keep your pickles crunchy, make sure they’re submerged in the brine at all times. You can use a clean stone or a jar filled with water to weigh them down. Adding 4 whole fresh grape leaves on top can also help maintain their crunch.
Flavor Enhancement: Don’t be shy with the fresh dill and garlic cloves—they’re key to achieving that authentic dill pickle flavor. You can adjust the amount of red pepper flakes to suit your desired level of spiciness.
Nutrition Facts
15kcal
[recipe_ingredient_scaler]

Trained in classic French technique but raised on slow-cooked ribs and spicy rubs, she blends culinary skill with smoke and soul.
- Recipe for Boneless Pork Chops in Cast Iron Skillet: Sear and Baste to Juicy Perfection - October 3, 2026
- Recipe for Boneless Cross Rib Roast: Slow-Roasted Beef with Herb Crust - October 3, 2026
- Hamburgers in Sauce Recipe Crock Pot: Slow-Cooked Savory Delight - October 3, 2026