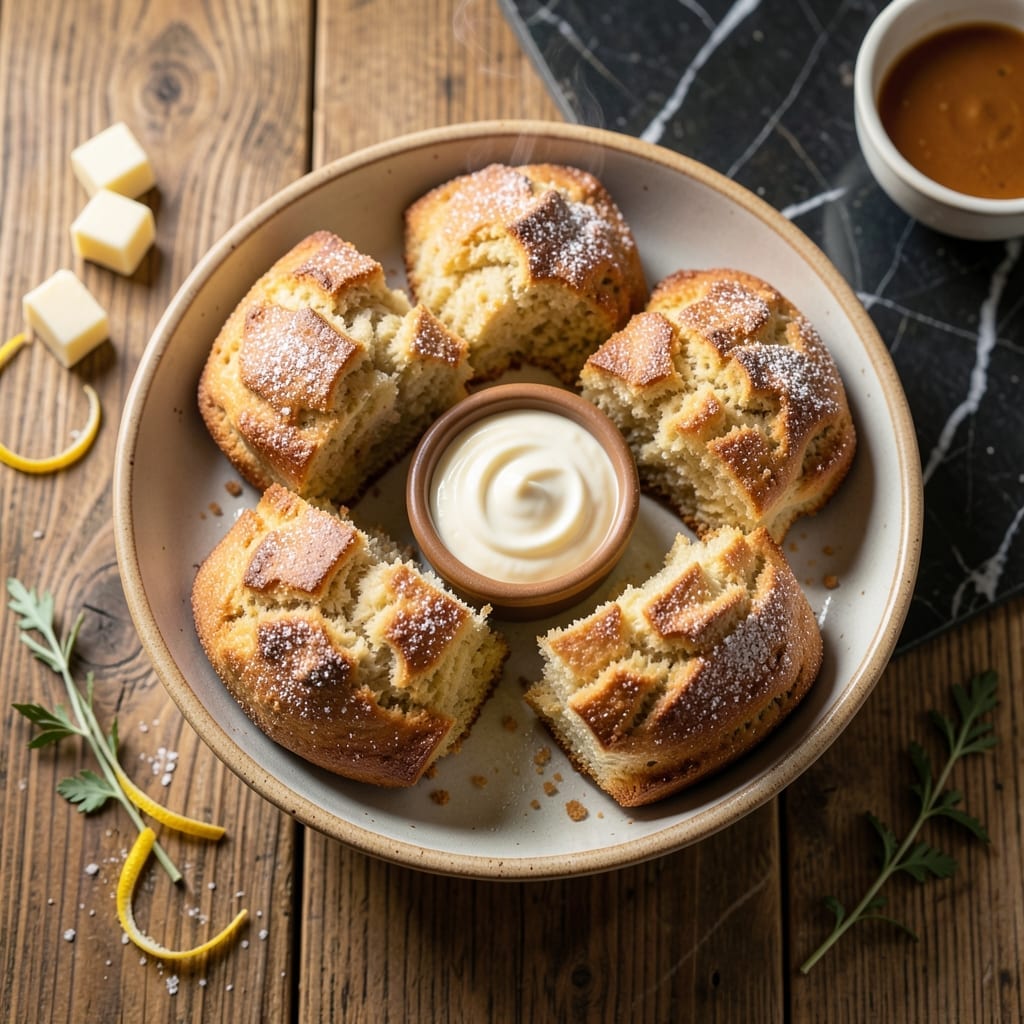
This professional scone recipe delivers ultra flaky layers with a subtle tang from sour cream. The cold fat creates pockets that bake into perfect texture.
No special equipment needed—just a bowl, your hands, and 20 minutes in a hot oven. The result is tender, layered scones with golden crusts.
Ingredients for Scone Recipe with Sour Cream
Professional flaky layers start with these cold, precise ingredients for perfect texture every time.
| Ingredient | Amount | Notes |
|---|---|---|
| All-Purpose Flour 🌾 | 2 ½ cups | Plus extra for dusting work surface |
| Granulated Sugar 🍚 | ¼ cup | Fine grain for even distribution |
| Baking Powder 🧂 | 1 tbsp | Ensures proper rise in layers |
| Baking Soda 🧂 | ½ tsp | Balances sour cream acidity |
| Salt 🧂 | ½ tsp | Diamond Crystal preferred for texture |
| Cold Unsalted Butter 🧈 | ½ cup | Cut into small cubes, keep chilled |
| Full-Fat Sour Cream 🥛 | ¾ cup | Cold, creates tangy flakiness |
| Large Egg 🥚 | 1 whole | Cold, for binding structure |
| Vanilla Extract 💧 | 1 tsp | Pure extract for best flavor |
| Heavy Cream 🥛 | ¼ cup | For brushing tops before baking |
| Coarse Turbinado Sugar 🍚 | 2 tbsp | For sprinkling on tops |
| Lemon Zest 🍋 | 1 tsp | Optional, brightens flavor |
[recipe_ingredient_scaler]
The butter and sour cream must stay cold—this is non-negotiable for flakiness. Plugra or European-style butter has higher fat content, creating superior layers. For sour cream, full-fat Daisy or Breakstone’s brands deliver the right tang and moisture balance. Measure flour by spooning into cups and leveling—scooping packs it down. The baking powder should be aluminum-free for cleanest flavor.
No sour cream? Full-fat Greek yogurt works at the same ratio. For a lighter texture, half-and-half instead of heavy cream for brushing. The egg can be omitted (reduce heavy cream by 1 tbsp), but texture will be slightly denser. Vanilla can be swapped for almond extract at half the amount. If using salted butter, reduce added salt by half.
Dough can be prepped the night before—shape into disk, wrap tightly, refrigerate up to 12 hours. Baked scones keep 2 days at room temperature in airtight container. For longer storage, freeze shaped dough 1 month; bake from frozen adding 3-5 minutes to bake time.
Why You’ll Love This Recipe
- One Bowl Wonder: I just dump everything in, stir, and shape—no fancy techniques, just sour cream doing the heavy lifting for tender crumb.
- Buttery Richness: The sour cream gives these scones that melt-in-your-mouth texture with a subtle tang that’s downright addictive.
- Breakfast to Brunch: I’ve served these plain, with jam, or even as a base for strawberry shortcake—they work for lazy mornings or fancy gatherings.
- Stays Fresh: Honestly, they’re still soft two days later, and the leftovers toast up like they’re fresh from the oven.
Step-by-Step Instructions for Scones With Sour Cream
This method ensures flaky, tender layers with minimal effort and maximum flavor.
Step 1: Combine Dry Ingredients for Structure
In a large mixing bowl, whisk together the 2.5 cups All-Purpose Flour, 0.25 cup Granulated Sugar, 1 tbsp Baking Powder, 0.5 tsp Baking Soda, and 0.5 tsp Salt. This aerates the dry ingredients and distributes the leaveners evenly for uniform rise.
I always sift my flour first when making scones—this prevents dense pockets and guarantees a light, airy texture. The combination of baking powder and baking soda works with the sour cream’s acidity to create those coveted flaky layers.
Step 2: Cut in Cold Butter for Flakiness
Add the 0.5 cup Cold Unsalted Butter (cut into small cubes) to the dry mixture. Using a pastry cutter or your fingers, work the butter into the flour until the mixture resembles coarse crumbs with some pea-sized butter pieces visible.
Here’s the thing—those visible butter pieces are what create the flaky layers in your finished scones. Keep the butter cold throughout this process; if it starts to melt, chill the mixture for 10 minutes before proceeding. The colder the butter, the better the rise.
Step 3: Mix Wet Ingredients and Form Dough
In a separate bowl, whisk together the 0.75 cup Full-Fat Sour Cream, 1 whole Large Egg, and 1 tsp Vanilla Extract. Make a well in the center of the dry ingredients and pour in the wet mixture.
Using a fork or silicone spatula, gently stir until the dough just comes together. It will be slightly sticky—that’s normal. Stir in the 1 tsp Lemon Zest at this stage for a bright citrus note.
Turn the dough out onto a lightly floured surface dusted with some of the All-Purpose Flour. Pat it into a 1-inch thick rectangle. Fold the dough in thirds like a letter, then rotate 90 degrees and repeat. This laminating process creates distinct layers.
Step 4: Shape, Chill, and Prepare for Baking
Pat the dough into a 1-inch thick circle and cut into 8 wedges using a sharp knife. Place the wedges on a parchment-lined baking sheet, leaving 1 inch between each for expansion.
Brush the tops generously with the 0.25 cup Heavy Cream—this promotes browning and adds a subtle richness. Sprinkle evenly with the 2 tbsp Coarse Turbinado Sugar for a crunchy, caramelized crust. Chill the scones for 15 minutes while preheating your oven to 400°F.
Step 5: Bake Until Golden and Flaky
Bake the chilled scones for 18-22 minutes until the tops are golden brown and the edges look crisp. Rotate the baking sheet halfway through for even browning.
The scones are done when a toothpick inserted into the center comes out clean and the bottoms sound hollow when tapped. Transfer to a wire rack and let cool for 5 minutes before serving—they’ll be too delicate to handle while piping hot. The layers should separate easily, revealing a tender, flaky interior.
Pro Tips For Making Scone Recipe With Sour Cream
- Chill the Dough: Pop the dough in the fridge for 15-20 minutes before shaping—I learned this the hard way after my first few batches spread like pancakes instead of rising tall.
- Use Cold Sour Cream: Straight from the fridge, about 1/2 cup, and full-fat if you can swing it. It keeps the butter from melting too fast and makes the layers flakier.
- Skip Overmixing: Stir just until the dry bits disappear, even if it looks shaggy. Overworking the dough toughens the scones, and nobody wants a hockey puck for breakfast.
- Brush with Cream: Before baking, brush the tops with a little sour cream or heavy cream for a golden crust. Sounds weird, but it works and saves you from hunting for an egg wash.
Troubleshooting This Dish
Dense Scones
If your scones turn out dense, the most likely culprit is overworking the dough or warm butter. Handle the dough gently—just until it comes together. Those visible butter pieces are essential for flakiness. I chill my dough for 15 minutes before shaping if my kitchen feels warm.
Flat Scones
Flat scones usually mean the leavening agents expired or the dough was overmixed. Check your baking powder’s freshness—it should bubble when mixed with hot water. Also, avoid pressing the dough too hard when shaping. A light touch preserves those air pockets.
Dry or Crumbly Texture
This often happens with too much flour or not enough moisture. Measure flour by spooning into cups, not scooping. If the dough feels dry, add 1-2 tbsp cold heavy cream to bring it together. The sour cream should provide enough moisture, but climates vary. 💡
Pale or Uneven Browning
For even browning, brush the tops with heavy cream just before baking. If the tops are pale, your oven might be running cool—try increasing temperature by 25°F. Rotate the baking sheet halfway through for consistent color.
Soggy Bottoms
Soggy bottoms usually mean not enough heat circulation. Use a light-colored baking sheet and place it on the middle rack. For extra crispness, preheat the baking sheet for 5 minutes before adding the scones.
Scones Spread Too Much
If your scones spread excessively, the dough might be too warm or the butter too soft. Chill shaped scones for 15-20 minutes before baking. Also, ensure your baking powder is fresh and active for proper rise.
Nutrition Facts
Frequently Asked Questions
Why use sour cream in scone dough?
Sour cream adds moisture and its acidity reacts with baking soda to create extra lift. It also gives a subtle tang that balances the sweetness beautifully.
Can I make these ahead of time?
Yes! Shape the dough into a disk, wrap tightly, and refrigerate for up to 12 hours. Bake straight from the fridge adding 2-3 minutes to the time.
What if my dough is too sticky?
Don’t add more flour. Instead, chill the dough for 15 minutes to firm up the butter. Use floured hands when shaping.
Can I substitute Greek yogurt?
Use the same amount of full-fat Greek yogurt for similar tang and texture. The results will be nearly identical.

Trained in classic French technique but raised on slow-cooked ribs and spicy rubs, she blends culinary skill with smoke and soul.
- Recipe for Boneless Pork Chops in Cast Iron Skillet: Sear and Baste to Juicy Perfection - October 3, 2026
- Recipe for Boneless Cross Rib Roast: Slow-Roasted Beef with Herb Crust - October 3, 2026
- Hamburgers in Sauce Recipe Crock Pot: Slow-Cooked Savory Delight - October 3, 2026