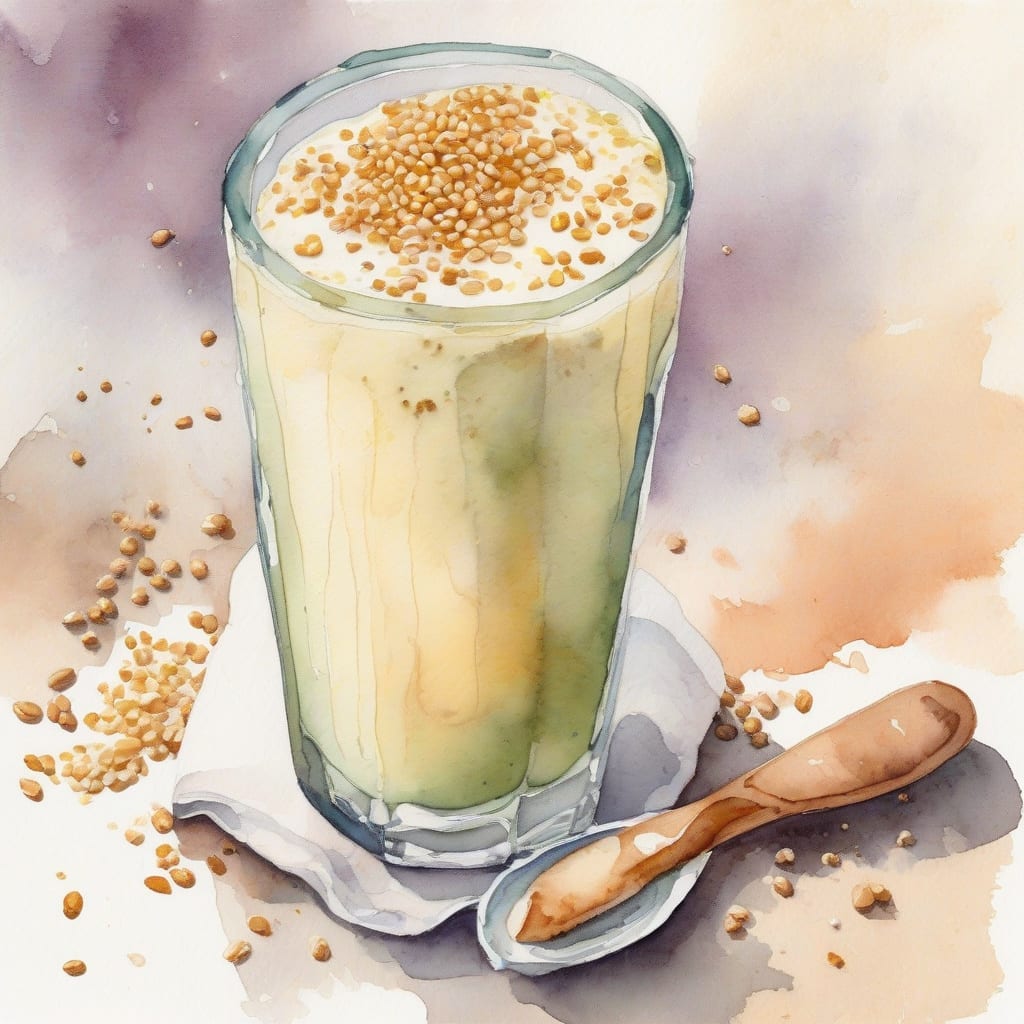
I’m excited to share my simple sesame milk recipe that delivers a creamy, dairy-free delight. ✨ This plant-based milk alternative is perfect for those with dietary restrictions or preferences.
The process is straightforward: soak sesame seeds, blend with water, and strain. You can customize the flavor with optional sweeteners or vanilla.
You’ll end up with a rich, creamy milk that’s perfect for cereal, smoothies, or baking. Let’s get started!
Store your homemade sesame milk in the fridge for up to 3 days and give it a good shake before using. Enjoy!
Ingredients for sesame seed milk
Here’s everything you need to create this creamy sesame milk recipe at home easily.
| Ingredient | Amount | Notes |
|---|---|---|
| Sesame Seeds 🌱 | 1 cup | Raw, preferably organic |
| Water 💧 | 4 cups | Filtered for best taste |
| Vanilla Extract 🌿 | ½ tsp | Optional, for flavor |
| Maple Syrup 🍯 | 1 tbsp | Optional, for sweetness |
| Salt 🧂 | ¼ tsp | Pinch, to enhance flavor |
| Cheesecloth 🧵 | 1 piece | For straining milk |
[recipe_ingredient_scaler]
You can find sesame seeds at most health food stores or well-stocked supermarkets like Whole Foods. Look for organic and raw sesame seeds for the best flavor. For straining, use a fine-mesh sieve or cheesecloth. If you don't have vanilla extract, you can omit it or substitute with a pinch of cinnamon.
For a creamier milk, use more sesame seeds or add a tablespoon of coconut cream. If you prefer a thinner consistency, add more water. You can also experiment with different sweeteners like dates or honey. Adjust the amount to your taste preference.
Store your homemade sesame milk in an airtight container in the refrigerator for up to 3 days. Shake well before using as the ingredients may separate. You can also freeze the milk in ice cube trays for longer storage and blend into smoothies.
Step-by-Step Instructions for Sesame Milk Recipe
Let’s create creamy, dairy-free sesame milk together – follow these simple steps for perfect results.
👨🍳 Step 1: Soak the Sesame Seeds
Start by soaking the 1 cup of sesame seeds in water for at least 8 hours or overnight. I find that using filtered water improves the taste of the final milk. The sesame seeds will absorb some water and soften, making them easier to blend.
After soaking, drain and rinse the sesame seeds thoroughly under cold running water. This step is crucial for removing any impurities and achieving a clean flavor.
👨🍳 Step 2: Blend with Water and Flavorings
In a high-speed blender, combine the drained sesame seeds, 4 cups of fresh filtered water, 0.5 tsp of vanilla extract (if using), 1 tbsp of maple syrup (if using), and 0.25 tsp of salt. Blend on high speed for about 1-2 minutes until the mixture is smooth and creamy.
You’ll notice the mixture becoming lighter in color and developing a uniform texture. Be sure to scrape down the sides of the blender as needed to ensure everything gets fully incorporated.
🥘 Step 3: Strain the Mixture
Place a large bowl or container under a fine-mesh strainer or a piece of cheesecloth laid over a colander. Carefully pour the blended mixture into the strainer or cheesecloth. If using cheesecloth, gather the edges and twist to form a tight bundle.
Squeeze the cheesecloth or press on the solids in the strainer to extract as much milk as possible. You should end up with a creamy, off-white liquid. Discard the solids or save them for another use, like baking.
⏰ Step 4: Store Your Sesame Milk
Transfer the strained sesame milk to a clean container with a tight-fitting lid. Store it in the refrigerator and use within 3-5 days. I like to give the container a good shake before each use, as natural separation is normal.
For best results, consume the milk chilled. You can enjoy it on its own, use it in smoothies, or substitute it in recipes that call for dairy milk. The natural creaminess of sesame milk makes it a great dairy-free alternative.
Let’s dive into the simple steps to make delicious sesame seed milk at home. First, you’ll need to soak 1 cup of sesame seeds in water for at least 8 hours or overnight. This helps to soften the seeds and brings out their nutty flavor 🌟.
🔥 Blend the Sesame Seeds
After soaking, drain and rinse the sesame seeds. Add them to a blender with 2 cups of fresh water. Blend on high speed for about 2 minutes, or until the mixture is smooth and creamy.
🥛 Strain the Mixture
Pour the blended mixture into a nut milk bag or a fine-mesh sieve lined with cheesecloth. Squeeze the bag or press on the solids to extract as much milk as possible. Discard the solids or save them for another recipe.
👨🍳 Sweeten and Flavor (Optional)
If you prefer your sesame milk sweet, you can add a natural sweetener like honey or maple syrup to taste. You can also add a pinch of salt to enhance the flavor. For extra creaminess, consider adding a drizzle of coconut oil or a spoonful of cashew cream.
Some great variations to try:
- Add a hint of vanilla extract for a unique twist
- Use sesame seeds in different ratios to adjust the flavor intensity
- Experiment with cinnamon or nutmeg for a warm, spicy flavor
Your homemade sesame seed milk is now ready to enjoy! 💦 You can store it in the refrigerator for up to 3 days and give it a good shake before using. Enjoy it chilled, or use it as a base for smoothies and desserts.
Tips & Tricks for Perfect Sesame Milk
These expert tips will help you achieve creamy, delicious sesame milk every time.
Soaking is Key: Don’t skip soaking the 1 cup of sesame seeds for at least 8 hours – it makes them blend smoother and easier to digest. I find that overnight soaking works perfectly. 💡
Blending Technique: In Step 2, when blending the sesame mixture, make sure to scrape down the blender sides to incorporate everything fully. Blending for the full 1-2 minutes ensures the smoothest result.
Straining Secrets: When straining in Step 3, using a fine-mesh strainer or cheesecloth makes all the difference. Squeeze tightly to get every last drop of that creamy milk – it’s worth the extra effort!
Storage Tips: Always store your sesame milk in the refrigerator and give it a good shake before using, as natural separation occurs. The milk keeps for 3-5 days, so plan your batches accordingly.
Nutrition Facts
120kcal
[recipe_ingredient_scaler]

Trained in classic French technique but raised on slow-cooked ribs and spicy rubs, she blends culinary skill with smoke and soul.
- Recipe for Boneless Pork Chops in Cast Iron Skillet: Sear and Baste to Juicy Perfection - October 3, 2026
- Recipe for Boneless Cross Rib Roast: Slow-Roasted Beef with Herb Crust - October 3, 2026
- Hamburgers in Sauce Recipe Crock Pot: Slow-Cooked Savory Delight - October 3, 2026