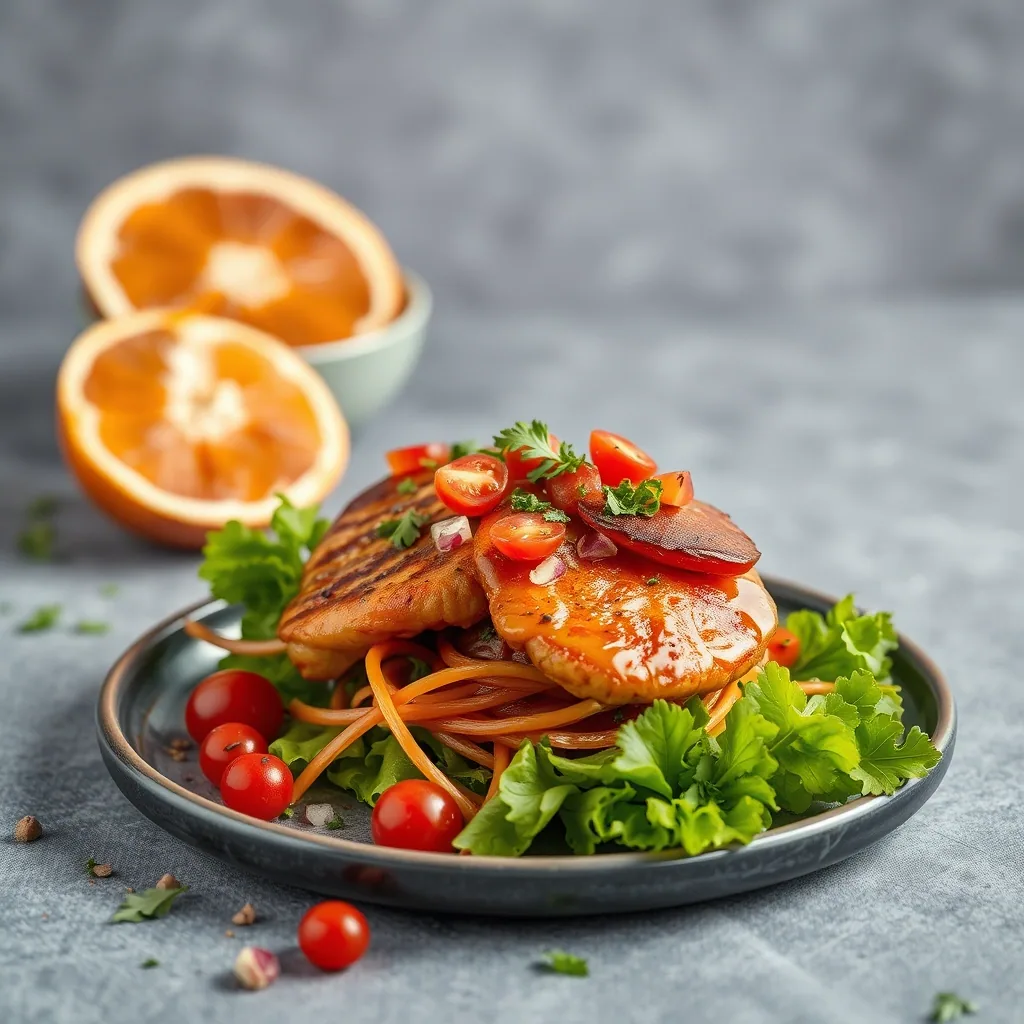
I’ve cracked the code to recreating Shakey’s legendary fried chicken at home! 🍗 This copycat recipe delivers that signature crispy, golden coating and juicy, flavorful meat that made Shakey’s famous. You’ll get restaurant-quality results without leaving your kitchen—trust me, it’s absolutely delicious! 😋
Ingredients for shakey’s fried chicken
Here’s everything you need to create this legendary Shakey’s fried chicken with perfect crispy coating.
| Ingredient | Amount | Notes |
|---|---|---|
| Whole chicken 🍗 | 3 ½ lb | Cut into 8-10 pieces |
| Buttermilk 🥛 | 2 cup | For marinating chicken |
| All-purpose flour 🌾 | 2 cup | For crispy coating |
| Paprika 🌶️ | 2 tbsp | Sweet or smoked variety |
| Garlic powder 🧄 | 1 tbsp | Not garlic salt |
| Onion powder 🧅 | 1 tbsp | Adds savory depth |
| Black pepper ⚫ | 1 tbsp | Freshly ground preferred |
| Salt 🧂 | 1 tbsp | Kosher or sea salt |
| Cayenne pepper 🌶️ | 1 tsp | Adjust for heat preference |
| Dried oregano 🌿 | 1 tsp | Italian seasoning works too |
| Baking powder 🥄 | 1 tsp | For extra crispiness |
| Eggs 🥚 | 2 whole | Beaten for coating |
| Vegetable oil 🛢️ | 8 cup | For deep frying |
[recipe_ingredient_scaler]
Find quality chicken at Whole Foods, Costco, or your local butcher for best results. Use fresh buttermilk from brands like Kate's or Organic Valley. Purchase spices from Penzeys or McCormick for authentic flavor. High-quality ingredients make a noticeable difference in achieving that signature Shakey's taste.
Substitute buttermilk with regular milk plus one tablespoon lemon juice if needed. Look for chicken with pale pink color and no odor. Fresh herbs can replace dried at triple the amount. Ensure oil reaches 350°F for proper frying. The baking powder creates extra crispiness in the coating.
Store marinated chicken up to 24 hours refrigerated for deeper flavor. Use leftover seasoned flour for other fried dishes. Keep fried chicken warm in a 200°F oven while finishing batches.
Step-by-Step Instructions for Shakey’s Fried Chicken
Let me walk you through making this iconic crispy fried chicken that tastes just like the restaurant version.
🔥 Step 1: Prepare the Brine and Marinate
I always start by creating the flavorful brine that makes this chicken incredibly juicy. In a large bowl, I combine 8 cups cold water with 1/2 cup salt and 1/4 cup sugar, stirring until completely dissolved. This brine is the secret to keeping the chicken moist throughout the frying process.
Next, I submerge all the chicken pieces in the brine, making sure they’re completely covered. I cover the bowl with plastic wrap and refrigerate for 4 to 6 hours, or ideally overnight. This gives the salt time to penetrate the meat, seasoning it from the inside out while keeping it tender and juicy.
🍳 Step 2: Create the Seasoned Coating
When I’m ready to fry, I remove the chicken from the brine and pat each piece completely dry with paper towels. This is crucial because any excess moisture will prevent that signature crispy coating from forming properly. I let the chicken sit at room temperature for 20 minutes while I prepare my coating station.
In a large shallow dish, I whisk together 3 cups all-purpose flour, 2 tablespoons garlic powder, 2 tablespoons onion powder, 1 tablespoon paprika, 1 tablespoon black pepper, 1 teaspoon cayenne pepper, and 1 teaspoon MSG. The MSG is what gives it that authentic Shakey’s flavor, so I don’t skip it. In a separate bowl, I beat 2 eggs with 1 cup buttermilk.
👨🍳 Step 3: Double-Coat the Chicken
Here’s where the magic happens for that extra-crispy texture. I dredge each chicken piece in the seasoned flour first, coating it completely and shaking off any excess. Then I dip it into the buttermilk mixture, letting the excess drip off before returning it to the flour for a second coating. I press the flour firmly onto the chicken to create a thick, textured crust.
I place all the coated pieces on a wire rack and let them rest for 15 minutes. This resting time allows the coating to adhere better and creates an even crispier result when fried. Meanwhile, I heat my oil to the perfect temperature.
🔥 Step 4: Fry to Golden Perfection
I fill a large Dutch oven or deep fryer with 3 inches of vegetable oil and heat it to exactly 325°F. This lower temperature is key—it allows the chicken to cook through without burning the coating. I carefully lower 3 to 4 pieces into the hot oil, being careful not to overcrowd the pot, which would drop the temperature too much.
I fry the chicken for 14 to 18 minutes, turning occasionally with tongs to ensure even browning. Dark meat pieces usually need the full 18 minutes, while breasts and wings are done around 14 to 16 minutes. I check that the internal temperature reaches 165°F with an instant-read thermometer. Once golden brown and cooked through, I transfer the chicken to a wire rack set over paper towels to drain. I let it rest for 5 minutes before serving to let the juices redistribute and the coating to set perfectly crispy.
Storing and Reheating Your shakey’s fried chicken
Proper storage is crucial for maintaining that delicious crispy texture and juicy flavor of your Shakey’s-style fried chicken. ❄️ I always let my chicken cool completely to room temperature before storing—this prevents condensation that can make the coating soggy. For short-term storage, place the chicken in an airtight container lined with paper towels (they absorb excess moisture) and refrigerate for 3-4 days maximum. Never stack the pieces tightly; leave some space between them to maintain air circulation and preserve that crispy coating.
For longer storage, freezing works wonderfully! 🔥 I wrap each piece individually in plastic wrap, then place them in a freezer-safe bag or container, removing as much air as possible. Properly wrapped fried chicken stays delicious for 2-3 months in the freezer. Label your containers with the date—trust me, it’s easy to forget! When you’re ready to enjoy it again, thaw overnight in the refrigerator rather than at room temperature for food safety.
Reheating is where the magic happens—done right, your chicken tastes freshly fried! The oven method is my favorite: preheat to 375°F, place chicken on a wire rack over a baking sheet, and heat for 15-20 minutes until the internal temperature reaches 165°F. The wire rack allows hot air to circulate, re-crisping the coating beautifully. For frozen chicken, add an extra 10-15 minutes to the reheating time.
The air fryer is another excellent option for reheating—it works faster and uses less energy! Set it to 350°F and heat for 8-10 minutes, flipping halfway through. If you’re in a hurry, the microwave works (30-second intervals on 50% power), but place a damp paper towel over the chicken and finish with 2-3 minutes in a hot oven or air fryer to restore crispiness. Avoid reheating more than once, as this degrades both texture and flavor significantly.
To maintain quality during storage and reheating, never refrigerate chicken while it’s still warm—this creates steam that destroys the crispy coating. I also recommend portioning the chicken before freezing so you can thaw only what you need. If you’re using a smoker for reheating (yes, it works!), set it to 250°F for about 20-25 minutes to add a subtle smoky flavor. The sous vide method at 140°F for 45 minutes followed by a quick oven crisp preserves moisture perfectly while reviving that golden crunch! 😋
Nutrition Facts
485kcal
[recipe_ingredient_scaler]

Trained in classic French technique but raised on slow-cooked ribs and spicy rubs, she blends culinary skill with smoke and soul.
- Recipe for Cut Up Chicken: One-Pan Crispy Bites - October 3, 2026
- Recipe For Oven Baked Haddock: Buttery Crumbs With Zesty Lemon Topping - October 3, 2026
- Recipe For Fried Salmon Patties With Flour: Crispy Golden Crust With Flaky Centers - October 3, 2026