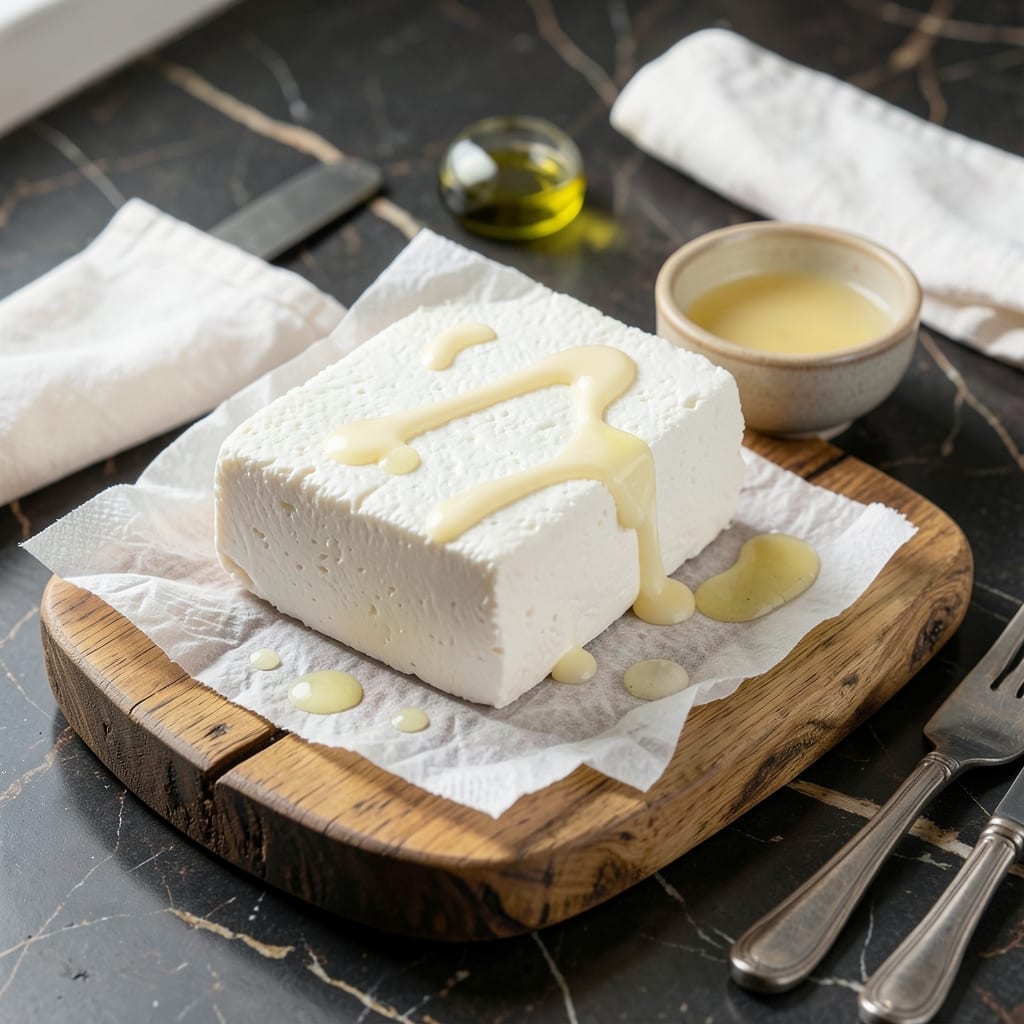
Making paneer at home is simpler than you think. This method delivers perfect cubes every time with minimal effort and basic ingredients.
No special equipment is needed—just milk, acid, and patience. The result is fresh, mild cheese ready for any dish in under an hour.
Ingredients for Simple Recipe for Paneer
Fresh milk, a splash of acid, and patience create this homemade cheese effortlessly.
| Ingredient | Amount | Notes |
|---|---|---|
| Whole Milk 🥛 | 8 cups | Full-fat for best results |
| Lemon Juice 🍋 | 3 tbsp | Freshly squeezed preferred |
| White Vinegar 🧪 | 2 tbsp | Or substitute apple cider vinegar |
| Water 💧 | 4 cups | For rinsing curds |
| Salt 🧂 | ½ tsp | Adjust to taste preference |
| Heavy Cream 🥛 | ¼ cup | Optional for creamier texture |
| Cheesecloth 🧻 | 1 piece | For straining curds |
| Ice Cubes ❄️ | 2 cups | For cold water bath |
[recipe_ingredient_scaler]
The milk quality is non-negotiable. Whole milk from a trusted dairy yields the richest, creamiest paneer—avoid ultra-pasteurized as it may not curdle properly. Organic Valley or local farm milk are excellent choices. The acid can be lemon juice or vinegar; both work equally well, though lemon adds a subtle brightness. For larger batches, Costco’s organic milk offers great value without sacrificing quality.
No lemon juice? White vinegar at the same ratio works perfectly. For a milder flavor, use apple cider vinegar. The salt is adjustable—start with half a teaspoon and add more to taste. Heavy cream is optional but creates a softer, creamier paneer. If you don’t have cheesecloth, a clean fine-mesh strainer lined with paper towels works in a pinch.
Fresh paneer keeps submerged in water in the fridge for 5-7 days. For longer storage, freeze for up to 3 months—thaw in cold water before using. The whey leftover from straining can be used in smoothies or bread recipes (don’t discard it!).
Why You’ll Love This Recipe
- No-Fuss Process: I just heat the milk, add vinegar, and watch it curdle—no fancy techniques or hard-to-find ingredients.
- Creamy, Fresh Taste: That first bite of warm, milky paneer with a hint of lemon? Ridiculously good.
- Weeknight Hero: Honestly, I toss it into curries, wraps, or salads—it works for lunch, dinner, or even a snack.
- Budget Friendly: A gallon of milk makes a pound of paneer for pennies. My wallet actually thanks me.
Step-by-Step Instructions for Paneer
Follow this straightforward method for smooth, fresh homemade paneer every time.
Step 1: Heat and Acidulate the Milk
Pour the 8 cups Whole Milk into a heavy-bottomed pot and bring to a rolling boil over medium-high heat, stirring occasionally to prevent scorching. Watch for small bubbles forming around the edges first, then a vigorous boil across the surface.
Once boiling, reduce heat to maintain a gentle boil and add the 3 tbsp Lemon Juice and 2 tbsp White Vinegar. Stir immediately for 30 seconds—you’ll see the milk begin to curdle and separate into solids and whey. The curds will appear as white flakes floating in a yellowish liquid. If the separation isn’t complete after 1 minute, add 1 additional tablespoon of either acid.
Step 2: Strain and Rinse the Curds
Line a colander with the 1 piece Cheesecloth and place it over a large bowl or sink. Pour the curdled milk mixture through the cheesecloth, allowing the whey to drain completely. Gather the edges of the cheesecloth and rinse the curds under cold running water to remove any residual acid taste.
For optimal texture, transfer the curds to a clean colander and rinse with the 4 cups Water. Gently press the curds with your hands to remove excess liquid while maintaining their delicate structure.
Step 3: Press and Shape the Paneer
Return the rinsed curds to the cheesecloth and bring the edges together to form a pouch. Twist the top slightly to apply gentle pressure. Place a small weight (like a can of beans) on top for 10 minutes to begin the pressing process.
After initial pressing, unwrap the curds and add the 0.5 tsp Salt and optional 0.25 cup Heavy Cream for extra richness. Mix gently to distribute evenly, then rewrap in the cheesecloth and press again under a heavier weight (like a cast-iron pan) for 2-3 hours to achieve firm cubes.
Step 4: Chill and Cube
Once pressed, transfer the paneer block to an ice bath made with the 2 cups Ice Cubes and enough water to cover. Let it chill for 30 minutes to set completely. This step ensures the paneer holds its shape when cubed.
Remove from the ice bath and pat dry with paper towels. Using a sharp knife, cut into 1-inch cubes or your preferred size. The paneer should be firm to the touch but still slightly springy, with a clean white appearance and no visible cracks.
Pro Tips For Making Simple Recipe For Paneer
- Heat Milk Slowly: Bring the whole milk to a gentle simmer on medium-low heat—rushing it with high heat can scorch the milk and ruin the texture.
- Use Fresh Acid: I learned this the hard way—old lemon juice or vinegar loses potency, so always use fresh bottles to properly curdle the milk.
- Drain Completely: After the whey separates, drain the paneer in a cheesecloth for at least 20 minutes to remove all excess moisture, or it’ll crumble when cooked.
- Press Lightly: Skip heavy weights when pressing—just the weight of a small bowl on top for 10 minutes gives paneer the right firmness without turning it dense.
Flavor Customization for These Flavors
Herb-Infused Paneer
Mix in 1 tbsp chopped fresh cilantro and 1 tsp chaat masala after the first pressing for a vibrant, tangy twist. The herbs add freshness while the spice blend gives a zesty kick. I love this version in salads or grilled skewers. 🌿
Spicy Chili Version
Add 1 tsp red chili flakes and ½ tsp smoked paprika to the curds before final pressing. This creates a bold, slightly smoky paneer perfect for curries or stir-fries. The heat level is customizable—reduce or increase the chili to taste.
Sweet Dessert Paneer
Incorporate 2 tbsp sugar and ½ tsp cardamom powder during pressing for a sweet variation. This works beautifully in Indian desserts like rasmalai or simply pan-fried with honey and nuts. The cardamom adds a warm, aromatic depth.
Garlic and Herb
Blend in 2 minced garlic cloves and 1 tbsp fresh parsley after rinsing the curds. This savory version pairs wonderfully with pasta or roasted vegetables. The garlic mellows during pressing, infusing every bite.
Citrus Zest
Add 1 tbsp lemon zest and 1 tsp black pepper for a bright, peppery note. This variation is fantastic in wraps or as a topping for grain bowls. The citrus zest adds a refreshing contrast to the creamy cheese.
Smoked Paneer
After cubing, cold-smoke the paneer with applewood chips for 30-45 minutes. This imparts a subtle smokiness that elevates grilled dishes or salads. I use my Masterbuilt electric smoker for this. 🔥
Nutrition Facts
Frequently Asked Questions
Can I use low-fat milk instead of whole?
Whole milk yields the creamiest results, but 2% works in a pinch. Avoid skim—it won’t curdle properly. The fat content directly affects texture and flavor.
How do I know when the paneer is fully pressed?
It’s ready when firm to the touch with no excess liquid. Pressing for 2-3 hours under a heavy weight ensures it holds its shape when cubed.
Why did my paneer turn out crumbly?
Over-stirring after adding acid or insufficient pressing can cause this. Gently handle the curds and use enough weight during pressing for a smooth block.
Can I skip the ice bath?
No—it sets the texture and prevents crumbling. Chilling for 30 minutes makes cubing easier and ensures a clean, firm finish.

Trained in classic French technique but raised on slow-cooked ribs and spicy rubs, she blends culinary skill with smoke and soul.
- Recipe for Boneless Pork Chops in Cast Iron Skillet: Sear and Baste to Juicy Perfection - October 3, 2026
- Recipe for Boneless Cross Rib Roast: Slow-Roasted Beef with Herb Crust - October 3, 2026
- Hamburgers in Sauce Recipe Crock Pot: Slow-Cooked Savory Delight - October 3, 2026