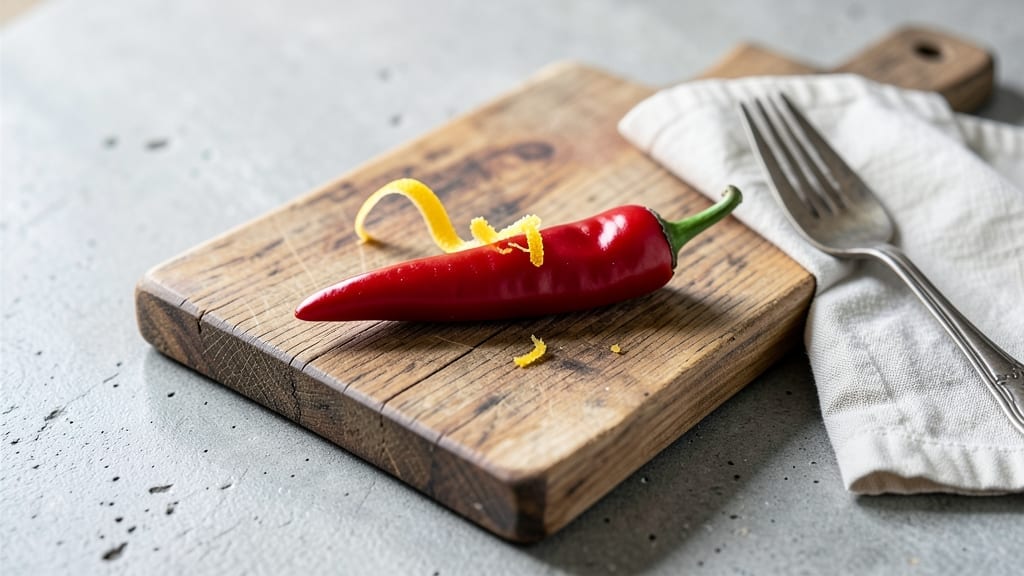
This smoked chili recipe delivers the kind of deep, wood-fired flavor that transforms a simple pot of chili into a restaurant-worthy centerpiece. The secret lies in slow-smoking the meat first—whether beef, chicken, or even mushrooms—before simmering it with beans and spices until every bite carries that unmistakable smoky richness.
I perfected this method after years of experimenting with backyard cookouts and professional pitmaster techniques, and it’s become my go-to for gatherings where people always ask for seconds.
The beauty of this recipe is its flexibility—you can adapt it for beef lovers, vegetarians, or even vegans by swapping in smoked paprika or mushroom-based proteins.
The process starts with low-and-slow smoking (around 225°F) to render fat and infuse flavor, then a long simmer to meld everything into a thick, velvety chili. It’s the kind of dish that tastes even better the next day, when the flavors have fully developed.
What you’ll end up with is a pot of chili that’s smoky, hearty, and deeply satisfying—perfect for cold evenings when you crave something warm and filling.
The aroma alone will draw everyone to the table, and the texture is just right: tender meat, creamy beans, and a sauce that’s thick enough to hold its shape but still spoonable. This isn’t just chili; it’s a flavor experience.
Serve it with crusty bread to soak up every last drop, or top with shredded cheese, sour cream, and fresh cilantro for a crowd-pleasing finish. The best part? It’s a one-pot meal that feels like a celebration. Let’s get cooking—your taste buds will thank you.
Ingredients for smoked chili
Smoke-infused meat, hearty beans, and bold spices—this chili builds flavor like a slow dance.
| Ingredient | Amount | Notes |
|---|---|---|
| Beef Chuck Roast 🥩 | 3 lb | Pre-cut into 1-inch cubes |
| Dried Red Kidney Beans 🌱 | 1 ½ cups | Soaked overnight or quick-soaked |
| Diced Tomatoes (Canned) 🍅 | 2 cups | San Marzano preferred |
| Tomato Paste 🍅 | ½ cup | Squeeze tube works best |
| Yellow Onion 🧅 | 1 whole | Diced, medium size |
| Garlic Cloves 🧄 | 6 cloves | Minced, fresh preferred |
| Chopped Chipotle Peppers in Adobo 🌶️ | 2 tbsp | Adjust for heat preference |
| Smoked Paprika 🌶️ | 2 tbsp | High-quality, not dusty |
| Ground Cumin 🌿 | 1 tbsp | Toasted for depth |
| Dried Oregano 🍃 | 1 tbsp | Mexican oregano ideal |
| Black Peppercorns 🌶️ | 1 tsp | Freshly cracked |
| Bay Leaves 🌿 | 2 whole | Removed before serving |
| Beef Broth 💧 | 2 cups | Low-sodium preferred |
| Dark Brown Sugar 🍯 | 1 tbsp | For balance, not too sweet |
| Apple Cider Vinegar 🍎 | 1 tbsp | Brightens flavors |
| Salt 🧂 | 1 ½ tsp | Adjust to taste |
| Wood Chips (Hickory or Oak) 🌳 | 1 package | Soaked for smoking |
[recipe_ingredient_scaler]
The beef is non-negotiable for that deep, smoky backbone. Chuck roast is your best bet—it stays tender through hours of cooking while soaking up all that smoky goodness. Grab it from the butcher counter if possible; pre-cut cubes save time, but a whole roast lets you control the size. Look for good marbling (those little white streaks of fat) because that’s what renders out and keeps the meat juicy. If you’re short on time, Costco’s pre-cubed chuck is a lifesaver. For the beans, dried kidney beans hold up best to long cooking—they’re cheaper too, but soak them overnight (or quick-soak for 2 hours) to cut down on cooking time. Don’t skip the soaking, or you’ll end up with tough beans.
No wood chips? Smoked paprika plus a splash of liquid smoke gets you close, though it’s not the same. Running out of chipotle peppers? Substitute cayenne at half the amount, but you’ll lose that smoky depth. The tomato paste can be swapped for extra canned tomatoes if you’re avoiding it, but it’s worth the extra minute to stir it in—it thickens the chili beautifully. Fresh garlic and onion? Frozen diced works in a pinch, but fresh tastes worlds better. For the broth, low-sodium is key—you’ll be adding salt later anyway. If you’re making this vegetarian, swap the beef for portobello mushrooms or lentils and boost the smoked paprika to 3 tbsp. The vinegar might seem odd, but it cuts through the richness and brightens everything—trust me on this.
This chili tastes even better the next day, so make extra. Store in the fridge for 5-6 days or freeze portions for up to 3 months. I like to portion it into freezer-safe containers with a layer of oil on top to preserve freshness. When reheating, add a splash of broth or water to keep it from getting too thick. Serve with crusty bread or cornbread—the perfect vessel for soaking up every last drop. Leftovers? Even more delicious the second day as flavors meld. If you’re serving a crowd, double the batch—it disappears fast.
Why You’ll Love This Recipe
- Smoker’s Secret Shortcut: I’ll never do a slow cooker chili again after this—just 30 minutes of smoker time and the beef is already caramelizing with that deep, woodsy crust. Pat those beef cubes dry first, or the smoke won’t cling like it should.
- Flavor Bomb in a Pot: That combo of smoked paprika, chipotle peppers, and toasted cumin? It’s like a spice party in your mouth. The dark brown sugar and apple cider vinegar balance the heat just right—no one will guess it’s just beans and beef.
- Leftovers That Last: Five days in the fridge, three months frozen—this chili is the ultimate meal prep. Freeze portions in ice cube trays for quick soups later, or reheat a pot and serve it with tortillas for tacos the next day. Zero waste, zero stress.
- Budget-Friendly Powerhouse: A whole 3 lb chuck roast feeds six people, and dried beans stretch it even further. The smoked wood chips add luxury for just pennies—you’re getting restaurant-quality depth without the price tag. My wallet and my taste buds both thank me.
Step-by-step instructions for smoked chili recipe
Here’s how to build layers of smoky depth that develop overnight—simple steps, big flavor.
Prep the Beef and Soak the Wood Chips
Cut the 3 lb beef chuck roast into 1-inch cubes for even cooking. Pat them dry with paper towels—this helps the smoky flavors cling better. In a separate bowl, soak the 1 package wood chips (hickory or oak) in water for 30 minutes. This prevents them from burning and creates that signature smoky aroma.
While the wood chips soak, drain and rinse the 1½ cups dried red kidney beans under cold water. This removes any debris and helps them rehydrate faster. For quicker prep, cover them with water and simmer for 2 minutes, then drain again. This “quick-soak” method works in a pinch, though overnight soaking yields better texture.
Build the Smoky Base in the Smoker
Set your smoker to 225°F and add the soaked wood chips. Let the smoke fill the chamber for 10 minutes before adding anything—this ensures maximum flavor infusion. In a large Dutch oven, combine the beef cubes, 1 yellow onion (diced), 6 cloves garlic (minced), 2 tbsp chopped chipotle peppers in adobo, 2 tbsp smoked paprika, 1 tbsp ground cumin, 1 tbsp dried oregano, 1 tsp black peppercorns, and 2 bay leaves. Toss everything until the beef is evenly coated.
Transfer the Dutch oven to the smoker and cook for 2 hours, stirring occasionally. You’re looking for the beef to turn tender and darken slightly—a sign the smoky flavors are penetrating. The beans can go in now or later; I like to add them after the beef develops deeper flavor, but either way works. If adding now, cover the pot loosely and smoke for another 30 minutes before proceeding.
Develop the Chili Sauce on the Stovetop
Remove the Dutch oven from the smoker and transfer it to the stovetop over medium heat. Add the ½ cup tomato paste, stirring to coat the beef and aromatics. Let it cook for 5 minutes until the paste darkens and sticks slightly to the pot. Pour in the 2 cups diced tomatoes (canned), 2 cups beef broth, 1 tbsp dark brown sugar, 1 tbsp apple cider vinegar, and 1½ tsp salt. Stir well to combine.
Bring the mixture to a gentle simmer, then reduce heat to low. If you added the beans earlier, they’ll start to soften now. If not, add them now. Let the chili simmer uncovered for 1 hour, stirring occasionally. The sauce will thicken as it reduces, and the flavors will meld into a rich, smoky harmony.
Finish and Rest for Maximum Flavor
After simmering, taste the chili and adjust the seasoning. You might need a pinch more salt or a splash of vinegar to balance the flavors. Remove the 2 bay leaves before serving, as they can make the chili bitter. Let the chili rest at room temperature for 15 minutes—this allows the flavors to settle and the texture to thicken slightly.
For the best results, refrigerate the chili overnight. The flavors deepen and intensify as it cools, making each bite even more complex. Serve it warm with crusty bread or cornbread to soak up every last drop of that smoky, spicy goodness.
Pro Tips For Making Smoked Chili
- Smoke First, Then Cook: Let the smoker fill with smoke for 10 minutes before adding the beef—this saturates the meat with flavor from the start. I used to rush this, and the chili always tasted like it was playing second fiddle to the wood chips.
- Toast That Cumin: Dry-toast the 1 tbsp ground cumin in a skillet for 30 seconds until fragrant—it adds depth the jarred version can’t match. My grandmother swore by this, and she was right: the difference is subtle but undeniable.
- Don’t Drown the Beans: When adding the 1.5 cups dried kidney beans, use just 1 cup water (not the full 2 cups broth) to hydrate them—too much liquid dilutes the smoky richness. I learned this the hard way after serving watery chili to a crowd.
- Brown the Paste: Let the 0.5 cup tomato paste cook unmoved for those 5 minutes until it darkens—this builds a deeper, caramelized base. Skipping this step means your chili will taste like it’s missing something, even if you can’t pinpoint why.
Common mistakes when making great smoked chili
Over-Smoking the Beef
One of my biggest mistakes early on was letting the beef cook too long in the smoker. After 2 hours at 225°F, the beef should be tender but still have a slight bite. Pushing it beyond that turns the cubes dry and chewy—ruining the whole dish.
I learned to watch for darkening edges and a slight char, not a crispy crust. Trust your senses over the clock! 🔥
Skipping the Tomato Paste
Some folks skip the ½ cup tomato paste to avoid a “sticky” texture, but that’s a mistake. The paste thickens the chili beautifully and adds depth. I stir it in early to let it caramelize slightly, creating a rich base.
Without it, your chili will be thin and lack that velvety mouthfeel. Don’t skip this step!
Under-Soaking the Beans
Dried beans need proper prep—skipping the soak or quick-soak means tough, rubbery beans. I always rinse them first, then soak overnight (or quick-soak for 2 hours). Under-soaked beans absorb liquid unevenly, leading to a mushy texture. Trust me, the extra time is worth it for silky beans. 🌱
Ignoring the Vinegar
The 1 tbsp apple cider vinegar brightens the chili and balances richness, but many skip it. Without it, the dish can taste flat or overly sweet. I add it at the end of simmering to preserve its acidity. A splash makes all the difference—don’t overlook this tiny but mighty ingredient!
Rushing the Resting Time
After simmering, I used to slice into the chili too soon. The 15-minute rest lets flavors meld and juices redistribute. Skipping this means a watery, under-seasoned mess. Let it breathe—it’ll reward you with a thicker, more complex dish. Patience is key!
Forgetting to Adjust Seasoning
Taste as you go! Many add salt upfront and never check again, but flavors evolve during cooking. I taste after the stovetop simmer and adjust with vinegar or salt. A well-seasoned chili is all about balance—don’t guess, taste, and tweak. Your taste buds will thank you! 💛
Nutrition facts
Frequently asked questions
Why does this smoked chili taste better the next day?
The flavors deepen significantly as the chili cools and rests. The spices meld together, the sauce thickens naturally, and the meat absorbs all those rich, smoky notes—making every bite even more complex. This is why many slow-cooked dishes improve overnight!
Can I make this recipe without a smoker?
Skip the smoker and use 2 tbsp smoked paprika plus a dash of liquid smoke in the Dutch oven while cooking. The flavors won’t be identical, but you’ll still get that deep, smoky essence. Just add the smoked spices early to let them infuse.
How do I adjust the heat level if I don’t like spice?
Start by reducing the 2 tbsp chopped chipotle peppers in adobo to just 1 tbsp. You can also omit the adobo entirely and use mild cayenne instead. Taste as you go—adding a splash of vinegar or broth can help balance any lingering heat.
What’s the best way to reheat leftovers without drying them out?
Gently warm the chili on the stovetop over low heat, stirring occasionally, and add 2-3 tablespoons of broth or water to restore moisture. Microwaving in short bursts with a splash of liquid works too. Never let it boil vigorously—just enough to heat through.
Can I use a different type of bean in this recipe?
Dried kidney beans work best for texture, but you can swap in pinto or black beans if preferred. Just soak them properly and add 1 cup fresh water when simmering to help them soften. The flavor will be slightly different, but the smoky depth will still shine through.

Trained in classic French technique but raised on slow-cooked ribs and spicy rubs, she blends culinary skill with smoke and soul.
- Smoked Cream Cheese Recipe: Bold, Tangy Spread for Dips and Toppings - November 2, 2026
- Brisket Chili Recipe: Slow-Simmered Smoky Depth in One Pot - November 2, 2026
- Smoked Chuck Roast Recipe: Fall-Apart Tenderness with Smoky Depth - November 2, 2026