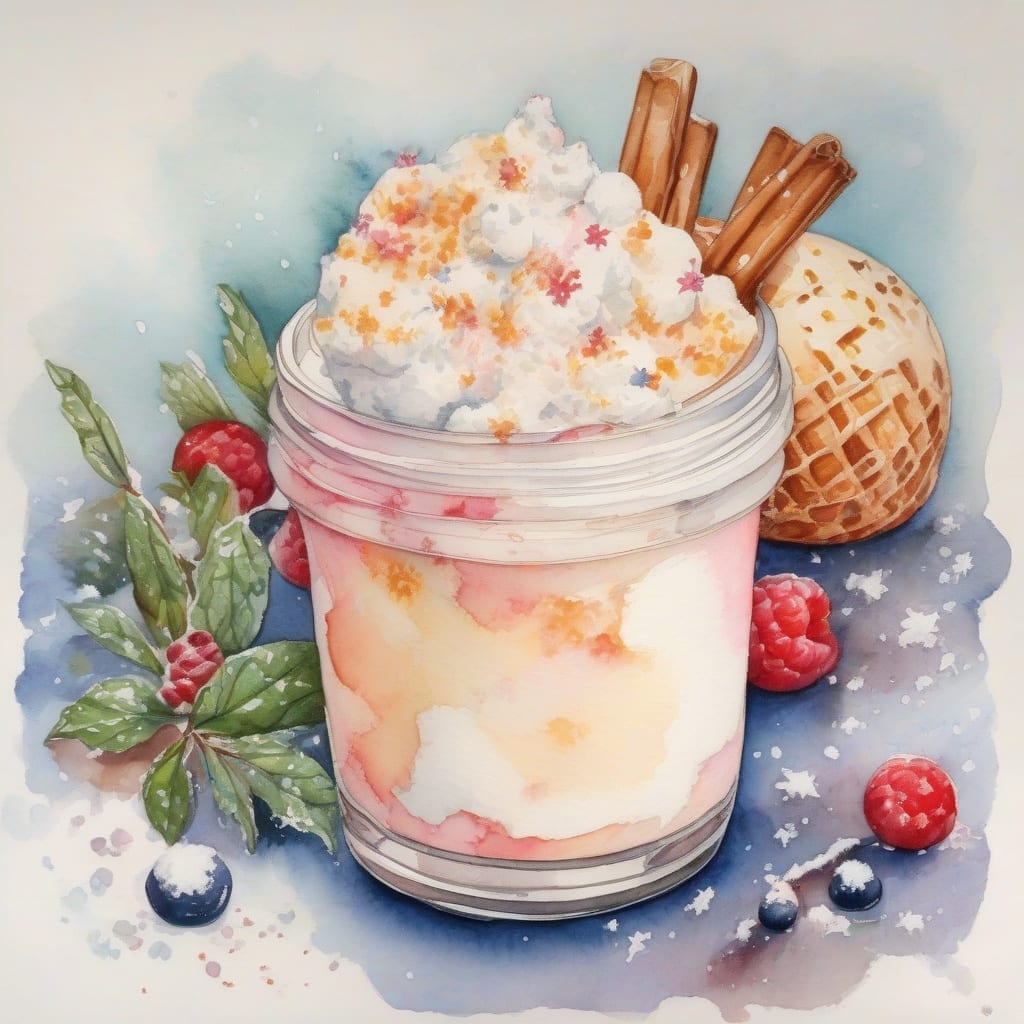
Who says you need snow to enjoy snow cream? 🔥 I’ve created a creamy winter treat that captures the essence of snow cream without the need for actual snow. This dessert is perfect for cold weather or whenever you’re craving something sweet and indulgent.
The secret to this snowless snow cream lies in its clever use of ingredients that mimic the texture and taste of snow. By combining simple pantry staples, we can achieve a similar creamy consistency that’s sure to satisfy your sweet tooth.
What you’ll love about this recipe is how easy it is to make and customize. With just a few ingredients and some basic kitchen equipment, you can create a delicious dessert that’s perfect for any occasion. Let’s get started on making this creamy treat!
You’ll be amazed at how closely this snowless snow cream replicates the real thing. The creamy texture and sweet flavor will have you wondering how you ever lived without it. Serve it chilled and enjoy the oohs and aahs from your family and friends.
Ingredients for snow cream recipe without snow
These simple ingredients come together to make snowless snow cream, a creamy winter treat.
| Ingredient | Amount | Notes |
|---|---|---|
| Heavy Cream 🥛 | 1 cup | Chilled for best results |
| Granulated Sugar 🍮 | 2 tbsp | Or to taste |
| Vanilla Extract 🌿 | 1 tsp | Pure vanilla for best flavor |
| Milk 🥛 | ½ cup | Whole milk for creaminess |
| Crushed Ice ❄️ | 1 cup | Crushed or shaved ice |
| Salt 🧂 | ¼ tsp | Pinch of salt enhances flavor |
| Cream Cheese 🧀 | 2 oz | Softened to room temperature |
[recipe_ingredient_scaler]
You can find these ingredients at your local grocery store. For the best quality, choose full-fat dairy products and pure vanilla extract. Look for heavy cream that's labeled 'ultra-pasteurized' for better stability when whipped.
If you don't have heavy cream, you can substitute with whipping cream. For a different flavor, try substituting almond extract or peppermint extract for the vanilla. Make sure your cream cheese is softened to room temperature for smooth blending.
Store any leftover snowless snow cream in an airtight container in the freezer for up to 3 days. Allow it to soften slightly at room temperature before serving again. You can also make this dessert ahead and keep it frozen until you're ready to serve.
Step-by-Step Instructions for Snowless Snow Cream
I’ll guide you through making this creamy winter treat without actual snow, ensuring a delicious dessert every time.
👨🍳 Step 1: Prepare the Cream Cheese Mixture
Start by beating the softened cream cheese in a large mixing bowl until it’s smooth and creamy. This should take about 2-3 minutes with an electric mixer on medium speed. I like to use a stand mixer for this step as it makes the process easier and faster.
Once the cream cheese is smooth, add the granulated sugar and continue beating until well combined. The mixture should be light and fluffy. You can adjust the amount of sugar to your taste, but start with the recommended 2 tablespoons for a balanced flavor.
👨🍳 Step 2: Combine the Wet Ingredients
In a separate bowl, whisk together the chilled heavy cream, whole milk, and pure vanilla extract until the mixture becomes frothy. This should take about 2 minutes with a whisk or 1 minute with an electric mixer on medium speed. The mixture should have visible bubbles on the surface and a slightly thickened consistency.
Add the pinch of salt to the wet ingredients and whisk for another 10 seconds to distribute it evenly. The salt enhances the flavors of the other ingredients and balances the sweetness.
🥘 Step 3: Combine the Mixtures and Chill
Gradually pour the wet ingredients into the cream cheese mixture, beating continuously until the mixture is smooth and creamy. This should take about 3-4 minutes with an electric mixer on medium speed. You’ll notice the mixture becoming lighter and more aerated as you combine the ingredients.
Cover the bowl with plastic wrap and refrigerate the mixture for at least 1 hour or until it’s thoroughly chilled. This step is crucial as it allows the flavors to meld together and the mixture to thicken.
❄️ Step 4: Add Crushed Ice and Blend
Once the mixture is chilled, add the crushed ice to the bowl. I like to use crushed or shaved ice for this step as it blends more smoothly into the mixture. Blend the mixture on high speed until the ice is fully incorporated and the mixture has a smooth, creamy texture. This should take about 2-3 minutes with a high-powered blender or food processor.
Stop the blender occasionally to scrape down the sides with a spatula, ensuring everything is well mixed. The mixture should be free of ice chunks and have a uniform consistency.
🍦 Step 5: Serve and Enjoy
Transfer the snowless snow cream to individual serving cups or a large serving dish. You can garnish it with your favorite toppings, such as sprinkles, whipped cream, or chocolate chips. The snowless snow cream should be creamy and smooth, with a flavor that’s reminiscent of traditional snow cream.
Serve immediately and enjoy your delicious snowless snow cream! This dessert serves 4 people, making it perfect for a small gathering or family treat.
Who says you need snow to make snow cream? 😋 We’ve got a creative solution for you to enjoy this creamy winter treat without relying on the weather. Our snow cream recipe without snow uses a clever substitute that’s just as fun and delicious.
Using Shaved Ice or Crushed Ice as a Substitute 🔪
To make snow cream without snow, you can use shaved ice or crushed ice as a substitute. Simply shave or crush the ice into fine flakes and use it in place of snow. You can make shaved ice at home using a blender or food processor, or purchase it from an ice shop.
- Shave or crush ice into fine flakes
- Use 2 cups of shaved or crushed ice for every 1 cup of snow called for in the recipe
- Mix the shaved ice with your favorite cream, sugar, and flavorings
Alternative Ingredients to Enhance Flavor 🎉
To give your snow cream an extra boost of flavor, try adding some alternative ingredients. You can use:
- Cocoa powder or chocolate syrup for a chocolatey twist
- Vanilla extract or almond extract for a creamy and nutty flavor
- Fresh fruit like strawberries or blueberries for a fruity and refreshing taste
💡 Experiment with different combinations to find your favorite flavor!
With these simple substitutions and creative flavorings, you can enjoy snow cream without snow. Get creative and have fun making your own snowless snow cream at home! 🎊
Tips & Tricks for Perfect Snowless Snow Cream
These simple tips will help you achieve the creamiest snowless snow cream every time.
Cream Cheese Preparation: In Step 1, make sure your cream cheese is at room temperature before beating it. This ensures a smooth mixture without lumps. I like to take it out of the fridge about 30 minutes before starting. 💡
Chilling is Crucial: Don’t skip the chilling step in Step 3! Refrigerating the mixture for at least 1 hour allows the flavors to meld together and the mixture to thicken properly, resulting in a creamier final product.
Crushed Ice Matters: When adding crushed ice in Step 4, use a high-powered blender or food processor to ensure it blends smoothly into the mixture. Stop to scrape down the sides occasionally to prevent any ice chunks from remaining.
Serving Suggestions: For an extra-special treat, top your snowless snow cream with whipped cream, sprinkles, or chocolate chips. You can also serve it in fun winter-themed bowls to enhance the experience.
Nutrition Facts
220kcal
[recipe_ingredient_scaler]

Trained in classic French technique but raised on slow-cooked ribs and spicy rubs, she blends culinary skill with smoke and soul.
- Recipe for Boneless Pork Chops in Cast Iron Skillet: Sear and Baste to Juicy Perfection - October 3, 2026
- Recipe for Boneless Cross Rib Roast: Slow-Roasted Beef with Herb Crust - October 3, 2026
- Hamburgers in Sauce Recipe Crock Pot: Slow-Cooked Savory Delight - October 3, 2026