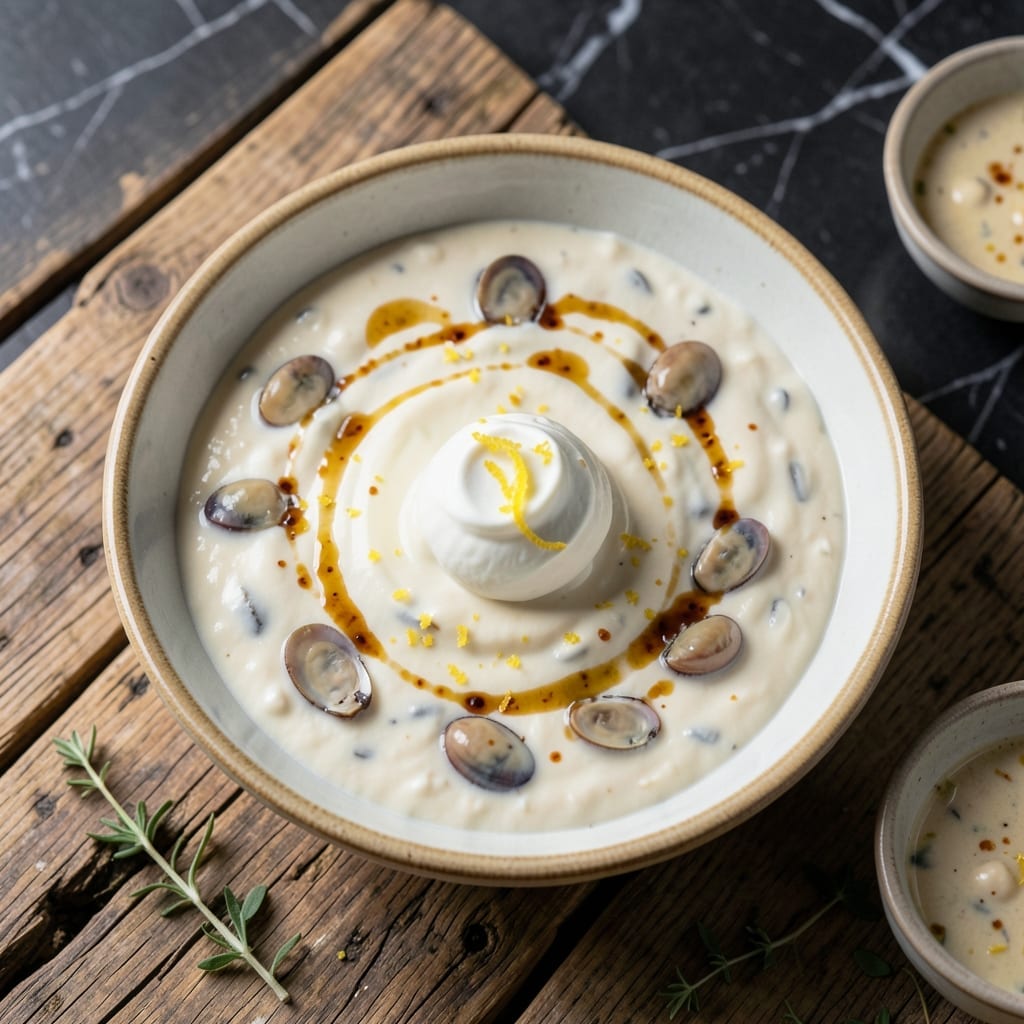
This creamy seafood spread delivers bold coastal flavors with a subtle kick that makes it irresistible.
Perfect for gatherings or a quick snack, this dip transforms canned clams into a creamy, savory treat that pairs beautifully with crackers or fresh vegetables.
Ingredients for Snow’s Clam Diggers Dip
These bold coastal ingredients create a creamy seafood spread with a subtle kick.
| Ingredient | Amount | Notes |
|---|---|---|
| Canned Clams 🐚 | 2 cans | Chopped, undrained, juice reserved |
| Cream Cheese 🧀 | 8 oz | Full-fat, softened to room temperature |
| Mayonnaise 🥛 | ½ cup | Full-fat for creaminess |
| Worcestershire Sauce 🍶 | 1 tbsp | Adds depth to seafood flavor |
| Hot Sauce 🌶️ | 1 tsp | Adjust for desired spice level |
| Lemon Juice 🍋 | 2 tbsp | Freshly squeezed preferred |
| Garlic Powder 🧄 | 1 tsp | Uniform flavor distribution |
| Onion Powder 🧅 | 1 tsp | Enhances savory base notes |
| Dried Dill Weed 🌿 | 1 tsp | Complements seafood flavor |
| Salt 🧂 | ½ tsp | Adjust to taste after mixing |
[recipe_ingredient_scaler]
The clams are non-negotiable here. Bumble Bee or Snow’s brand offer consistent quality and texture. Look for chopped clams packed in juice—avoid the solid or whole varieties as they won’t incorporate as smoothly. The cream cheese must be full-fat (Philadelphia is reliable) for that luscious texture. Always bring it to room temperature before mixing to prevent lumps.
No canned clams? Fresh cooked clams can be used at a 1:1 ratio, finely chopped. Short on Worcestershire? Soy sauce with a dash of lemon provides similar umami depth. The mayonnaise can be light if preferred, but the full-fat version yields superior creaminess. For heat lovers, Cayenne pepper at 1/4 tsp can replace the hot sauce.
This keeps well for 5-7 days in an airtight container. The flavors meld and intensify over time. Can be made 24 hours ahead for optimal taste. Serve chilled with sturdy crackers or crudités to scoop up the thick spread.
Why You’ll Love This Recipe
- Five-Minute Mix: I dump everything in one bowl—clams, cream cheese, a splash of Worcestershire—and it’s done before the chips warm up.
- Umami Bomb: That briny clam hit plus the hot sauce kick makes this the dip I crave when I want something salty, creamy, and a little spicy all at once.
- Party Starter: Between us, it’s the first thing to disappear at my tailgates; I double the batch so I actually get to taste some.
- Budget Winner: Canned clams keep it cheap, and the batch lasts days—so I’m not scrambling to make fresh dip every time.
Step-by-Step Instructions for Snow’s Clam Diggers Dip
This method ensures a smooth, velvety texture with balanced seafood flavor and just the right amount of heat.
Step 1: Prepare the Canned Clams
Drain the 2 cans Canned Clams, but reserve all the juice in a small bowl. I recommend chopping the clams further if they’re whole or in large pieces—this ensures even distribution throughout the dip. The reserved juice adds concentrated seafood flavor, so don’t discard it.
The clam juice should measure about ½ cup. If you have less, that’s fine, but don’t exceed this amount when adding it back, as too much liquid can make the dip runny. Set both the chopped clams and juice aside for now.
Step 2: Blend the Cream Base
In a mixing bowl, combine the 8 oz Cream Cheese and 0.5 cup Mayonnaise. Use a hand mixer or stand mixer on medium speed for 2-3 minutes until completely smooth and fluffy. The cream cheese must be fully softened to room temperature to prevent lumps.
Add the 1 tbsp Worcestershire Sauce, 1 tsp Hot Sauce, and 2 tbsp Lemon Juice to the cream base. Mix for another 30 seconds until fully incorporated. The lemon juice brightens the rich flavors, while the Worcestershire adds depth to the seafood profile.
Step 3: Season and Incorporate Clams
Sprinkle in the 1 tsp Garlic Powder, 1 tsp Onion Powder, 1 tsp Dried Dill Weed, and 0.5 tsp Salt. Mix thoroughly for 15-20 seconds to distribute the seasonings evenly. Taste at this point—if you prefer more heat, you can add additional hot sauce later.
Fold in the chopped 2 cans Canned Clams and 2-3 tablespoons of the reserved juice using a spatula. The dip should be creamy but still hold its shape. If it’s too thick, add more clam juice 1 tablespoon at a time until reaching your desired consistency.
Step 4: Chill and Let Flavors Meld
Transfer the dip to an airtight container and refrigerate for at least 2 hours, or preferably overnight. This chilling time allows the flavors to develop fully and the texture to set. The dill will become more pronounced, and the seafood flavors will mellow into the creamy base.
Before serving, give it a final stir and taste. Adjust the seasoning if needed—you might want to add a pinch more salt or a few drops of lemon juice to balance the flavors. Serve with sturdy crackers or bread for dipping.
Pro Tips For Making Snow’S Clam Diggers Dip
- Chill Before Serving: After mixing, refrigerate the dip for at least 1 hour—this lets the flavors meld and thickens the cream cheese base so it doesn’t separate.
- Drain the Clams: I learned this the hard way: always drain and pat the canned clams dry, or your dip will be watery instead of rich and creamy.
- Soften the Cream Cheese: Leave the cream cheese out for 30 minutes before mixing, or you’ll end up with lumps no matter how hard you stir.
- Add Hot Sauce Last: Stir in the hot sauce at the very end and taste as you go—it’s easier to add more than to fix an over-spiced batch.
Serving Suggestions for Leftovers
Classic Crackers Pairing
I love serving this with sturdy Ritz crackers or Triscuits—their firm texture holds up against the thick, creamy spread. For a more elegant presentation, try buttery water crackers that let the seafood flavor shine through. Arrange them in a circular pattern around the dip bowl. 💛
Fresh Veggie Platter
Cut celery sticks, carrot batons, and bell pepper strips for a refreshing contrast to the rich dip. The crispness of fresh vegetables provides a nice textural balance. I always include endive leaves for a unique scooping option.
Bread Options
A warm baguette sliced into thin rounds and lightly toasted makes an excellent base. For a heartier option, serve with pita wedges or pretzel crisps. The slight saltiness of pretzels enhances the seafood notes beautifully.
Garnish for Flavor
Sprinkle with chopped fresh dill or minced chives right before serving to add a pop of color and freshness. A light drizzle of extra virgin olive oil and a squeeze of lemon enhances the coastal flavors. 🌿
Seafood Accompaniments
For a true seafood spread, pair with smoked salmon on cucumber rounds or shrimp cocktail. The complementary flavors create a cohesive appetizer experience. I often add a small bowl of lemon wedges for guests to customize their bites.
Temperature Tip
Always serve this dip chilled but not ice-cold. Remove it from the fridge 15-20 minutes before serving to allow the flavors to open up. This makes the spread easier to scoop and more enjoyable to eat.
Nutrition Facts
Frequently Asked Questions
Can I use fresh clams instead of canned?
Yes! Use 1 lb fresh cooked clams, finely chopped, as a 1:1 replacement. Steam them first until they open, about 5-7 minutes.
Why does the dip need chilling time?
Chilling for 2+ hours lets flavors meld and the texture set. The dill and seafood notes deepen, creating a more cohesive taste. Overnight is ideal for maximum flavor.
How can I make it less spicy?
Omit the hot sauce entirely or replace with ½ tsp paprika for color without heat. Taste as you go and adjust to preference.
What’s the best way to store leftovers?
Keep in an airtight container for up to 5-7 days. Press plastic wrap directly on the surface to prevent a skin from forming.

Trained in classic French technique but raised on slow-cooked ribs and spicy rubs, she blends culinary skill with smoke and soul.
- Recipe for Boneless Pork Chops in Cast Iron Skillet: Sear and Baste to Juicy Perfection - October 3, 2026
- Recipe for Boneless Cross Rib Roast: Slow-Roasted Beef with Herb Crust - October 3, 2026
- Hamburgers in Sauce Recipe Crock Pot: Slow-Cooked Savory Delight - October 3, 2026