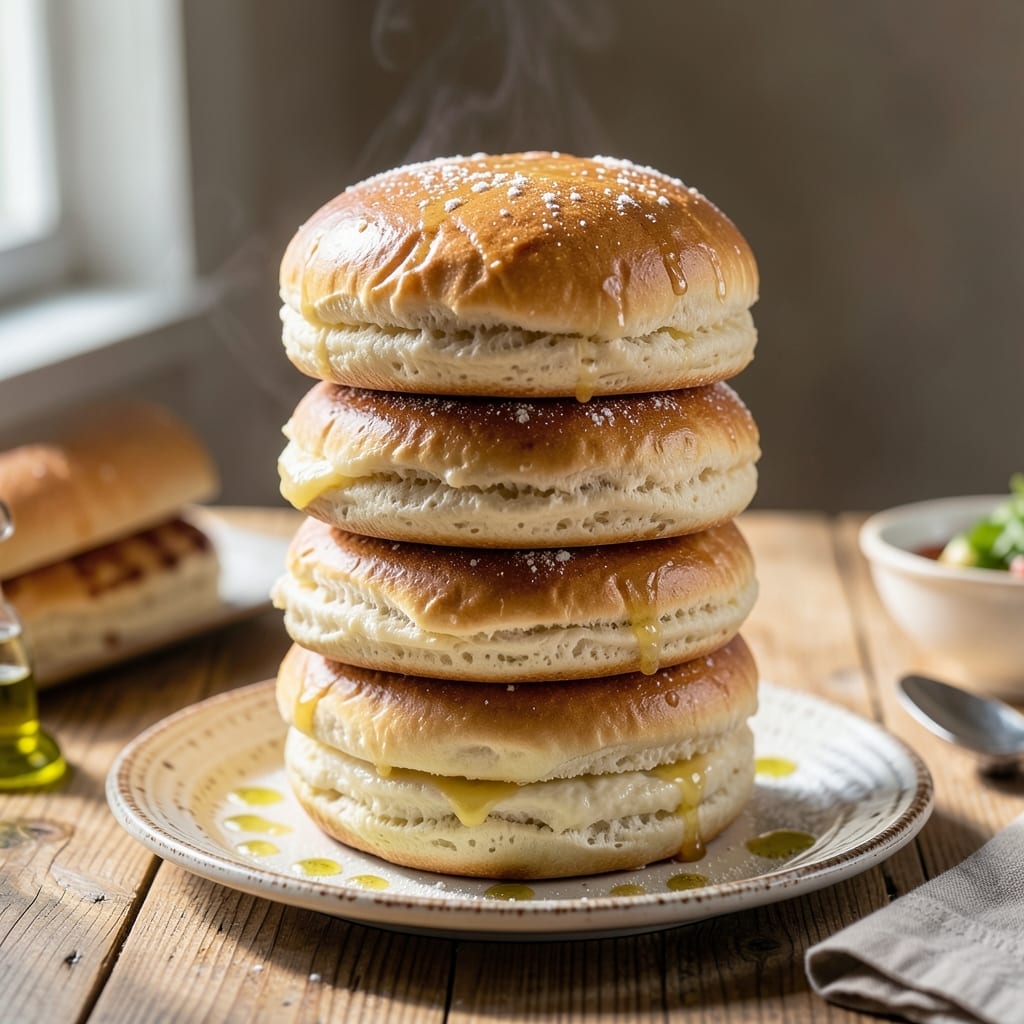
I’ve spent years chasing the perfect bun—soft, pillowy, yet sturdy enough to hold up to even the juiciest burger.
This recipe delivers that bakery-quality texture with a golden crust and tender crumb every time.
Ingredients for Soft Burger Bun
These bakery-quality ingredients create soft, pillowy buns with golden crusts every time.
| Ingredient | Amount | Notes |
|---|---|---|
| Bread Flour 🌾 | 4 cups | High-protein for structure |
| Warm Whole Milk 🥛 | 1 cup | 110°F, not hot |
| Granulated Sugar 🍚 | 2 tbsp | For slight sweetness |
| Active Dry Yeast 🍞 | 2 ¼ tsp | One packet equals 2.25 tsp |
| Unsalted Butter 🧈 | 4 tbsp | Melted and cooled |
| Large Egg 🥚 | 1 whole | Room temperature preferred |
| Salt 🧂 | 1 ½ tsp | Fine sea salt works best |
| Sesame Seeds 🌰 | 2 tbsp | For topping, optional |
| Egg Wash 🥚 | 1 whole | 1 egg + 1 tbsp water |
| All-Purpose Flour 🌾 | ½ cup | For dusting surface |
[recipe_ingredient_scaler]
The flour is everything here. King Arthur Bread Flour is my go-to for that perfect chew—12.7% protein gives you the structure to hold up to juicy burgers. Don’t skip the whole milk; it adds richness you just can’t get from water or skim. Yeast freshness matters too—check the expiration date (or proof it in the milk first) to avoid sad, dense buns.
No bread flour? All-purpose in a pinch but add an extra tbsp of vital wheat gluten per cup. Milk alternatives like oat or almond work, but reduce sugar by half since they’re sweeter. Butter can be swapped for vegetable oil (same amount), though the flavor won’t be as rich. Sesame seeds? Poppy, everything bagel seasoning, or even coarse salt all work.
Dough keeps in the fridge 24 hours (great for make-ahead). Baked buns stay fresh 3 days in a paper bag at room temp, or freeze for 1 month. Reheat frozen buns wrapped in foil at 350°F for 10 minutes.
Why You’ll Love This Recipe
- One Bowl Wonder: I just dump the warm milk, yeast, and sugar in a bowl, let it foam, then mix in the rest—no fancy steps.
- Buttery Clouds: The melted butter in the dough gives them that tender, melt-in-your-mouth texture every time.
- Freezer Friendly: I bake a double batch, freeze half, and pull out a few whenever we’re grilling. Honestly, they thaw like fresh.
- Budget Stretcher: Bread flour and milk cost pennies compared to store buns, and I get a dozen soft, golden results.
Step-by-Step Instructions for Soft Burger Buns
Here’s the method I use to achieve bakery-quality results with a tender, pillowy texture.
Step 1: Activate the Yeast and Mix the Dough
In a large bowl, combine the 1 cup Warm Whole Milk, 2 tbsp Granulated Sugar, and 2.25 tsp Active Dry Yeast. Let this sit for 5-10 minutes until the yeast becomes frothy and active. This step is crucial—if the yeast doesn’t bubble, your buns won’t rise properly.
Once the yeast is activated, add the 1 whole Large Egg, 4 tbsp Unsalted Butter (melted and cooled), and 1.5 tsp Salt. Stir to combine. Then, gradually incorporate the 4 cups Bread Flour, mixing until a shaggy dough forms. The dough will be sticky, but that’s normal at this stage.
Step 2: Knead Until Smooth and Elastic
Turn the dough out onto a surface lightly dusted with the 0.5 cup All-Purpose Flour. Knead for 8-10 minutes until the dough becomes smooth, elastic, and slightly tacky but no longer sticky. If it sticks to your hands, add a little more all-purpose flour, 1 tablespoon at a time.
This kneading process develops the gluten, which gives the buns their structure and chewy texture. You’ll know it’s ready when you can stretch a small piece of dough thin enough to see light through it without it tearing—a technique bakers call the “windowpane test.”
Step 3: First Rise Until Doubled in Size
Place the kneaded dough in a lightly greased bowl, cover it with a clean kitchen towel, and let it rise in a warm, draft-free spot for 1-2 hours, or until it has doubled in size. I like to turn my oven on to its lowest setting for 2 minutes, then turn it off and place the bowl inside—this creates the perfect warm environment.
The dough should spring back slowly when you press a finger gently into it. If it springs back quickly, it needs more time. This first rise allows the yeast to work its magic, creating air pockets that result in a light, fluffy texture.
Step 4: Shape, Second Rise, and Prepare for Baking
Once the dough has doubled, punch it down to release the air and turn it out onto your work surface. Divide it into 4 equal portions (since this recipe makes 4 servings) and shape each into a smooth, round ball. Place the balls on a parchment-lined baking sheet, spacing them 2-3 inches apart.
Cover the shaped buns with a towel and let them rise again for 30-45 minutes, until they’ve puffed up noticeably. Preheat your oven to 375°F during the last 15 minutes of this rise. Just before baking, brush the tops with the egg wash (1 egg + 1 tbsp water) and sprinkle with the 2 tbsp Sesame Seeds for added texture and flavor.
Step 5: Bake to Golden Perfection
Bake the buns in the preheated oven for 15-20 minutes, or until they’re golden brown on top and sound hollow when tapped lightly on the bottom. Rotate the baking sheet halfway through the baking time to ensure even browning.
Remove the buns from the oven and let them cool on a wire rack for at least 10 minutes before slicing. This cooling step is essential—it allows the structure to set so the buns hold their shape when you slice them open for burgers. Serve warm for the best texture, or store in an airtight container for up to 2 days.
Pro Tips For Making Soft Burger Bun
- Test Your Yeast: I learned this the hard way—always proof your active dry yeast in the warm milk with a pinch of sugar first. If it doesn’t bubble within 5 minutes, your buns won’t rise.
- Use Room-Temp Butter: Cold butter tears the dough, so take it out 30 minutes before mixing. Sounds weird, but it works: soft butter blends evenly for that tender crumb.
- Don’t Over-Flour: Resist the urge to dump extra flour on the counter. Too much makes buns dense—I used to do this and wondered why they were tough.
- Brush With Milk: Right before baking, brush the tops with whole milk for that golden, soft finish. My grandmother swore by this, and she was right.
Storing and Reheating soft burger bun
Room Temperature Storage
Let your buns cool completely, then store in a paper bag at room temperature. This keeps the crust from getting soggy while maintaining softness. They’ll stay fresh for 2-3 days—perfect for weekend burger feasts. I always keep a few on hand for impromptu cookouts. 💛
Refrigerator Storage
For longer freshness, wrap cooled buns individually in plastic wrap and place in a ziplock bag. They’ll keep in the fridge for up to 1 week. Before serving, warm them in the oven to restore that just-baked texture.
Freezing for Later
Freeze buns in a single layer first on a baking sheet, then transfer to a freezer bag. They’ll stay fresh for up to 1 month. Squeeze out excess air to prevent freezer burn—this preserves the soft texture.
Oven Reheating
Preheat oven to 350°F. Wrap buns in aluminum foil and heat for 8-10 minutes. For crispier crusts, unwrapped for the last 2 minutes. This method revives them almost as good as fresh. 🔥
Microwave Quick Fix
For a fast option, microwave a bun on high for 15-20 seconds. Place a damp paper towel over it to prevent drying. Works great when you’re in a hurry but want that soft texture.
Toasting for Burgers
Lightly toast sliced buns in a dry skillet for 30 seconds per side. This adds a subtle crunch while keeping the inside soft—ideal for holding up to juicy burgers.
Nutrition Facts
Frequently Asked Questions
Why use bread flour instead of all-purpose?
Bread flour has higher protein which creates more gluten for that perfect chewy structure. All-purpose works in a pinch but add 1 tbsp vital wheat gluten per cup.
Can I make these ahead of time?
Yes! Shape and refrigerate the dough overnight for a slow rise. Bake in the morning for fresh buns.
How do I prevent dense buns?
Ensure your yeast is fresh and the dough rises until doubled. Knead until smooth and elastic for the lightest texture.
What’s the ideal baking temperature?
Bake at 375°F for 15-20 minutes until golden brown. Rotate the pan halfway for even browning.

Trained in classic French technique but raised on slow-cooked ribs and spicy rubs, she blends culinary skill with smoke and soul.
- Recipe for Boneless Pork Chops in Cast Iron Skillet: Sear and Baste to Juicy Perfection - October 3, 2026
- Recipe for Boneless Cross Rib Roast: Slow-Roasted Beef with Herb Crust - October 3, 2026
- Hamburgers in Sauce Recipe Crock Pot: Slow-Cooked Savory Delight - October 3, 2026