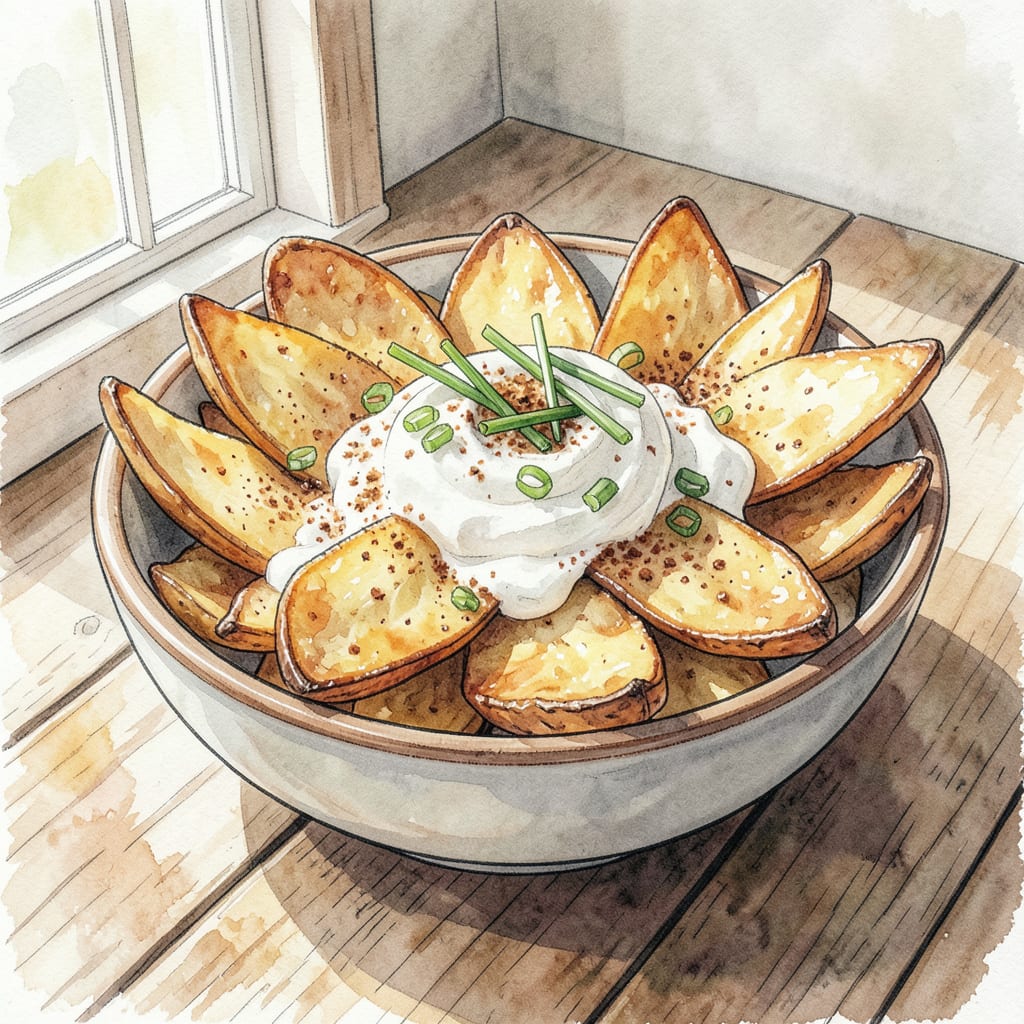
I’m about to share my secret for achieving perfectly crunchy sour cream and onion chips at home. 🔥 The key lies in precise temperature control and a special seasoning blend that elevates these chips to homemade perfection.
By following my recipe, you’ll be able to create irresistible sour cream and onion flavored chips from scratch. The result is a snack that’s both addictive and satisfying, perfect for munching on while watching your favorite show or sharing with friends at your next gathering.
Ingredients for Sour Cream and Onion Chips
Simple ingredients for that perfect crunchy snack you’ve been craving.
| Ingredient | Amount | Notes |
|---|---|---|
| Potato Slices 🥔 | 4 cups | Thinly sliced, about 1/16 inch |
| Vegetable Oil 🫒 | 2 cups | For frying, can reuse |
| Sour Cream Powder 🧀 | 2 tbsp | Or dried sour cream mix |
| Onion Powder 🧅 | 1 tbsp | Dehydrated onion flavor |
| Garlic Powder 🧄 | 1 tsp | Adds depth, not overpowering |
| Salt 🧂 | 1 tsp | Kosher or sea salt preferred |
| Black Pepper 🌶️ | ½ tsp | Freshly ground for best flavor |
| Paprika 🌿 | ¼ tsp | Smoked or sweet variety |
| Cornstarch 🌾 | 1 tbsp | Helps crispiness, optional |
[recipe_ingredient_scaler]
For the crispiest chips, Russet potatoes are best. Look for ones labeled ‘high starch’—they yield that perfect crunch. I buy mine from Costco in bulk, but regular grocery stores work too. Make sure they’re firm, not soft or green. The vegetable oil should be high-smoke point—avocado oil is a great choice.
Sour cream powder can be tricky to find. Try health food stores or online at Amazon. If you’re using dried sour cream mix, check the ingredients—some contain anti-caking agents that might affect flavor. For onion powder, McCormick is a reliable brand. You can toast whole spices (like black peppercorns) in a dry pan for 30 seconds to release more flavor before grinding.
Chips stay crispy for 2-3 days in an airtight container. If they lose crunch, a quick re-toast in the oven helps. Store leftover seasoning blend in a cool, dark place—good for 6 months. You can freeze raw potato slices on a baking sheet, then transfer to a freezer bag for 3 months—just thaw before frying.
Step-by-Step Instructions for Sour Cream and Onion Chips
Let’s make these delicious homemade chips. I’ll guide you through the process.
👨🍳 Step 1: Prepare the Potato Slices
Start by rinsing the 4 cups Potato Slices under cold water to remove excess starch. I like to use a salad spinner or clean kitchen towels to dry them thoroughly. This step is crucial because dry potatoes yield crispier chips. Make sure they’re completely dry before moving on.
Next, mix the 1 tbsp Cornstarch with the 2 tbsp Sour Cream Powder, 1 tbsp Onion Powder, 1 tsp Garlic Powder, 1 tsp Salt, 0.5 tsp Black Pepper, and 0.25 tsp Paprika in a large bowl. Add the dried potato slices and toss until they’re evenly coated with the seasoning mixture.
🔥 Step 2: Heat the Vegetable Oil
Pour the 2 cups Vegetable Oil into a large, heavy-bottomed pot or deep fryer. I prefer using a thermometer to monitor the oil temperature accurately. Heat the oil to 350°F – this is the ideal temperature for frying potato chips. Be careful not to let it smoke.
Once the oil reaches the correct temperature, carefully add a small batch of the seasoned potato slices. Don’t overcrowd the pot – fry in batches if necessary. You’ll know they’re cooking properly when they start to bubble and turn golden.
🍳 Step 3: Fry to Perfection
Fry the potato slices for 3-5 minutes or until they reach your desired level of crispiness. I like to check on them after 3 minutes and then every 30 seconds thereafter until they’re golden brown. Use a slotted spoon to remove the chips from the oil and place them on a paper towel-lined plate to drain excess oil.
Repeat the frying process with the remaining potato slices in batches. Keep an eye on the oil temperature between batches and adjust the heat as needed to maintain 350°F. If you notice the chips browning too quickly, reduce the heat slightly.
👨🍳 Step 4: Season and Serve
Once all the chips are fried and drained, give them a final toss with any remaining seasoning mixture. I like to serve these sour cream and onion chips immediately while they’re still warm and crispy. You can store any leftovers in an airtight container, but they’ll be best fresh.
Enjoy your delicious homemade sour cream and onion chips! They’re perfect for snacking or as a side dish. I promise you’ll love the flavor and texture.
Pro Cooking Tips for This Dish
Perfect Frying Temperature
Maintaining the correct oil temperature is crucial for achieving crispy sour cream and onion chips. I always heat my oil to 350°F for optimal results. Use a thermometer to monitor the temperature accurately – I prefer ThermoWorks thermometers for their precision.
Batch Frying Technique
Fry the potato slices in small batches to prevent overcrowding the pot. This ensures each chip cooks evenly and becomes perfectly crispy. I typically fry 1/2 cup of potato slices at a time. Between batches, I check the oil temperature and adjust the heat as needed to maintain 350°F.
Seasoning Strategies
The key to authentic sour cream and onion flavor lies in the seasoning blend. I mix sour cream powder with onion powder, garlic powder, and a touch of paprika for depth. Experiment with different ratios to find your perfect balance. For an extra kick, I sometimes add a pinch of cayenne pepper to the seasoning mix.
Drying Potato Slices
Properly drying the potato slices before frying is essential for achieving maximum crispiness. I use a salad spinner to remove excess moisture, then dry them further with clean kitchen towels. This step makes a significant difference in the final texture of your chips. 🔥
Oil Selection
Choose a high-smoke point oil like avocado oil or peanut oil for frying. These oils can handle the high temperatures required for making crispy chips without imparting unwanted flavors. I prefer avocado oil for its neutral taste and high smoke point.
Storage Tips
To keep your homemade chips crispy, store them in an airtight container with paper towels to absorb any excess moisture. If they lose their crispiness, a quick re-toast in the oven at 350°F for a few minutes can help restore their texture. I like to make fresh batches as needed to enjoy them at their best.
Nutrition Facts

Trained in classic French technique but raised on slow-cooked ribs and spicy rubs, she blends culinary skill with smoke and soul.
- Recipe for Boneless Pork Chops in Cast Iron Skillet: Sear and Baste to Juicy Perfection - October 3, 2026
- Recipe for Boneless Cross Rib Roast: Slow-Roasted Beef with Herb Crust - October 3, 2026
- Hamburgers in Sauce Recipe Crock Pot: Slow-Cooked Savory Delight - October 3, 2026