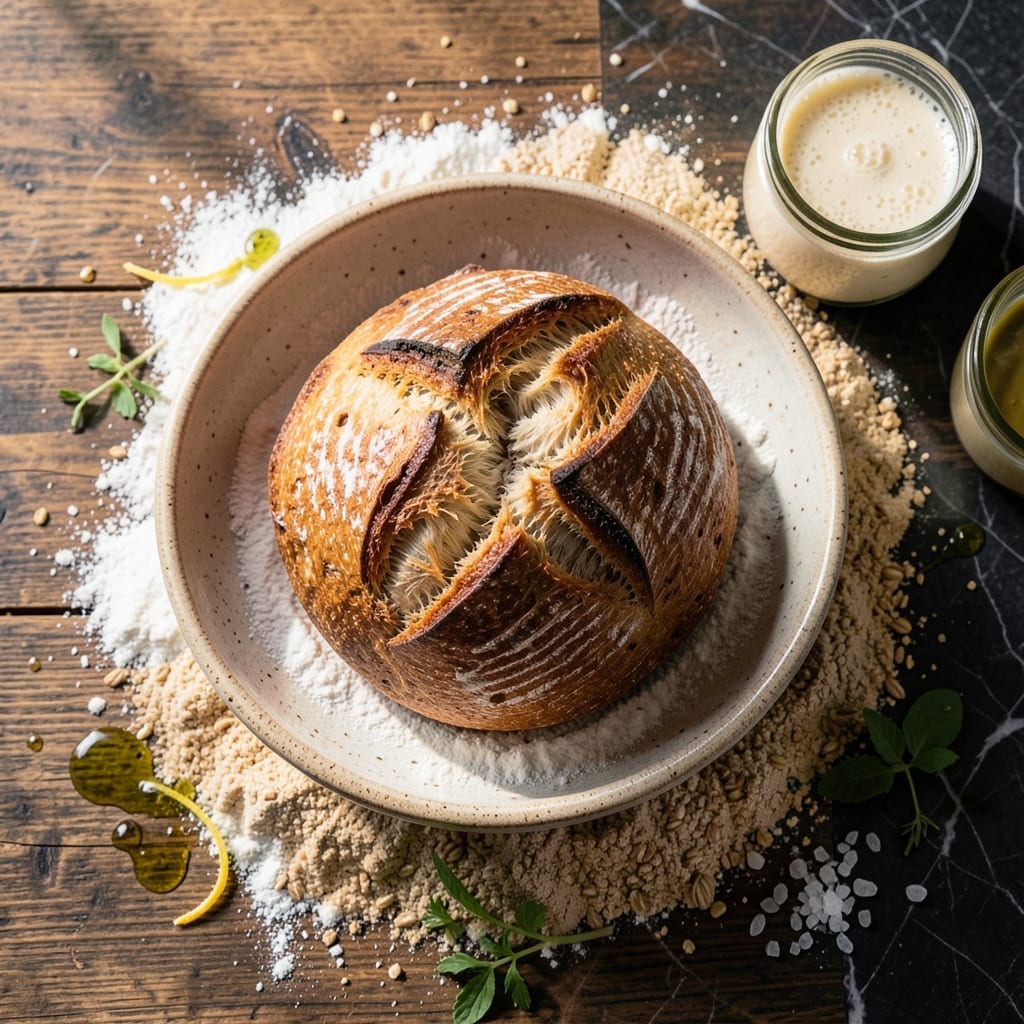
There’s nothing quite like the satisfaction of pulling a golden sourdough loaf from your oven, knowing you’ve created something truly special. This recipe transforms simple ingredients into an artisan masterpiece with that signature tangy flavor.
With patience and my proven technique, you’ll achieve a crusty exterior and airy crumb that rivals any bakery. The sourdough starter does most of the work, developing complex flavors during its long fermentation.
Ingredients for Sourdough Bread Recipe with Starter
Simple flour, water, salt, and time create this artisan masterpiece with signature tang.
| Ingredient | Amount | Notes |
|---|---|---|
| Active Sourdough Starter 🍞 | ½ cup | Fed and bubbly, 100% hydration |
| Bread Flour 🌾 | 3 ½ cups | High protein content preferred |
| Whole Wheat Flour 🌾 | ½ cup | For depth of flavor |
| Water 💧 | 1 ½ cups | Filtered, room temperature |
| Fine Sea Salt 🧂 | 2 tsp | Dissolved in water for even distribution |
| Olive Oil 🫒 | 1 tbsp | For bowl coating and dough handling |
| Honey 🍯 | 1 tsp | Optional, aids in browning |
| Rice Flour 🌾 | ¼ cup | For dusting banneton |
| Cornmeal 🌽 | 2 tbsp | For dusting baking surface |
[recipe_ingredient_scaler]
The starter is everything here. You need an active, bubbly sourdough starter—if it’s not doubling in 4-6 hours at room temp, feed it until it’s vigorous. King Arthur bread flour is my go-to for consistency, but any high-protein bread flour works. The whole wheat adds depth (use organic stone-ground if you can find it). Water should be filtered and room temp—chlorine can inhibit fermentation.
No whole wheat flour? Substitute with more bread flour—texture will be slightly less complex. Out of rice flour? Semolina or all-purpose flour works for dusting. Honey can be omitted entirely or swapped for maple syrup. The olive oil is just for handling—any neutral oil works. If your dough feels slack, add flour 1 tbsp at a time.
Store your starter in the fridge between uses—feed it weekly to keep it alive. This loaf stays fresh for 3-4 days in a bread box or wrapped in linen. Slice and freeze for up to 3 months (toast straight from frozen).
Why You’ll Love This Recipe
- Minimal Effort: I mix the dough the night before and let it rise while I sleep—no kneading, no fuss.
- That Sourdough Tang: The starter gives it that deep, slightly tart flavor you just can’t get from store-bought loaves.
- Feeds a Crowd: One batch makes two loaves, so I always have extra for sandwiches or gifting to neighbors.
- Pantry Staples Only: Bread flour, whole wheat, water, salt—nothing fancy, and my starter keeps going for months.
Step-by-Step Instructions for Sourdough Bread With Starter
Here’s the method I’ve refined through countless loaves for that perfect artisan result.
Step 1: Mix and Autolyse the Dough
In a large mixing bowl, combine the 0.5 cup Active Sourdough Starter, 1.5 cups Water, 3.5 cups Bread Flour, and 0.5 cup Whole Wheat Flour. Use your hands or a dough whisk to mix until no dry bits remain. The dough will be shaggy and rough at this stage—that’s exactly what you want.
Cover the bowl with a damp towel and let it rest for 30-60 minutes. This autolyse period allows the flour to fully hydrate and starts gluten development without any kneading. You’ll notice the dough becomes smoother and more elastic as it rests.
Step 2: Add Salt and Develop Gluten
After autolyse, sprinkle the 2 tsp Fine Sea Salt evenly over the dough surface. If using, add the 1 tsp Honey now. Wet your hands to prevent sticking and dimple the salt into the dough, then perform a series of stretch-and-folds.
Do 4 sets of stretch-and-folds, spaced 15 minutes apart. To stretch-and-fold, grab one side of the dough, stretch it upward, and fold it over to the opposite side. Rotate the bowl and repeat on all sides. The dough will transform from sticky to smooth and elastic, with visible strength.
Step 3: Bulk Ferment with Folds
After the final stretch-and-fold, cover the bowl and let the dough ferment at room temperature for 4-6 hours. The ideal temperature is 75-78°F. During this time, the dough should rise by about 50-75% and develop airy bubbles.
I perform 2 additional sets of stretch-and-folds during the first 2 hours of bulk fermentation. This reinforces the dough structure. You’ll know it’s ready for shaping when it’s jiggly, has visible bubbles, and springs back slowly when poked.
Step 4: Pre-Shape and Bench Rest
Turn the dough out onto a lightly floured surface. Shape it into a loose round by pulling the edges toward the center and tucking them under. Let it rest uncovered for 20-30 minutes. This bench rest relaxes the gluten, making final shaping easier.
Dust your banneton generously with the 0.25 cup Rice Flour—this prevents sticking and creates that beautiful rustic pattern. After the bench rest, shape the dough into a tight boule or batard by pulling the dough toward you and rolling it tightly, sealing the seam at the bottom.
Step 5: Final Proof and Bake
Place the shaped dough seam-side up in the prepared banneton. Cover and refrigerate for 12-18 hours for cold proofing. This slow fermentation develops maximum flavor. Preheat your oven to 475°F with a Dutch oven inside for 1 hour before baking.
Turn the dough out onto a parchment-lined surface dusted with the 2 tbsp Cornmeal. Score the top with a lame or sharp knife, then transfer to the hot Dutch oven. Bake covered for 20 minutes, then uncovered for 20-25 minutes until deep golden brown and the internal temperature reaches 208-210°F.
Cool on a wire rack for at least 1 hour before slicing. The 1 tbsp Olive Oil can be used to grease your bowl or hands during handling for easier dough management.
Pro Tips For Making Sourdough Bread Recipe With Starter
- Check Starter Readiness: I learned this the hard way—your starter should float in water before using. If it sinks, it’s not active enough and your loaf won’t rise properly.
- Autolyse First: Mix the flour and water and let it sit for 30-60 minutes before adding salt and starter. This small step makes the dough easier to handle and improves gluten development.
- Skip Cold Proofing: Resist the urge to proof your dough in the fridge overnight if your kitchen is warm. Room-temperature proofing (75-80°F) for 4-6 hours gives better flavor and texture.
- Score Deeply: Use a razor or sharp knife to score the dough at least ½ inch deep just before baking. Shallow cuts won’t let the bread expand properly, and you’ll end up with a dense loaf.
Troubleshooting Great sourdough bread recipe with starter
Dough Not Rising
If your dough looks lifeless after 4-6 hours, check your starter first. It should be bubbly and active, doubling in size within 4-6 hours after feeding. If it’s sluggish, feed it 1:1:1 ratio of starter:flour:water and wait until it’s vigorous before trying again. 💡
Weak Gluten Development
If your dough feels slack and tears easily, you may need more stretch-and-folds. I’ve found that 4 sets spaced 15 minutes apart works wonders. Also, ensure you’re using high-protein bread flour—King Arthur is my trusted brand for consistent results.
Overproofed Dough
If your dough collapses when scored or has a sour smell, it’s likely overproofed. Next time, reduce bulk fermentation to 4 hours at 75°F. Watch for visual cues: the dough should be jiggly with bubbles and spring back slowly when poked.
Dense Crumb
This often happens with underproofed dough or insufficient gluten development.
Pale Loaf
If your bread lacks that golden-brown color, try adding 1 tsp honey to the dough for better browning. Also, bake uncovered for the full 20-25 minutes after the initial covered phase. The Dutch oven traps steam, which is essential for a good rise.
Sticking Issues
To prevent sticking, dust your banneton generously with rice flour and your baking surface with cornmeal. I also recommend using parchment paper when transferring to the Dutch oven. This ensures easy release and that perfect rustic look. ✨
Nutrition Facts
Frequently Asked Questions
How do I know my starter is ready?
Your starter should double in size within 4-6 hours after feeding and have plenty of bubbles. It should also pass the float test: drop a small spoonful in water—if it floats, it’s ready.
Why did my loaf turn out dense?
Dense crumb usually means underproofing or weak gluten. Ensure you complete all stretch-and-folds and let the dough rise 50-75% during bulk fermentation.
Can I bake without a Dutch oven?
Yes! Use a heavy oven-safe pot with a lid or place a metal bowl over your loaf on a baking sheet. Preheat to 475°F for the same steam effect.
How long should I cool the bread?
Resist the urge to slice early! Cooling for at least 1 hour lets the crumb set properly. Cutting too soon can make the bread gummy.

Trained in classic French technique but raised on slow-cooked ribs and spicy rubs, she blends culinary skill with smoke and soul.
- Recipe for Boneless Pork Chops in Cast Iron Skillet: Sear and Baste to Juicy Perfection - October 3, 2026
- Recipe for Boneless Cross Rib Roast: Slow-Roasted Beef with Herb Crust - October 3, 2026
- Hamburgers in Sauce Recipe Crock Pot: Slow-Cooked Savory Delight - October 3, 2026