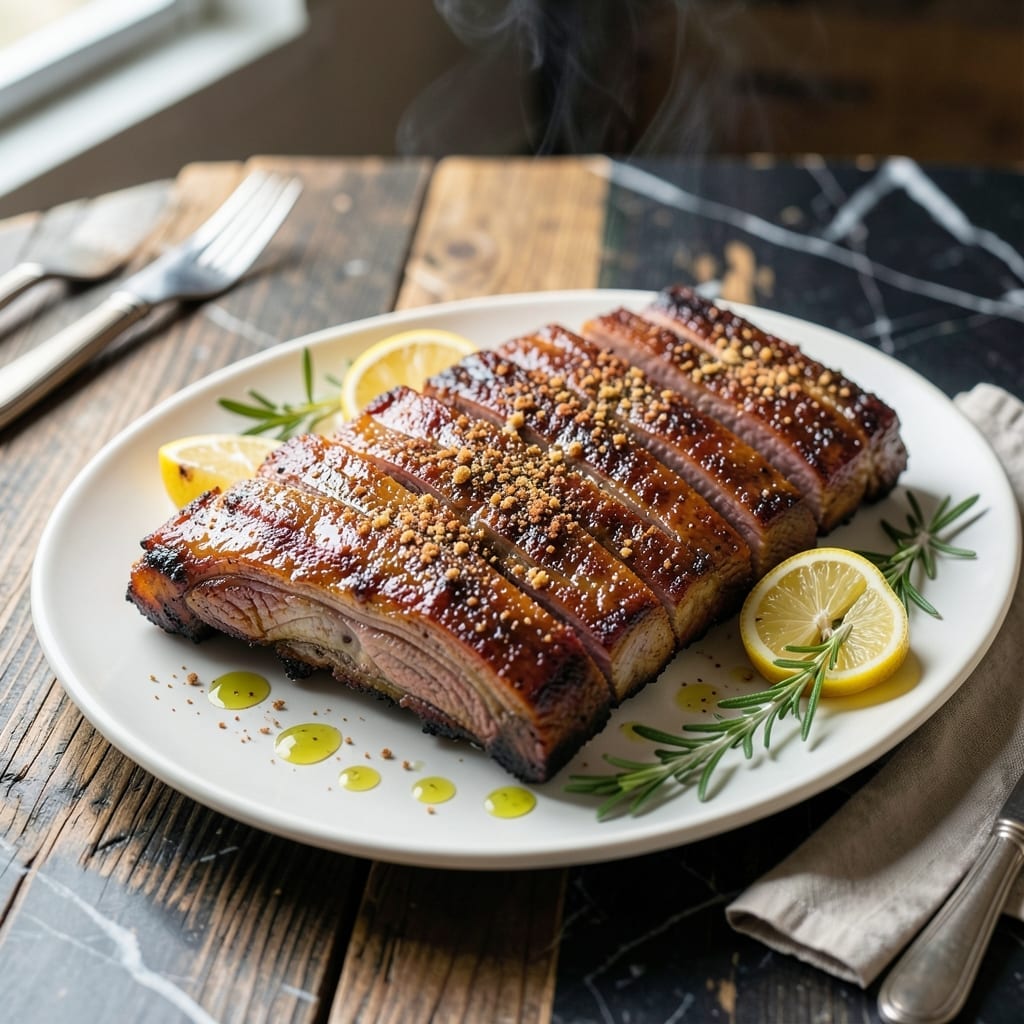
This oven method delivers tender St. Louis ribs with minimal effort. No smoker needed—just your kitchen and a few hours.
I developed this technique to replicate slow-smoked results indoors, using a simple dry rub and precise temperature control for perfect texture every time.
Ingredients for St Louis Rib Oven
A simple dry rub and a few hours transform these ribs into tender perfection.
| Ingredient | Amount | Notes |
|---|---|---|
| St. Louis Style Pork Ribs 🥩 | 2 lb | Rack trimmed of membrane |
| Brown Sugar 🍚 | ½ cup | Light or dark variety |
| Kosher Salt 🧂 | 2 tbsp | Diamond Crystal preferred |
| Black Pepper 🌶️ | 2 tbsp | Freshly ground for potency |
| Paprika 🌶️ | 2 tbsp | Smoked or sweet variety |
| Garlic Powder 🧄 | 1 tbsp | Not garlic salt substitute |
| Onion Powder 🧅 | 1 tbsp | Fine powder consistency |
| Chili Powder 🌶️ | 1 tbsp | Mild or hot preference |
| Dry Mustard 🟡 | 1 tsp | Ground mustard powder |
| Apple Cider Vinegar 🍏 | ¼ cup | For dry rub moisture |
| Liquid Smoke 💨 | 1 tsp | Optional for smoky depth |
| Barbecue Sauce 🍯 | 1 cup | For glazing finish |
[recipe_ingredient_scaler]
The ribs are the foundation—St. Louis style (trimmed of membrane) ensures even cooking. Source from Costco for consistent quality and quantity. Diamond Crystal kosher salt is the professional standard for seasoning blends due to its clean flavor and even distribution. For the paprika, smoked variety adds authentic barbecue depth, though sweet works if that’s your preference.
No smoked paprika? Add extra liquid smoke at half the amount. Short on time? Pre-mixed barbecue rub works in a pinch (about 3 tbsp total). The apple cider vinegar tenderizes—white vinegar or lemon juice can substitute. For the barbecue sauce, Sweet Baby Ray’s or Stubb’s are reliable store-bought options. Fresh out of brown sugar? Coconut sugar or maple syrup (dried) at equal volume.
The dry rub keeps in an airtight container for 6 months. Ribs should be cooked within 3-4 days of purchase. Leftovers (if any) reheat beautifully in the oven at 325°F for 15 minutes, wrapped in foil with a splash of water.
Why You’ll Love This Recipe
- I’ll be real: they taste even better the next day, piled high on a sandwich with a little BBQ sauce.
- Set It and Forget: The oven does all the work while I kick back with a drink. Just season, cover, and let those ribs slow-cook to tenderness.
- Sweet & Smoky: That brown sugar crust with a hint of paprika gives the meat a caramelized edge I can’t resist.
- Feeds a Hungry Crowd: Honestly, these ribs disappear faster than any other dish at my gatherings. Six racks and still never enough.
Step-by-Step Instructions for St Louis Rib Oven Recipe
This method delivers perfectly tender ribs with a smoky depth that rivals outdoor cooking.
Step 1: Prepare and Season the Ribs
Start by removing the tough membrane from the bone side of the 2 lb St. Louis Style Pork Ribs. Slide a butter knife under the membrane at one end, then lift and pull it off in one piece using a paper towel for grip. This ensures the rub penetrates the meat properly.
In a bowl, combine the 0.5 cup Brown Sugar, 2 tbsp Kosher Salt, 2 tbsp Black Pepper, 2 tbsp Paprika, 1 tbsp Garlic Powder, 1 tbsp Onion Powder, 1 tbsp Chili Powder, and 1 tsp Dry Mustard. Pat the ribs dry with paper towels, then rub the spice mixture evenly over all surfaces, pressing firmly to adhere.
Add the 0.25 cup Apple Cider Vinegar and 1 tsp Liquid Smoke to the remaining rub in the bowl and mix into a paste. Spread this mixture over the ribs for an extra layer of flavor. Let the seasoned ribs sit at room temperature for 30 minutes while the oven preheats.
Step 2: Slow-Roast the Ribs
Preheat your oven to 275°F. Place the ribs meat-side up on a foil-lined baking sheet. Cover the ribs tightly with another sheet of foil, creating a sealed packet. This traps steam, which is crucial for breaking down the connective tissue.
Roast the ribs in the preheated oven for 2.5 hours. The low temperature and sealed environment will render the fat and tenderize the meat gradually. You’ll know they’re ready for the next step when the meat has pulled back from the bones by about ¼ inch and a fork slides in with minimal resistance.
Step 3: Glaze and Finish
Carefully remove the ribs from the oven and increase the temperature to 400°F. Unwrap the foil and brush the ribs generously with 1 cup Barbecue Sauce, coating all surfaces. The sauce should be thick enough to cling to the meat without running off.
Return the ribs to the oven, uncovered, for 15-20 minutes. This high-heat phase caramelizes the sauce and develops a sticky, glossy finish. Watch closely during the last 5 minutes to prevent burning—the edges should be deep brown but not blackened.
Step 4: Rest and Serve
Remove the ribs from the oven and let them rest for 10 minutes before slicing. This allows the juices to redistribute throughout the meat, ensuring every bite is moist and flavorful. The ribs should be tender enough that the meat nearly falls off the bone when cut.
Slice the rack between the bones into individual ribs. Serve immediately with any remaining barbecue sauce on the side. The meat should pull away cleanly from the bone with a slight tug, offering that promised fall-off-the-bone tenderness with a smoky, caramelized exterior.
Pro Tips For Making St Louis Rib Oven
- Preheat to 275: I learned this the hard way—low and slow at 275°F for 3-4 hours keeps the ribs tender without drying them out.
- Trim the Membrane: Sounds tedious, but peeling that tough silver skin off the back of the ribs lets the rub actually penetrate the meat.
- Skip the Boiling: After ruining a rack by boiling first, I now just pat the ribs dry before seasoning—no pre-cooking needed for oven ribs.
- Wrap at 160: Pull them when the internal temp hits 160°F, wrap in foil with a splash of apple juice, and finish to 203°F for fall-off-the-bone texture.
Storing and Reheating This Dish
Refrigerator Storage
Let your ribs cool for no more than 2 hours before wrapping tightly in aluminum foil or placing in airtight containers. They’ll keep in the fridge at 40°F or below for up to 4 days. The flavors deepen overnight, making leftovers taste even better. ❄️
Freezer Storage
For longer storage, wrap individual portions in plastic wrap, then heavy-duty foil, and place in freezer bags. Squeeze out excess air to prevent freezer burn. This method keeps ribs tasty for up to 3 months. I like using vacuum-sealed bags for the best results.
Oven Reheating
Preheat your oven to 325°F. Wrap ribs in foil with 2 tbsp water or broth to maintain moisture. Heat for 15-20 minutes until reaching 165°F internal temperature. This preserves the tenderness you worked so hard to achieve. 🔥
Microwave Method
Place ribs on a microwave-safe dish, cover with a damp paper towel, and heat on 50% power for 2-3 minutes. Check and rotate, then continue in 30-second bursts until warm. Add a splash of barbecue sauce to refresh the flavor.
Nutrition Facts
Frequently Asked Questions
Do I need to remove the membrane before cooking?
Absolutely—always remove the tough membrane first. Slide a butter knife underneath, lift, and pull it off in one piece using a paper towel for grip. This lets the rub penetrate properly and prevents chewy bites.
Can I skip the liquid smoke?
Yes, but your ribs won’t have that classic smoky depth. For a substitute, use smoked paprika in the rub or add 1/2 tsp extra chili powder. The flavor will be milder but still delicious.
How do I know when they’re done?
The meat should pull back from the bones by ¼ inch and a fork should slide in easily. If unsure, check that the internal temperature reaches 195°F for perfect tenderness.
Can I use baby back ribs instead?
Yes, but adjust the cooking time. Baby back ribs are smaller and typically need 2 hours at 275°F instead of 2.5 hours. Keep an eye on them to avoid overcooking.

Trained in classic French technique but raised on slow-cooked ribs and spicy rubs, she blends culinary skill with smoke and soul.
- Recipe for Boneless Pork Chops in Cast Iron Skillet: Sear and Baste to Juicy Perfection - October 3, 2026
- Recipe for Boneless Cross Rib Roast: Slow-Roasted Beef with Herb Crust - October 3, 2026
- Hamburgers in Sauce Recipe Crock Pot: Slow-Cooked Savory Delight - October 3, 2026