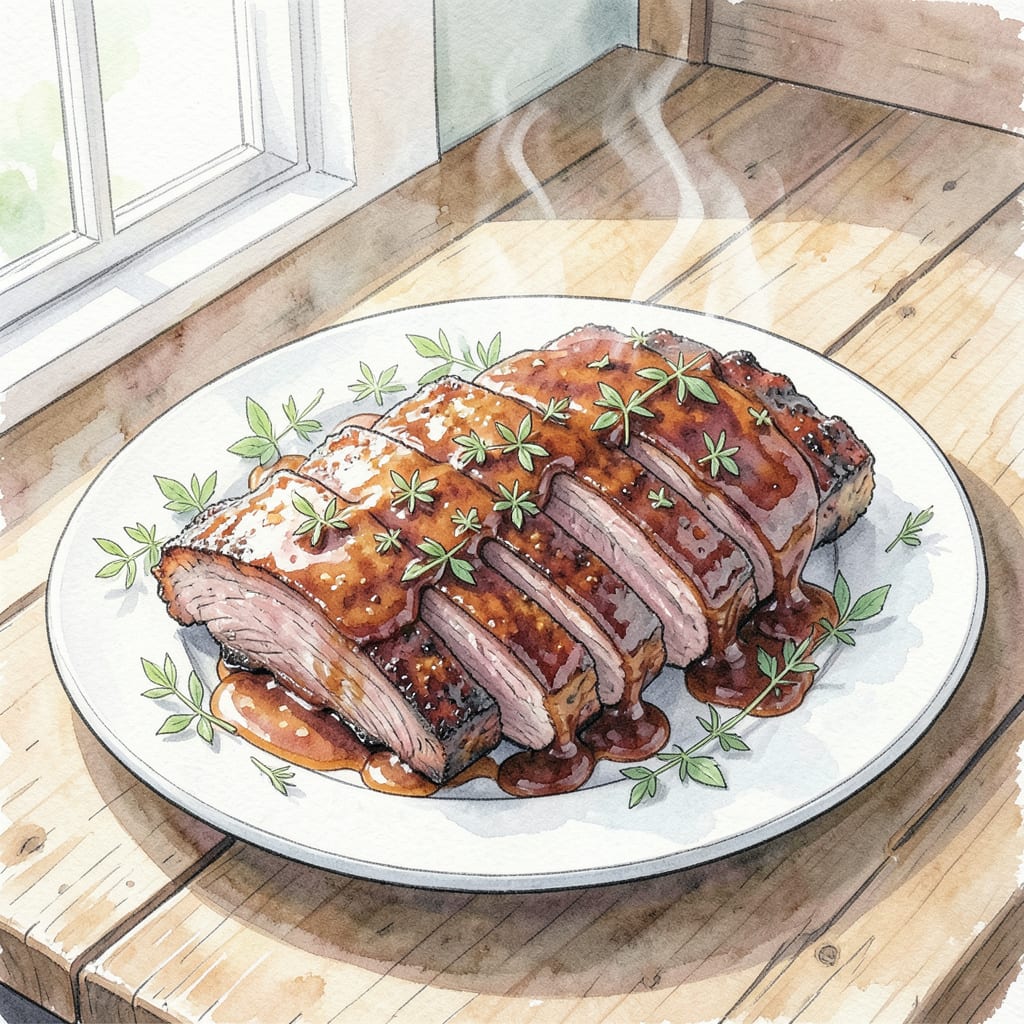
As a pitmaster with a passion for slow-cooked ribs, I’m sharing my secret to achieving tender St. Louis-style ribs in the oven. 🔥 This recipe combines classic BBQ flavors with precise oven temperatures for fall-off-the-bone results.
By using a dry rub and slow cooking at 275°F, you’ll get tender ribs with a caramelized crust. Let’s master this oven BBQ technique together!
Ingredients for St Louis Style Ribs Bbq Recipe Oven
Tender St. Louis-style ribs with a caramelized crust, achieved in the oven.
| Ingredient | Amount | Notes |
|---|---|---|
| Beef Back Ribs 🥩 | 2 lb | St. Louis-style cut, membrane removed |
| Brown Sugar 🍮 | ¼ cup | Packed, for dry rub |
| Smoked Paprika 🌶️ | 2 tbsp | For smoky flavor |
| Garlic Powder 🧄 | 1 tbsp | Not garlic salt |
| Onion Powder 🧅 | 1 tbsp | Adds depth |
| Kosher Salt 🧂 | 1 tbsp | Diamond Crystal preferred |
| Black Pepper 🌶️ | 2 tsp | Freshly ground |
| Cayenne Pepper 🔥 | 1 tsp | Adjust for heat |
| Apple Cider Vinegar 🍎 | ¼ cup | For basting |
| BBQ Sauce 🍯 | 1 cup | Sweet or spicy, for glazing |
| Worcestershire Sauce 💧 | 2 tbsp | Adds umami |
[recipe_ingredient_scaler]
The dry rub is key. Penzeys has great smoked paprika if you want to splurge. For the ribs, Costco and Whole Foods usually have St. Louis-style cut. Make sure to remove the membrane—it makes a huge difference in tenderness. You can buy them pre-trimmed too, just check the packaging.
No apple cider vinegar? White wine vinegar or lemon juice works as a substitute. For the BBQ sauce, Kansas City-style is thick and sweet, while Memphis-style is tangier—use whatever you like. If you’re feeling fancy, try making your own BBQ sauce from scratch. It’s a game-changer.
These ribs keep for 4-5 days in the fridge. Reheat at 250°F until warmed through. You can freeze them for up to 3 months. Just thaw overnight in the fridge and reheat. Simple as that.
Step-by-Step Instructions for St Louis Style Ribs BBQ
Follow these straightforward steps to achieve fall-off-the-bone tender ribs in the oven.
🔥 Step 1: Prepare the Dry Rub and Season the Ribs
In a small bowl, mix together the 0.25 cup Brown Sugar, 2 tbsp Smoked Paprika, 1 tbsp Garlic Powder, 1 tbsp Onion Powder, 1 tbsp Kosher Salt, 2 tsp Black Pepper, and 1 tsp Cayenne Pepper. I like to use my fingers to ensure everything is evenly distributed. Generously coat both sides of the 2 lb Beef Back Ribs with this dry rub, pressing it into the meat to ensure it adheres. Let the ribs sit at room temperature for 30 minutes to allow the seasonings to penetrate.
The dry rub creates a flavorful crust that complements the tender meat. Make sure to coat the ribs evenly, as this will enhance the overall flavor. If you prefer a spicier rub, you can adjust the amount of Cayenne Pepper to your taste.
👨🍳 Step 2: Bake the Ribs Low and Slow
Preheat your oven to 275°F. Place the seasoned ribs on a large baking sheet lined with aluminum foil, bone side down. Cover them tightly with another sheet of foil to create a sealed packet. Bake for 2 hours, or until the meat starts to pull away from the bones and becomes tender. I use a meat thermometer to check for an internal temperature of at least 160°F.
Baking the ribs low and slow is crucial for achieving that fall-off-the-bone tenderness. The slow cooking process breaks down the connective tissues, making the meat incredibly tender. During this time, the ribs will absorb the flavors from the dry rub, enhancing their overall taste.
🍳 Step 3: Baste and Glaze the Ribs
After 2 hours of baking, remove the ribs from the oven and carefully open the foil packet. Brush the ribs with 0.25 cup Apple Cider Vinegar to add moisture and a tangy flavor. Then, generously brush them with 1 cup BBQ Sauce mixed with 2 tbsp Worcestershire Sauce for a rich, savory glaze. Return the ribs to the baking sheet, bone side down, and bake uncovered for an additional 20-25 minutes, or until the sauce is caramelized and sticky. Watch closely to prevent burning.
The combination of Apple Cider Vinegar and BBQ Sauce creates a balanced flavor profile, with the tanginess of the vinegar cutting through the sweetness of the BBQ sauce. This step is crucial for achieving that perfect glaze. Make sure to keep an eye on the ribs as they can go from perfectly glazed to burnt quickly.
🔥 Step 4: Rest and Serve
Once the ribs are done, remove them from the oven and let them rest for 10 minutes before cutting. This resting period allows the juices to redistribute, making the ribs even more tender. Cut the ribs into individual portions and serve immediately. The result should be tender, flavorful ribs with a deliciously caramelized glaze.
Resting the ribs is a critical step that should not be skipped. It allows the meat to relax, making it easier to cut and serve. The final result should be ribs that are not only tender but also full of flavor, with a beautiful glaze that adds to their appeal.
Make-Ahead Tips for This st louis style ribs bbq recipe oven
Advance Preparation
You can prepare the dry rub up to 1 week in advance and store it in an airtight container. This allows the flavors to meld together beautifully. I often make a double batch and keep it handy for future BBQ sessions. 🔥
Refrigerating Ribs Overnight
Season the ribs with the dry rub and let them sit in the refrigerator overnight (or for at least 8 hours). This enhances flavor penetration and tenderizes the meat. Just
Make-Ahead Basting Liquid
Mix the 0.25 cup Apple Cider Vinegar and 1 cup BBQ Sauce with 2 tbsp Worcestershire Sauce up to 2 days in advance. Store this basting liquid in the refrigerator. Give it a good stir before using to ensure the flavors are well combined.
Reheating Strategies
If you’re short on time, you can bake the ribs up to 2 days in advance. Reheat them in the oven at 250°F until warmed through, about 20-25 minutes. You can also reheat individual portions in the microwave, covered, on 70% power for 2-3 minutes. Just be careful not to overheat.
Freezing for Later
You can freeze the cooked ribs for up to 3 months. Wrap them tightly in foil or store them in an airtight container. To reheat, thaw overnight in the refrigerator, then reheat as described above. This makes for a quick and delicious meal on busy days. ❄️
Final Glaze Timing
Apply the final BBQ sauce glaze just before serving for the best results. If you’re making ahead, consider glazing the ribs during the last 10-15 minutes of reheating. This ensures a fresh, sticky glaze that enhances the overall flavor and presentation.

Trained in classic French technique but raised on slow-cooked ribs and spicy rubs, she blends culinary skill with smoke and soul.
- Recipe for Boneless Pork Chops in Cast Iron Skillet: Sear and Baste to Juicy Perfection - October 3, 2026
- Recipe for Boneless Cross Rib Roast: Slow-Roasted Beef with Herb Crust - October 3, 2026
- Hamburgers in Sauce Recipe Crock Pot: Slow-Cooked Savory Delight - October 3, 2026