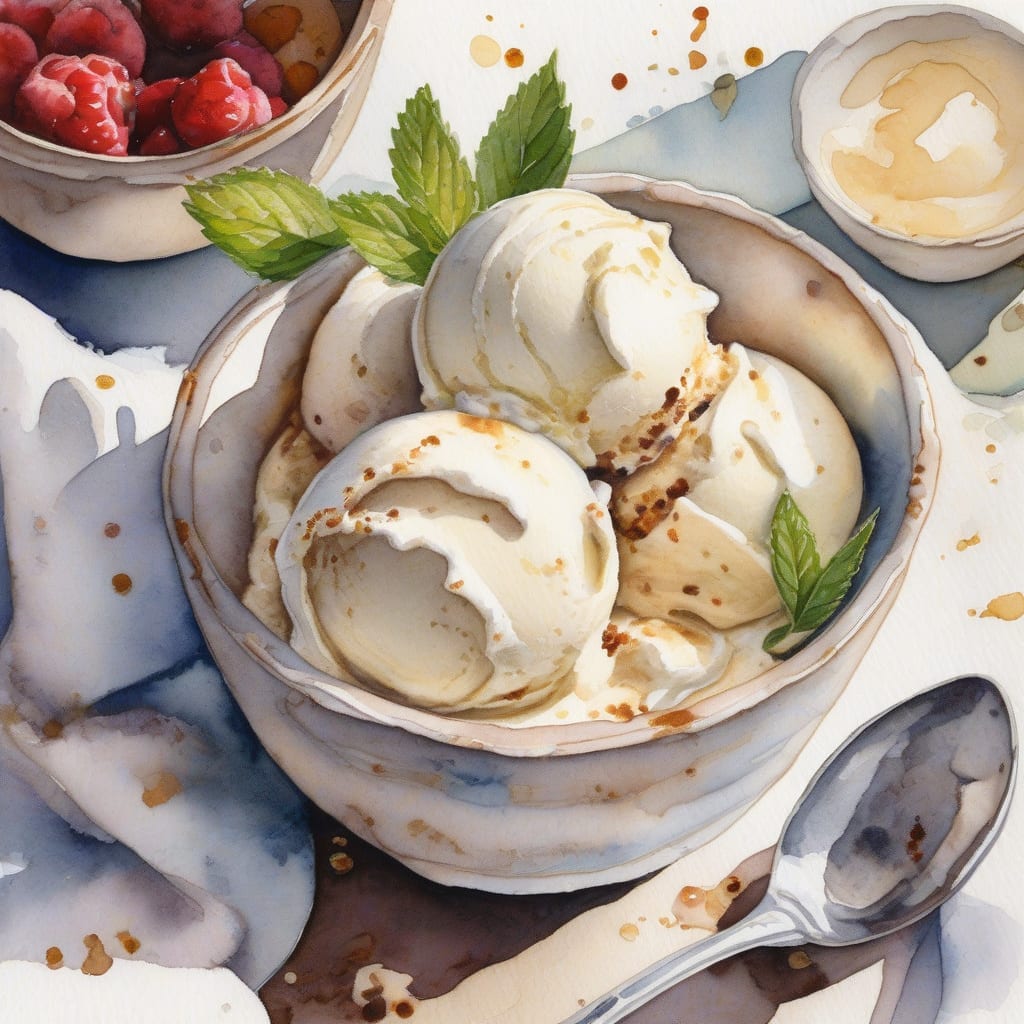
Imagine enjoying a creamy, delicious dessert without any guilt! This indulgent treat allows you to satisfy your sweet cravings while keeping sugar at bay. In just 30 minutes, you can create a delightful ice cream that everyone will love.
What makes this dessert special is its simplicity. Using stevia as a sweetener, it’s a healthier alternative without compromising on flavor. With easy-to-follow steps and minimal ingredients, you’ll feel confident making this frozen delight at home.
By the end of this process, you’ll have a rich, creamy ice cream that’s perfect for hot days or as a sweet ending to any meal. It’s the kind of treat that feels indulgent but is kind to your waistline. Let’s get started!
Ingredients for Stevia ice cream
Gather these simple ingredients to create a creamy, guilt-free frozen dessert everyone will adore.
| Ingredient | Amount | Notes |
|---|---|---|
| Heavy Cream 🥛 | 2 cups | For rich, creamy texture |
| Whole Milk 🥛 | 1 cup | Full-fat preferred for creaminess |
| Stevia Powder 🍬 | ½ cup | Adjust to taste if necessary |
| Vanilla Extract 🍦 | 1 tbsp | Pure extract for best flavor |
| Salt 🧂 | 1 pinch | Enhances sweetness profile |
[recipe_ingredient_scaler]
You can find heavy cream and whole milk at any grocery store; I recommend brands like Organic Valley for quality. Look for heavy cream that contains no additives for the best results. Stevia powder is available in most supermarkets, often in the baking aisle. Choose a brand that uses high-quality stevia for optimal sweetness without bitterness.
If you prefer a different sweetener, consider using erythritol or monk fruit as alternatives to stevia. Adjust the amount based on your personal sweetness preference. For vanilla extract, always opt for pure extract rather than imitation for a richer flavor. You can also infuse flavors like almond or coconut for a unique twist.
Store any leftover ice cream in an airtight container in the freezer. It will maintain its best quality for up to two weeks. Let it sit at room temperature for a few minutes before serving to soften, making scooping easier. Churned ice cream can also be stored in smaller portions for individual servings.
Step-by-Step Instructions for Guilt-Free Ice Cream
Let me guide you through each step to create a creamy, delicious treat in just 30 minutes.
👨🍳 Step 1: Combine the Dairy Ingredients
In a large mixing bowl, pour in the 2 cups of heavy cream and 1 cup of whole milk. I prefer using full-fat milk for a richer texture, which makes the ice cream extra creamy. Whisk the two together until they are well combined—this should take about 30 seconds.
Make sure to scrape the sides of the bowl to incorporate all the milk and cream. This step is crucial as it ensures a smooth base for your ice cream. You’ll notice a lovely creamy texture forming as you whisk.
👨🍳 Step 2: Add Sweetness and Flavor
Now it’s time to sweeten things up! Gradually add in the 0.5 cup of stevia powder while whisking continuously. I find that adding the sweetener slowly helps it dissolve better into the mixture. The sweetness level can be adjusted based on your taste preference—feel free to taste as you go.
Next, stir in 1 tablespoon of vanilla extract and a pinch of salt. The salt enhances the sweetness and balances the flavors beautifully. Continue whisking until everything is fully incorporated; this should take another 1-2 minutes.
🥘 Step 3: Churn the Mixture
Pour the mixture into your ice cream maker. If you don’t have one, you can place it in a shallow dish and use a fork to stir every 30 minutes to break up ice crystals. If using an ice cream maker, churn according to the manufacturer’s instructions, typically around 20-25 minutes.
You’ll know it’s ready when the ice cream thickens and has a soft-serve consistency. If you prefer a firmer texture, transfer it to an airtight container and freeze for an additional 1-2 hours after churning.
⏰ Step 4: Serve and Enjoy!
Once your ice cream reaches your desired consistency, scoop it into bowls or cones. I love to serve it with fresh fruit or a drizzle of sugar-free chocolate sauce. Enjoy your guilt-free treat right away or store it in the freezer for later.
Remember to let it sit at room temperature for about 5-10 minutes before scooping if it hardens too much in the freezer. This will make serving much easier!
The Sweet Side of Health: Benefits of Stevia in Ice Cream
Using stevia as a sweetener in your ice cream offers numerous health advantages. This natural alternative contains zero calories, making it a guilt-free option for those watching their sugar intake. With stevia, you can enjoy a delicious treat without compromising your wellness goals. 🌱
Moreover, stevia has a low glycemic index, meaning it won’t spike your blood sugar levels. This makes it a fantastic choice for those managing diabetes or anyone seeking to maintain stable energy levels throughout the day. I always choose high-quality stevia brands like SweetLeaf for the best flavor without the bitter aftertaste. 💚
In addition to its sweetening properties, stevia is rich in antioxidants, which can help combat oxidative stress and inflammation in the body. Incorporating it into your desserts not only satisfies your cravings but also adds a nutritional boost. I’ve found that desserts made with stevia can be just as enjoyable as their sugar-laden counterparts, allowing me to indulge without worry!
When making ice cream, remember to adjust the amount of stevia based on your personal taste preferences. It’s potent, so start with 0.5 cup and tweak as needed. This way, you’ll craft a creamy treat that aligns perfectly with your dietary choices while still being utterly delicious! 🍦
Nutrition Facts
320kcal

Trained in classic French technique but raised on slow-cooked ribs and spicy rubs, she blends culinary skill with smoke and soul.
- Recipe for Boneless Pork Chops in Cast Iron Skillet: Sear and Baste to Juicy Perfection - October 3, 2026
- Recipe for Boneless Cross Rib Roast: Slow-Roasted Beef with Herb Crust - October 3, 2026
- Hamburgers in Sauce Recipe Crock Pot: Slow-Cooked Savory Delight - October 3, 2026