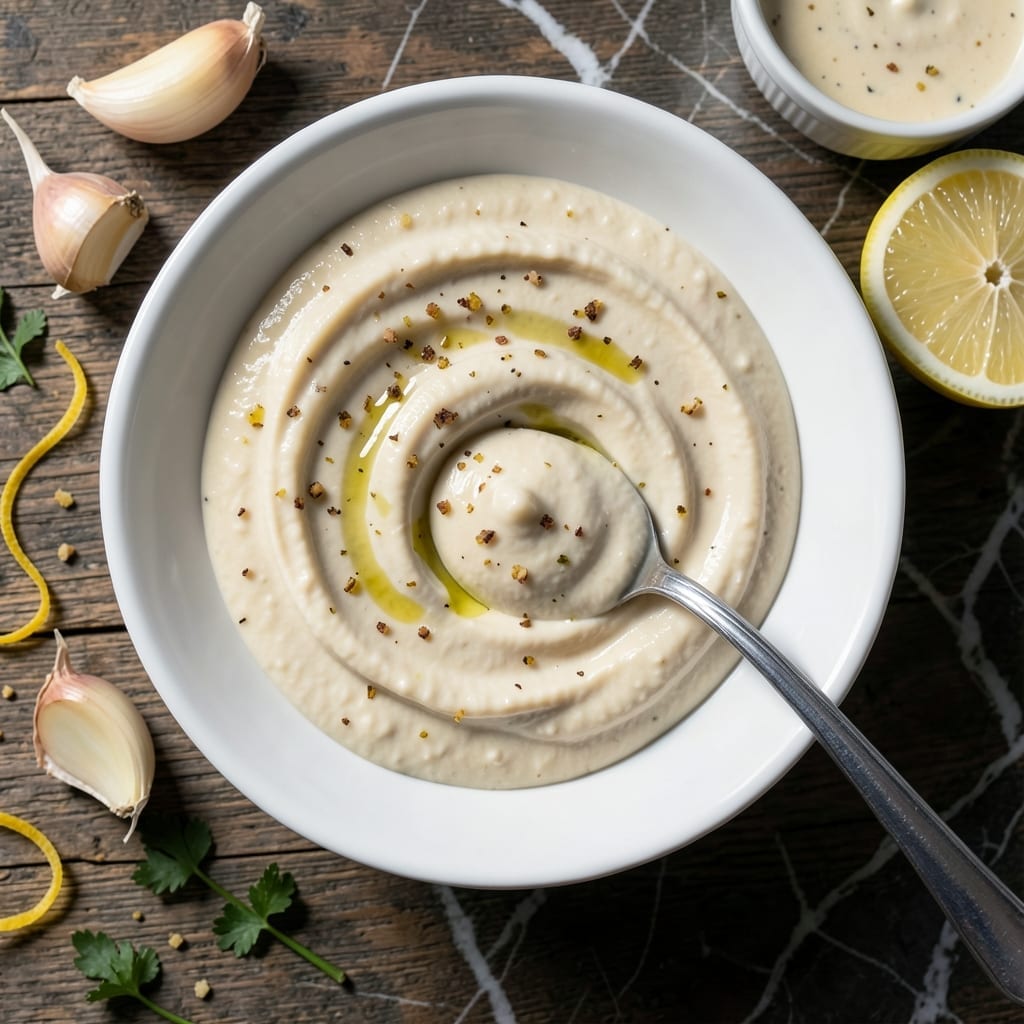
This creamy garlic spread transforms any sandwich with its rich, velvety texture and bold flavor. I developed this version to capture that signature restaurant taste at home.
With just a few simple ingredients, this aioli delivers the perfect balance of garlicky punch and smooth consistency. It keeps well in the fridge for up to a week.
Ingredients for Subway Garlic Aioli
A handful of pantry staples creates that signature creamy, velvety sandwich spread you love.
| Ingredient | Amount | Notes |
|---|---|---|
| Mayonnaise 🥛 | 1 cup | Full-fat for creaminess |
| Garlic Cloves 🧄 | 6 cloves | Freshly minced for bold flavor |
| Lemon Juice 🍋 | 1 tbsp | Freshly squeezed for brightness |
| Dijon Mustard 🟡 | 1 tsp | Smooth variety preferred |
| Extra-Virgin Olive Oil 🫒 | 1 tbsp | High-quality for depth |
| Salt 🧂 | ½ tsp | Fine sea salt preferred |
| Black Pepper 🌶️ | ¼ tsp | Freshly ground for best results |
| Granulated Sugar 🍚 | ¼ tsp | Balances acidity |
[recipe_ingredient_scaler]
The mayonnaise base is critical here. Duke’s or Hellmann’s deliver the right thickness and richness—avoid low-fat versions, as they lack the body needed for that signature velvety texture. For the garlic, fresh cloves are non-negotiable; jarred minced garlic falls short on flavor. Most grocery stores carry both brands, but Costco offers bulk sizes if you’re making frequent batches.
Need to adjust the garlic intensity? Use 4 cloves for milder flavor or 8 for extra punch. No Dijon? Yellow mustard works in a pinch, though it’s slightly sweeter. Short on lemon juice? White vinegar at half the amount maintains the acidity. The olive oil can be omitted if necessary, but it adds a professional depth worth including.
This aioli keeps beautifully in an airtight container in the fridge for up to 1 week. The flavors actually deepen after 24 hours, so making it a day ahead is ideal. Stir before each use, as separation is natural.
Why You’ll Love This Recipe
- 5-Minute Mix: I just dump mayo, pressed garlic, lemon, and Dijon in a bowl—no cooking, no fuss.
- Garlicky Zing: The raw garlic and tangy lemon hit that bright, bold flavor I crave in every bite.
- Sandwich Savior: I slather it on subs, burgers, even as a veggie dip—it’s my secret for making leftovers disappear.
- Pantry Staples: Mayo, garlic, lemon—things I already have, so I’m never stuck without a flavor boost.
Step-by-Step Instructions for Garlic Aioli
This method ensures a smooth, balanced spread with the perfect consistency for sandwiches.
Step 1: Mince the Garlic to a Fine Paste
Peel all 6 cloves Garlic Cloves and mince them as finely as possible using a chef’s knife. For the smoothest texture, continue chopping until the garlic forms a near-paste consistency.
This fine mincing prevents large garlic chunks in the finished spread and ensures even flavor distribution throughout the aioli.
Step 2: Whisk the Wet Ingredients Until Emulsified
In a medium bowl, combine the 1 cup Mayonnaise, 1 tbsp Lemon Juice, 1 tsp Dijon Mustard, and 1 tbsp Extra-Virgin Olive Oil. Whisk vigorously for 30-45 seconds until the mixture is completely smooth and slightly thickened.
The emulsion should look glossy and cohesive, with no visible separation between the oil and mayonnaise. This step ensures a creamy, stable base for the spread.
Step 3: Incorporate the Garlic and Seasonings
Add the minced garlic paste, 0.5 tsp Salt, 0.25 tsp Black Pepper, and 0.25 tsp Granulated Sugar to the bowl. Fold the ingredients together gently but thoroughly to maintain the emulsified texture.
Taste and adjust seasoning if needed, though the full flavor will develop after resting. The garlic should be well-distributed, with no visible clumps, and the aioli should have a balanced, tangy profile with a subtle sweetness.
Step 4: Rest for Flavor Development
Cover the bowl with plastic wrap and refrigerate for at least 1 hour before using. This resting period allows the garlic’s sharpness to mellow and the flavors to meld together harmoniously.
The aioli will thicken slightly as it chills, reaching the ideal consistency for spreading on sandwiches. For the best texture, give it a quick stir before serving.
Pro Tips For Making Subway Garlic Aioli
- Grate the Garlic: Use a microplane for the garlic cloves instead of mincing—it blends smoother into the mayo and avoids those chunky bites that ruin the texture. I learned this the hard way after picking garlic out of my teeth all evening.
- Warm the Mayo: Take the mayonnaise out of the fridge 15-20 minutes before mixing. Cold mayo doesn’t incorporate the olive oil as well, and you’ll end up with a separated mess.
- Skip the Bottled Lemon: Always use fresh lemon juice—bottled has a bitter, flat taste that throws off the balance. A quick squeeze of half a lemon is all you need.
- Start Small with Mustard: Add the Dijon mustard in ½ teaspoon increments and taste as you go. It’s potent stuff, and too much will overpower the garlic and lemon. I was skeptical until I tried it and realized subtlety matters.
Essential Equipment for This Dish
Mixing Bowls
I always reach for my stainless steel mixing bowls with non-slip bottoms. The 1.5-quart size gives plenty of room for whisking without splashing. Cuisinox makes durable ones that won’t warp or stain over time.
Whisk Selection
A balloon whisk is essential for emulsifying the aioli properly. I prefer the OXO Good Grips 11-inch—its comfortable handle and flexible wires make quick work of blending the ingredients. The long handle keeps your hands away from the heat if you’re working near the stove.
Garlic Tools
For the garlic, a chef’s knife and cutting board are all you need. I use my 8-inch Wüsthof for fine mincing. If you want a shortcut, a garlic press works too, though the texture won’t be as smooth.
Storage Containers
After making the aioli, transfer it to an airtight container. I love glass mason jars—they’re easy to clean, and you can see the aioli inside. Ball or Kerr brands are reliable and widely available. 💡
Measuring Tools
A set of stainless steel measuring spoons is crucial for accuracy. I keep a magnetic set from Prepworks on my fridge for easy access. The levelers on each spoon ensure precise measurements every time.
Optional Upgrade
For a professional touch, consider a mortar and pestle. It’s perfect for crushing garlic into a paste, which blends seamlessly into the aioli. I use a granite set I picked up at a local kitchen shop—it’s heavy but built to last. 🔥
Nutrition Facts
Frequently Asked Questions
Can I use a food processor for this?
A food processor makes quick work of mincing garlic and blending everything smoothly. Pulse the garlic first, then add remaining ingredients and process until creamy.
Why does my aioli taste too sharp?
Fresh garlic can be potent. Let the mixture rest in the fridge for 1 hour to mellow. If it’s still too strong, add a pinch more sugar or 1/2 tsp mayonnaise to balance.
Can I make this dairy-free?
Yes! Swap regular mayonnaise for a vegan version like Hellmann’s Vegan or Primal Kitchen. The texture and taste will be nearly identical.
How long does it keep in the fridge?
Stored in an airtight container, it stays fresh for 1 week. Stir before using, as some separation is natural.

Trained in classic French technique but raised on slow-cooked ribs and spicy rubs, she blends culinary skill with smoke and soul.
- Recipe for Boneless Pork Chops in Cast Iron Skillet: Sear and Baste to Juicy Perfection - October 3, 2026
- Recipe for Boneless Cross Rib Roast: Slow-Roasted Beef with Herb Crust - October 3, 2026
- Hamburgers in Sauce Recipe Crock Pot: Slow-Cooked Savory Delight - October 3, 2026