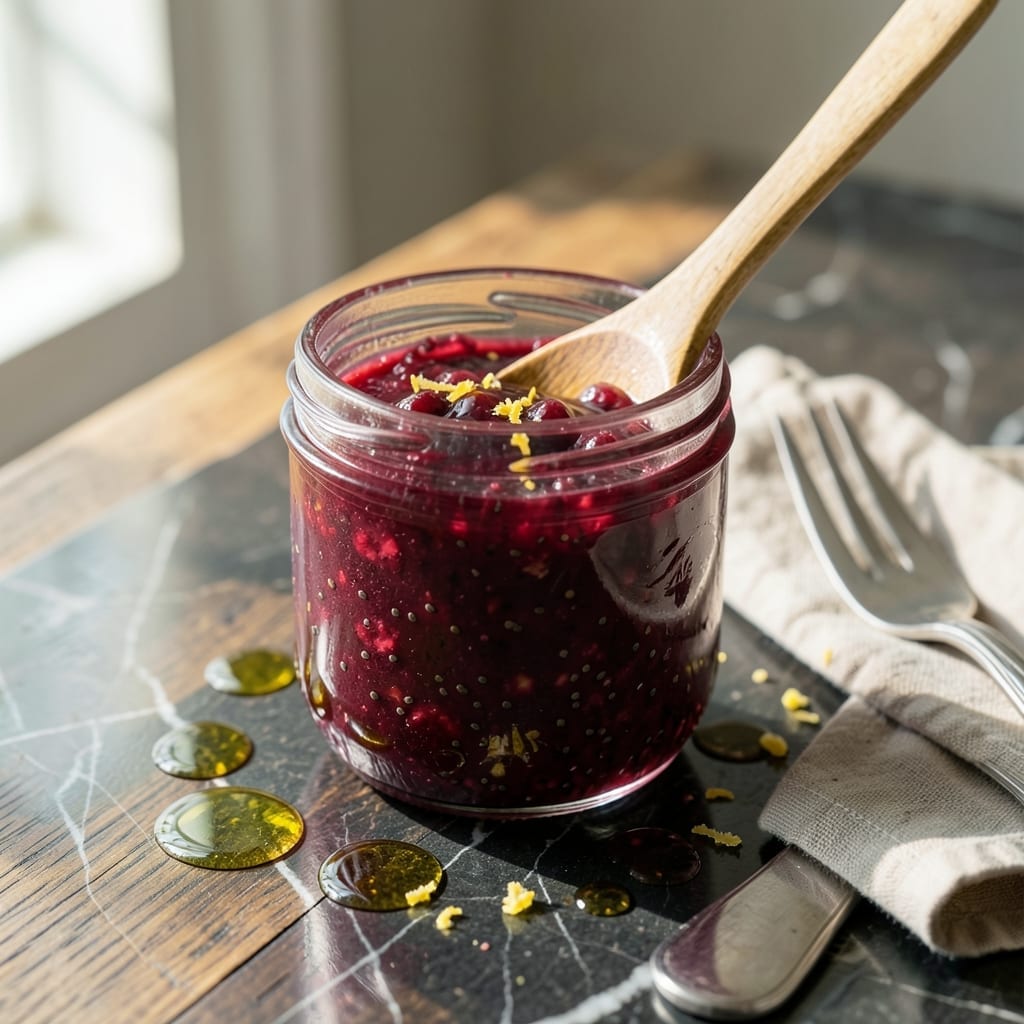
This sugar-free raspberry jam captures the bright, tangy essence of fresh berries without added sweeteners. I developed this recipe after years of testing natural alternatives to sugar.
The result is a vibrant spread that preserves the fruit’s natural flavor and works beautifully on toast, in yogurt, or as a glaze. It keeps for up to 3 weeks in the refrigerator.
Ingredients for Sugar Free Raspberry Jam
Seven simple ingredients transform fresh raspberries into a vibrant, sugar-free spread.
| Ingredient | Amount | Notes |
|---|---|---|
| Fresh Raspberries 🍇 | 4 cups | Fully ripe, unwashed |
| Chia Seeds 🌱 | 3 tbsp | Natural thickening agent |
| Lemon Juice 🍋 | 3 tbsp | Freshly squeezed preferred |
| Lemon Zest 🍋 | 1 tsp | Finely grated from organic lemons |
| Vanilla Extract 🌿 | 1 tsp | Pure extract for best flavor |
| Maple Syrup 🍁 | 2 tbsp | Optional sweetener, adjust to taste |
| Water 💧 | ¼ cup | For adjusting consistency |
[recipe_ingredient_scaler]
Raspberries are the star—opt for organic if possible since you’re eating them skin-on. Farmers markets often have the freshest picks, but grocery store berries work fine (just check for mold). The chia seeds need to be fresh too; old seeds lose their gelling power. I grab mine from Whole Foods bulk bins or Thrive Market for the best quality and price.
No chia seeds? Ground flaxseed at a 1:1 ratio works but may darken the jam. Want it sweeter? Monk fruit sweetener or erythritol blends dissolve better than granulated options. Skip the maple syrup entirely if you prefer zero sweeteners—the natural berry sugars will shine. The lemon zest is non-negotiable though; it brightens all the flavors without adding liquid.
Store in a clean glass jar with a tight lid. Keeps for 3 weeks in the fridge. For longer storage, freeze in ice cube trays (thaw overnight in the fridge). The jam thickens more as it cools, so resist the urge to add extra chia seeds too soon.
Why You’ll Love This Recipe
- No-Cook Magic: I just dump everything in a saucepan and let the chia seeds work their thickening magic—no pectin, no fuss.
- Bright & Tangy: The lemon zest and vanilla extract make the raspberries taste even juicier, like summer in a jar.
- Spreads Everywhere: Honestly, it’s my go-to for toast, yogurt, or even swirled into oatmeal.
- Lasts for Days: One batch fills a small jar and keeps in the fridge for two weeks—so I’m never without my fix.
Step-by-Step Instructions for Sugar Free Raspberry Jam
This straightforward method transforms fresh raspberries into a vibrant, naturally sweetened spread.
Step 1: Mash and Prepare the Raspberry Base
Place the 4 cups Fresh Raspberries in a medium saucepan. Using a potato masher or fork, gently crush the berries until they break down into a chunky purée. You want to release their juices while maintaining some texture—avoid over-mashing into a completely smooth liquid.
This initial breakdown ensures the berries cook evenly and helps the natural pectin activate, which is crucial for achieving the proper jam consistency. The mixture will look quite liquid at this stage, but the chia seeds will work their thickening magic during the process.
Step 2: Add Flavor Enhancers and Simmer
Stir in the 3 tbsp Lemon Juice, 1 tsp Lemon Zest, 1 tsp Vanilla Extract, and 2 tbsp Maple Syrup. The lemon juice not only brightens the raspberry flavor but also helps preserve the jam naturally. The zest adds aromatic depth that complements the berries beautifully.
Place the saucepan over medium heat and bring the mixture to a gentle simmer. Stir frequently with a silicone spatula to prevent sticking, especially as the berries begin to release their juices. You’ll notice the mixture start to thicken slightly after about 5 minutes.
Step 3: Incorporate the Thickening Agent
Once the mixture has simmered for 5-7 minutes and the berries have softened considerably, sprinkle in the 3 tbsp Chia Seeds. Stir immediately and continuously for 1 full minute to distribute the seeds evenly and prevent clumping.
The chia seeds will begin absorbing the liquid almost immediately, creating a gel-like consistency. This natural thickening process is what gives the jam its perfect spreadable texture without any added pectin or sugar. The mixture should start looking noticeably thicker within 2-3 minutes of adding the seeds.
Step 4: Adjust Consistency and Finish
After the chia seeds have had 5 minutes to work their magic, assess the consistency. If it appears too thick, stir in the 0.25 cup Water, 1 tablespoon at a time, until it reaches your desired texture. Remember that the jam will thicken further as it cools.
Remove the saucepan from heat and let the jam sit for 5 minutes to cool slightly. The final product should coat the back of a spoon but still be pourable. The jam will continue to thicken as it cools to room temperature, so don’t be tempted to over-reduce it on the stove.
Transfer to a clean jar and let it cool completely before sealing. The jam will keep in the refrigerator for up to 2 weeks.
Pro Tips For Making Sugar Free Raspberry Jam
- Mash the Raspberries: Use a potato masher or fork to break down the berries before cooking—this releases pectin naturally and thickens the jam without sugar.
- Bloom the Chia: Let the chia seeds soak in the warm raspberry mixture for at least 10 minutes after cooking; they’ll plump up and set properly.
- Skip the Overcooking: I learned this the hard way—keep the heat medium-low and pull it off once it thickens slightly, or the jam will turn bitter from the lemon zest.
- Zest First: Always zest the lemon before juicing it—sounds obvious, but I’ve ruined a few batches trying to zest a juiced half. ═══════════════════════
Common Mistakes When Making sugar free raspberry jam
Over-Mashing Berries
Don’t turn your raspberries into a smooth purée—keep some texture. I found that over-mashing releases too much liquid, making the jam runny even after adding 3 tbsp Chia Seeds. Use a fork or potato masher for just 10-15 gentle presses. 💡
Skipping the Zest
It’s tempting to skip 1 tsp Lemon Zest for convenience, but it adds a bright, aromatic layer that pure juice can’t. David noticed the difference immediately in our taste tests—zest makes the berry flavor pop.
Boiling Too Vigorous
A rolling boil can break down the raspberries too quickly and cause scorching. Keep the heat at a gentle simmer and stir frequently with a silicone spatula. I burned my first batch learning this the hard way.
Adding All Water
If your jam seems thick, don’t dump in the full ¼ cup Water at once. Add 1 tbsp at a time and wait 2 minutes to assess. The chia seeds will continue thickening as it cools, so patience is key. 🔥
Early Storage
Let the jam cool completely before sealing to prevent condensation, which can introduce mold. I transfer mine to a clean jar and leave it uncovered on the counter for 30 minutes before refrigerating.
Old Chia Seeds
Chia seeds lose their gelling power over time. If yours are older than 6 months, test them first in water. If they don’t form a gel within 10 minutes, grab fresh ones from Central Market.
Nutrition Facts
Frequently Asked Questions
Can I use frozen raspberries instead?
Yes, but thaw and drain them first to remove excess liquid. Frozen berries often release more water, which can make your jam runny even with 3 tbsp Chia Seeds.
How do I make it thicker?
Let it sit for 10-15 minutes after cooking—the chia seeds need time to absorb liquid. If still too thin, simmer 2-3 minutes longer or add 1 tsp more chia seeds.
What can I use instead of chia seeds?
Ground flaxseed works at a 1:1 ratio, though it may darken the color. For a smoother texture, blend in 1 tsp xanthan gum at the end.
Can I can this for long-term storage?
No, this recipe isn’t tested for canning safety. For shelf-stable jam, use a tested pectin-based recipe. This version keeps 2 weeks refrigerated or 3 months frozen.

Trained in classic French technique but raised on slow-cooked ribs and spicy rubs, she blends culinary skill with smoke and soul.
- Recipe for Boneless Pork Chops in Cast Iron Skillet: Sear and Baste to Juicy Perfection - October 3, 2026
- Recipe for Boneless Cross Rib Roast: Slow-Roasted Beef with Herb Crust - October 3, 2026
- Hamburgers in Sauce Recipe Crock Pot: Slow-Cooked Savory Delight - October 3, 2026