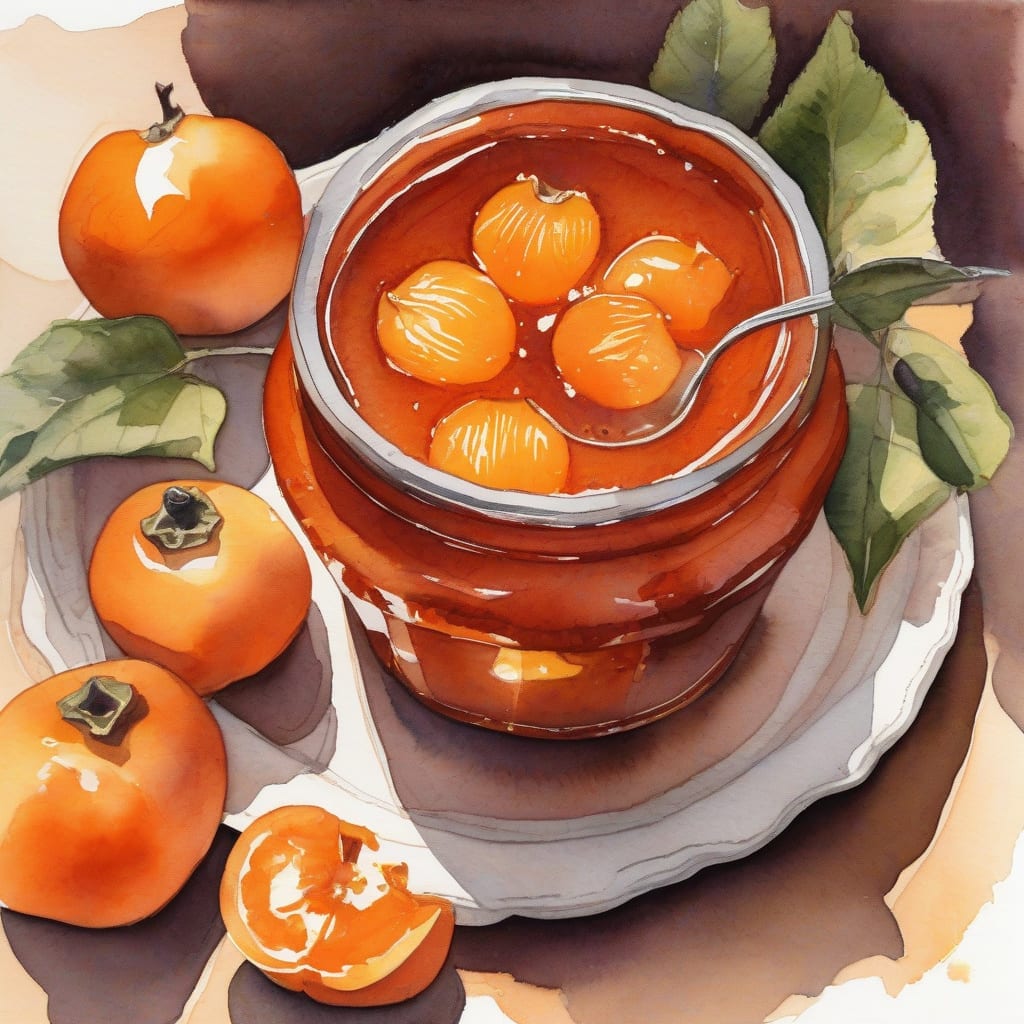
There’s something truly delightful about homemade jam, especially when it features the unique flavor of persimmons. This recipe promises a sweet spread with the perfect texture, making it a great addition to your pantry. With just a few simple steps, you can enjoy this seasonal treat any time of year.
Using Sure Jell ensures a reliable consistency that highlights the natural sweetness of the fruit. You’ll only need a handful of ingredients, including ripe persimmons, sugar, and lemon juice, to create a jam that bursts with flavor. Plus, the straightforward method means even beginners can achieve perfect results.
Once you’ve made this jam, you can store it in sterilized jars for up to a year. The vibrant color and sweet aroma will brighten your breakfast table or snack time. Let’s dive into the details so you can whip up your own batch!
Ingredients for Sure jell persimmon jam
Gather these fresh ingredients to create a delightful batch of homemade persimmon jam.
| Ingredient | Amount | Notes |
|---|---|---|
| Ripe Persimmons 🍐 | 2 lbs | Peeled and pureed |
| Granulated Sugar 🍬 | 4 cups | Adjust based on sweetness preference |
| Lemon Juice 🍋 | ½ cup | Freshly squeezed for brightness |
| Sure Jell Pectin 📦 | 1 box | Follow package instructions |
| Water 💧 | ½ cup | For dissolving pectin |
[recipe_ingredient_scaler]
You can find ripe persimmons at farmers markets or grocery stores, especially in the fall. Look for fruit that yields slightly to pressure and has a vibrant color. For sugar, standard granulated works best, while Sure Jell is available at most supermarkets or online. Check for pectin freshness by looking at the expiration date on the box.
If you prefer a lower sugar option, try using less sugar, but be aware this may affect the jam's texture and shelf life. Fresh lime juice can replace lemon juice for a different flavor profile. If you can't find Sure Jell, look for other brands of fruit pectin, but ensure they are suitable for making jams.
Store the finished jam in sterilized jars in a cool, dark place for up to a year. Once opened, keep refrigerated and consume within a few weeks. For longer storage, consider freezing in airtight containers for up to 6 months without losing quality.
Step-by-Step Instructions for Making Persimmon Jam
Let me guide you through the simple steps to create a delicious and perfectly textured jam.
👨🍳 Step 1: Prepare the Persimmons
Start by peeling and pureeing 2 lbs of ripe persimmons in a blender or food processor. I like to ensure the persimmons are fully ripe, as this maximizes their natural sweetness and flavor. You’ll want a smooth consistency, so blend until no chunks remain. This step is crucial for a silky jam texture.
Once pureed, transfer the persimmon puree to a large pot. You’ll notice the vibrant orange color—this is a great indicator of ripeness and flavor. Having everything prepped and ready will make the cooking process smoother.
🍳 Step 2: Combine Ingredients and Cook
Add the 4 cups of granulated sugar and 0.5 cup of lemon juice to the pot with the persimmon puree. The lemon juice not only adds brightness but also helps balance the sweetness. Stir the mixture well over medium heat until the sugar dissolves completely.
Continue cooking while stirring occasionally until it reaches a gentle simmer. This usually takes about 5-10 minutes. Watch for bubbles forming; this indicates that the mixture is heating up properly. The aroma will be heavenly, so enjoy it!
🔥 Step 3: Add Pectin and Boil
Now it’s time to add 1 box of Sure Jell pectin. Sprinkle it evenly over the surface of your mixture, stirring continuously to avoid clumping. Bring the mixture to a full rolling boil—this means it should bubble vigorously even when stirred.
Boil for exactly 1 minute, stirring constantly. This is crucial for activating the pectin, ensuring your jam sets perfectly. You’ll see the mixture thickening slightly as it cooks. Once done, remove it from heat and let it cool slightly before proceeding.
🥘 Step 4: Jar and Process the Jam
Prepare your canning jars by sterilizing them in boiling water or running them through a dishwasher cycle. While they’re still warm, ladle your hot jam into the jars, leaving about ¼ inch of headspace at the top. Wipe the rims clean before sealing with lids.
If you’re canning, process the jars in a boiling water bath for 5-10 minutes to ensure they seal properly. After processing, let them cool completely on a towel or wire rack. You’ll hear that satisfying “pop” as they seal, indicating your jam is ready for storage!
⏰ Step 5: Enjoy Your Homemade Jam!
Your homemade persimmon jam is now complete! Allow it to cool completely before storing it in the refrigerator or pantry. It will thicken further as it cools. I love spreading this on toast or using it in desserts—the flavor is simply delightful.
Remember, properly sealed jars can last up to a year in a cool, dark place, but once opened, enjoy within a few weeks. I can’t wait for you to taste this sweet creation!
“Storing Your Persimmon Jam for Maximum Freshness”
To keep your homemade persimmon jam fresh, it’s essential to store it correctly. Once the jars are filled, ensure they are sealed tightly with lids. I recommend using sterilized glass jars to prevent contamination and extend shelf life. This jam can last up to one year when stored in a cool, dark place. 🌟
After opening a jar, be sure to keep it refrigerated. The jam should be consumed within 2-3 weeks for optimal flavor and freshness. I love using a clear label to mark the date opened, so I never lose track. If you notice any off smells or changes in texture, it’s best to discard it. 💡
For longer storage options, consider freezing your jam. Transfer the jam into airtight containers, leaving some space at the top for expansion. Properly frozen persimmon jam can last for up to 6 months. When you’re ready to enjoy it, simply thaw it in the refrigerator overnight before use. 🍬
Nutrition Facts
290kcal

Trained in classic French technique but raised on slow-cooked ribs and spicy rubs, she blends culinary skill with smoke and soul.
- Recipe for Boneless Pork Chops in Cast Iron Skillet: Sear and Baste to Juicy Perfection - October 3, 2026
- Recipe for Boneless Cross Rib Roast: Slow-Roasted Beef with Herb Crust - October 3, 2026
- Hamburgers in Sauce Recipe Crock Pot: Slow-Cooked Savory Delight - October 3, 2026