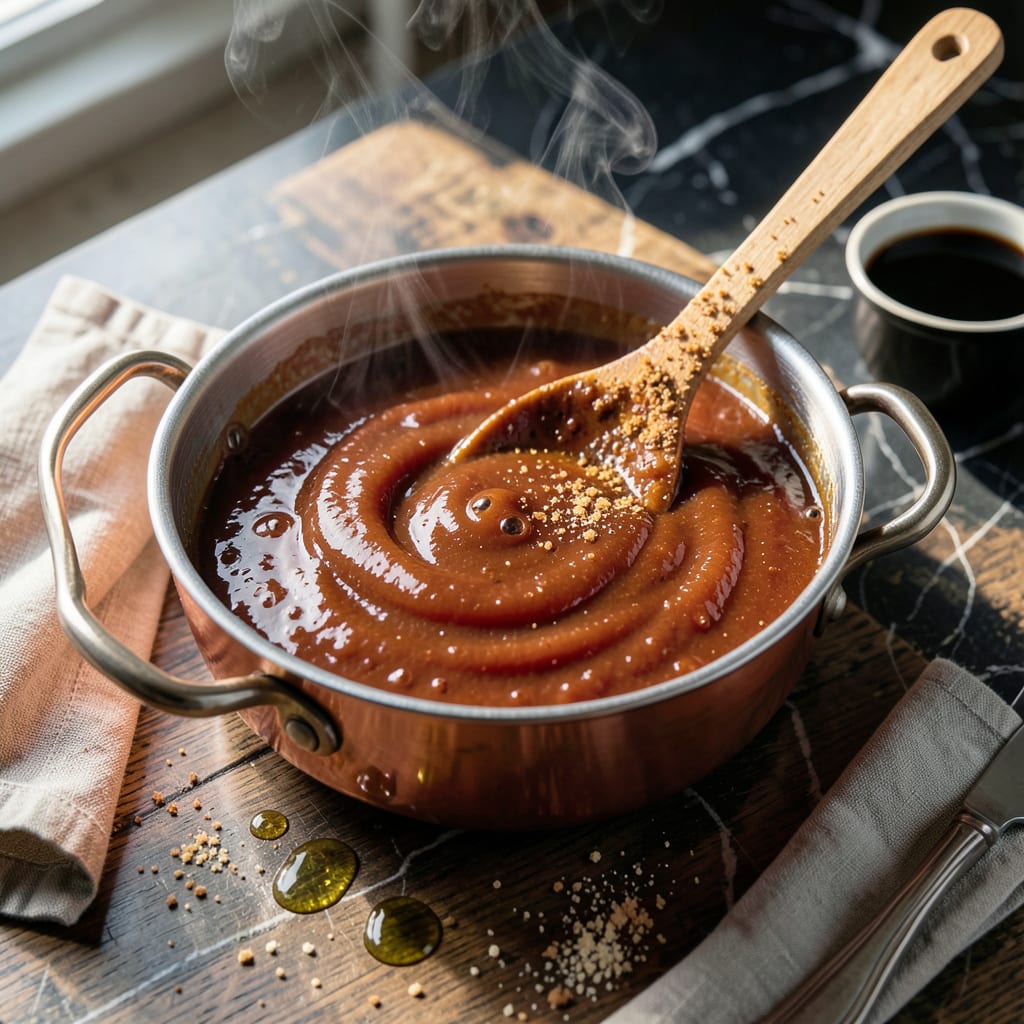
This BBQ sauce delivers the perfect balance of sweet, tangy, and smoky flavors that elevate any grilled dish. My pitmaster experience taught me that the right blend of molasses and vinegar creates that signature depth.
With just 10 minutes of prep, you’ll have a restaurant-quality sauce that keeps for weeks in the fridge. It’s the kind of recipe that turns good barbecue into unforgettable.
Ingredients for Sweet Baby Ray’s Bbq
Ten simple ingredients blend into that signature sauce you know and love.
| Ingredient | Amount | Notes |
|---|---|---|
| Ketchup 🍅 | 2 cups | High-quality for best results |
| Molasses 🫙 | ½ cup | Dark and robust variety |
| Apple Cider Vinegar 🍏 | ½ cup | Balances sweetness with tang |
| Brown Sugar 🍚 | ½ cup | Light or dark works fine |
| Worcestershire Sauce 🫒 | 2 tbsp | Adds depth and umami |
| Liquid Smoke 🔥 | 1 tsp | Optional for smokier flavor |
| Garlic Powder 🧄 | 1 tsp | Enhances savory notes |
| Onion Powder 🧅 | 1 tsp | Complements garlic flavor |
| Salt 🧂 | 1 tsp | Adjust to taste preference |
| Black Pepper 🌶️ | ½ tsp | Freshly ground preferred |
[recipe_ingredient_scaler]
The molasses is key here—Grandma’s or Brer Rabbit are my go-to brands (the dark stuff, not the light). Kraft ketchup works fine, but if you’re feeling fancy, Heinz Simply or Sir Kensington’s add a little extra depth. The apple cider vinegar needs to be the raw, unfiltered kind (look for the cloudy stuff at Whole Foods or Trader Joe’s) for that perfect tang. Don’t skip the Worcestershire—it’s the secret to that savory backbone.
No molasses? Honey or dark corn syrup can substitute in a pinch (though the flavor profile shifts slightly). Swap apple cider vinegar for white vinegar if that’s what you’ve got, but cut the amount by half—it’s sharper. Out of liquid smoke? A dash of smoked paprika works, but go easy (one-quarter teaspoon max). The brown sugar can be swapped for maple syrup, but the sauce will thin out a bit.
This keeps beautifully in the fridge for 3-4 weeks in a sealed jar. For longer storage, freeze in ice cube trays, then pop into bags—good for 6 months. Shake or stir before using, as the sugar settles over time.
Why You’ll Love This Recipe
- 5-Minute Mix: I dump everything in one bowl—ketchup, molasses, the works—and it’s ready before the grill heats up.
- Sweet & Tangy: The brown sugar and apple cider vinegar hit that perfect balance I crave every time.
- Slathers on Everything: I’ve used it on ribs, chicken, even brushed it on roasted veggies. Honestly, it’s my kitchen multitool.
- Stretches for Days: One batch covers multiple meals, and here’s what sold me—it tastes even better the next day.
Step-by-Step Instructions for Tangy Molasses BBQ Sauce
Here’s how I create this crowd-pleasing sauce with perfect balance every time.
Step 1: Combine the Sweet and Tangy Base
In a medium saucepan, whisk together the 2 cups Ketchup, 0.5 cup Molasses, and 0.5 cup Apple Cider Vinegar until smooth. The molasses will be thick, so stir vigorously to fully incorporate it into the thinner liquids.
This combination creates the foundation of your sauce. The ketchup provides tomato depth, the molasses adds rich sweetness, and the vinegar cuts through with bright acidity. You’ll notice the mixture darkens slightly as the molasses dissolves completely.
Step 2: Incorporate the Dry Ingredients
Add the 0.5 cup Brown Sugar, 1 tsp Garlic Powder, 1 tsp Onion Powder, 1 tsp Salt, and 0.5 tsp Black Pepper to the saucepan. Stir well to break up any clumps of brown sugar and evenly distribute the spices.
The brown sugar enhances the molasses’ sweetness while the garlic and onion powders build savory complexity. I always taste at this point – the raw mixture should be intensely sweet, tangy, and slightly salty, as it will mellow during cooking.
Step 3: Add Depth with Liquid Flavorings
Pour in the 2 tbsp Worcestershire Sauce and 1 tsp Liquid Smoke. The Worcestershire adds umami depth that balances the sweetness, while the liquid smoke provides that authentic BBQ flavor without needing a smoker.
Stir thoroughly to combine all ingredients. The sauce will have a glossy appearance with visible spice flecks. At this stage, it should smell rich and complex – sweet from the molasses and sugar, tangy from the vinegar, with underlying savory notes.
Step 4: Simmer to Perfection
Place the saucepan over medium heat and bring to a gentle simmer. Reduce heat to low and let it cook for 20-25 minutes, stirring occasionally to prevent sticking.
As it cooks, the sauce will thicken slightly and the flavors will meld together. You’ll know it’s ready when it coats the back of a spoon and has reduced by about 10-15%. The color will deepen to a rich mahogany, and the raw edge of the vinegar will have softened into a pleasant tang.
Taste and adjust the seasoning if needed – though I find the original measurements hit the perfect balance. Remove from heat and let cool to room temperature before using. The sauce will continue to thicken as it cools.
Pro Tips For Making Sweet Baby Ray’S Bbq
- Simmer Low and Slow: Keep the heat at medium-low and let it bubble gently for 15-20 minutes—I learned this the hard way after scorching two batches trying to rush it. The flavors deepen without burning the sugars in the molasses and brown sugar.
- Bloom the Sugar: Dissolve the brown sugar completely in the warm ketchup and vinegar mixture first. Sounds weird, but it works: this prevents grainy texture in your finished sauce.
- Skip the Boil: Resist the urge to crank the heat to boiling, especially once you add the vinegar. High heat makes the sauce separate and turns the molasses bitter.
- Rest Before Using: Let the sauce cool and thicken for at least 30 minutes after cooking. My grandmother swore by this, and she was right: it clings better to ribs or chicken when it’s not piping hot.
Essential Equipment for sweet baby rays bbq
Essential Cookware
Start with a medium saucepan—I prefer my All-Clad 3-quart stainless steel for even heat distribution. The heavy bottom prevents scorching as the sugars caramelize. A 2-3 quart size gives enough room for stirring without overflow. 🔥
Stirring Tools
A wooden spoon or silicone spatula works best for scraping the bottom and corners. I keep a OXO Good Grips silicone spatula handy—it handles the thick molasses mixture beautifully and won’t scratch your pan.
Measuring Gear
Accurate measurements matter here. I use OXO Good Grips measuring cups for the liquids and a set of stainless steel measuring spoons for the spices. The 1 tsp and ½ tsp get heavy use in this recipe.
Storage Solutions
Once cooled, transfer to glass mason jars or Ball canning jars for fridge storage. For longer freezer storage, I use silicone ice cube trays to portion the sauce before transferring to freezer bags. This makes it easy to grab just what I need.
Cleanup Helpers
Molasses sticks to everything. I keep a bowl of warm, soapy water nearby to soak utensils immediately after use. A bench scraper helps transfer every last bit of sauce from the pan to the jar—no waste here!
Pro Tip
Honestly, a fine-mesh strainer is helpful if your brown sugar had lumps. Just strain the finished sauce for a silky-smooth texture. It’s a small step that makes a difference. ✨
Nutrition Facts

Trained in classic French technique but raised on slow-cooked ribs and spicy rubs, she blends culinary skill with smoke and soul.
- Recipe for Boneless Pork Chops in Cast Iron Skillet: Sear and Baste to Juicy Perfection - October 3, 2026
- Recipe for Boneless Cross Rib Roast: Slow-Roasted Beef with Herb Crust - October 3, 2026
- Hamburgers in Sauce Recipe Crock Pot: Slow-Cooked Savory Delight - October 3, 2026