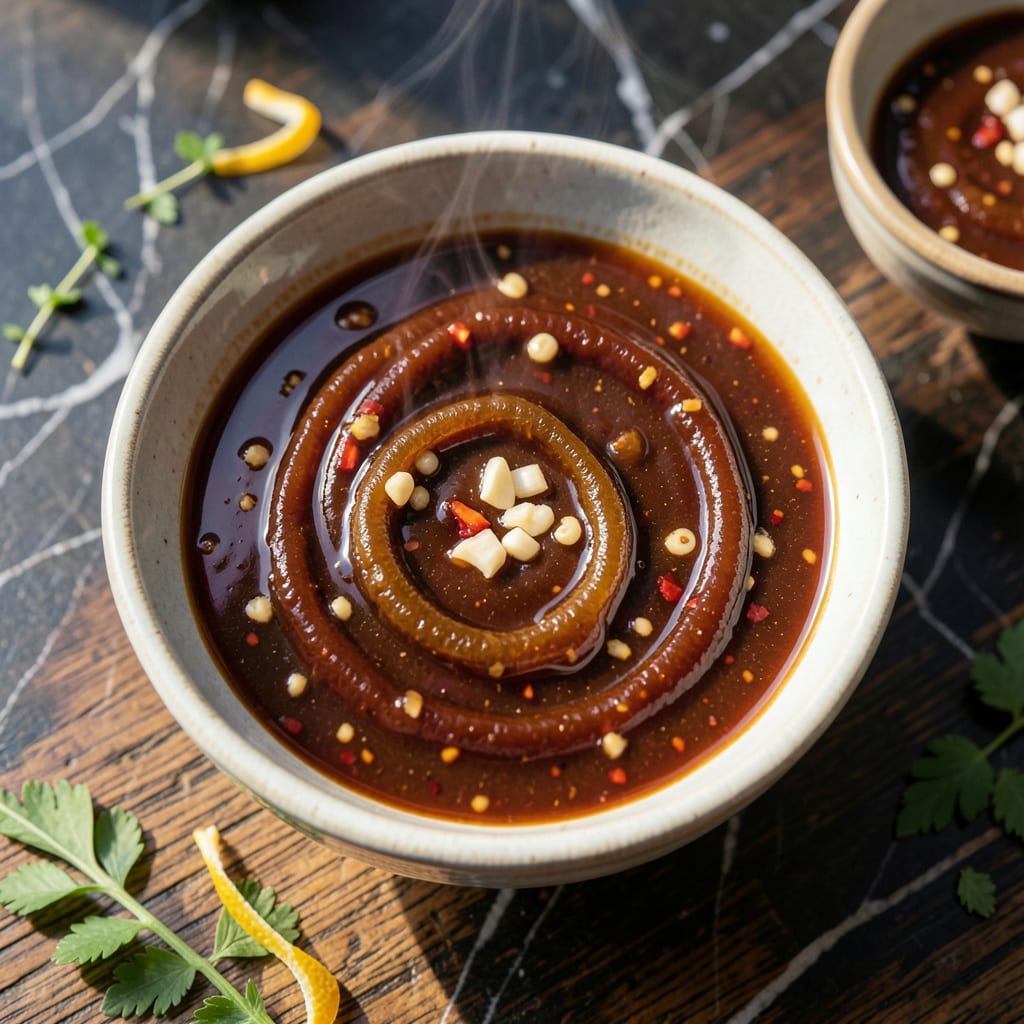
This sauce delivers the perfect balance of sweet, tangy, and spicy—with a garlic depth that sets it apart from store-bought versions.
I developed this recipe to elevate grilled meats and vegetables, using a simple blend of pantry staples that creates a versatile glaze or dipping sauce with complex flavor.
Ingredients for Sweet Chili Bbq Sauce
Nine pantry staples create this complex, versatile sauce for grilling or dipping.
| Ingredient | Amount | Notes |
|---|---|---|
| Ketchup 🍅 | 1 ½ cups | High-quality for depth of flavor |
| Sweet Chili Sauce 🌶️ | ½ cup | Thai-style for authentic heat |
| Apple Cider Vinegar 🍏 | ¼ cup | Balances sweetness with tang |
| Brown Sugar 🍚 | ¼ cup | Light or dark, packed |
| Molasses 🍯 | 2 tbsp | Adds rich, deep sweetness |
| Garlic Cloves 🧄 | 4 cloves | Minced for robust flavor |
| Worcestershire Sauce 🍶 | 1 tbsp | Vegan variety required |
| Smoked Paprika 🌶️ | 1 tsp | Adds subtle smokiness |
| Onion Powder 🧅 | 1 tsp | Enhances savory depth |
| Salt 🧂 | ½ tsp | Fine sea salt preferred |
[recipe_ingredient_scaler]
Optimal quality requires Thai-style sweet chili sauce—look for Mae Ploy or Thai Kitchen brands at Asian markets or the international aisle. The Worcestershire sauce must be vegan; Annie’s or Edward & Sons are reliable options. For the ketchup, organic varieties offer better depth, but any high-quality brand will suffice for this balance of flavors.
No molasses? Honey or maple syrup can substitute at equal amounts (though not vegan if using honey). Sriracha or gochujang at 1 tbsp can replace sweet chili sauce for a different heat profile. Apple cider vinegar is best, but white vinegar in a pinch works—just reduce by half the amount. Brown sugar can be swapped with coconut sugar at 1:1 ratio.
This sauce keeps in an airtight container in the fridge for 2 weeks or can be frozen for 3 months. The flavors meld and deepen over time, making it even better the next day. Always stir before using, as the spices may settle.
Why You’ll Love This Recipe
- Five Minute Mix: I just dump everything in a saucepan and let it simmer—no chopping, no fuss.
- Sweet Heat Balance: The molasses and sweet chili sauce give that perfect sticky-sweet kick with just enough heat.
- Slathers on Everything: Honestly, I’ve used it on ribs, chicken, even as a dipping sauce for fries.
- Jars for Days: One batch makes enough to keep in the fridge for weeks, and it only gets better with time.
Step-by-Step Instructions for Sweet Chili BBQ Sauce
This method ensures a perfectly balanced sauce with depth, heat, and complexity in every batch.
Step 1: Combine Wet Ingredients and Sweeteners
In a medium saucepan, combine the 1.5 cups ketchup, 0.5 cup sweet chili sauce, 0.25 cup apple cider vinegar, 2 tbsp molasses, and 1 tbsp Worcestershire sauce. The vinegar and molasses will create a subtle tang that balances the sweetness of the other components.
Add the 0.25 cup brown sugar and whisk until fully dissolved. I prefer light brown sugar for a milder molasses flavor, but dark works if you want a deeper, more robust sweetness. The mixture should look glossy and slightly thickened at this stage.
Step 2: Incorporate Aromatics and Spices
Add the 4 cloves minced garlic cloves, 1 tsp smoked paprika, 1 tsp onion powder, and 0.5 tsp salt to the saucepan. Stir well to distribute the spices evenly. The garlic should be finely minced to infuse the sauce with its flavor without creating large chunks.
The smoked paprika adds a subtle smokiness that enhances the barbecue profile, while the onion powder deepens the savory base. At this point, the mixture will have a rich, reddish-brown hue from the combination of ketchup, chili sauce, and spices.
Step 3: Simmer to Develop Flavor and Thicken
Place the saucepan over medium heat and bring the mixture to a gentle simmer. Stir frequently to prevent sticking, especially as the sauce begins to thicken. You’ll notice the aroma become more pronounced as the flavors meld together.
Reduce the heat to low and let the sauce simmer for 15-20 minutes, stirring occasionally. The sauce is ready when it has thickened enough to coat the back of a spoon and leaves a slight trail when you run a finger through it. This slow simmer allows the flavors to deepen and harmonize.
Step 4: Cool and Adjust Consistency
Remove the saucepan from the heat and let the sauce cool to room temperature. As it cools, it will thicken further. If you prefer a smoother texture, you can blend the sauce briefly with an immersion blender, though I find the minced garlic adds a pleasant texture.
Taste and adjust the seasoning if needed, though the balance of sweet, tangy, and spicy should already be well-developed. The final sauce should have a glossy sheen and a rich, complex flavor that’s both sweet and slightly spicy with a hint of smokiness.
Pro Tips For Making Sweet Chili Bbq Sauce
- Simmer Low and Slow: Keep the heat on medium-low and let it bubble gently for 15-20 minutes—any higher and the sugars in the brown sugar and molasses will burn, leaving a bitter taste.
- Measure the Vinegar: Apple cider vinegar is potent, so stick to the recipe’s amount; I learned this the hard way after overdoing it and ending up with a sauce that tasted more like salad dressing than BBQ.
- Stir the Molasses: Molasses is thick and sticky, so measure it in a lightly oiled spoon or rinse the spoon with hot water first—it slides right off without wasting half the bottle.
- Taste Before Serving: Sweet chili sauce brands vary in heat and sweetness, so give it a taste after 10 minutes and adjust with a pinch more brown sugar or a splash of vinegar if needed.
Storing and Reheating This sweet chili bbq sauce
Refrigerator Storage
Let the sauce cool completely before transferring to an airtight container. I use glass mason jars for easy portioning. Store in the fridge at 40°F or below for up to 2 weeks. The flavors meld beautifully over time. ❄️
Freezer Storage
For longer storage, freeze in ice cube trays first, then transfer to a freezer bag. This lets you thaw only what you need. The sauce keeps for 3 months without quality loss. Label with the date so you remember.
Thawing Methods
Thaw overnight in the fridge for best texture. For quick use, place the sealed container in cold water. Avoid microwaving directly from frozen, as it can cause separation.
Reheating on Stovetop
Gently warm the sauce in a small pot over low heat for 5-7 minutes, stirring often. Add 1-2 tbsp water if it thickens too much. This preserves the glossy texture I love.
Microwave Reheating
Use 30-second intervals at 50% power, stirring between each. Cover with a damp paper towel to prevent splattering. The sauce is ready when it reaches 165°F.
Reviving Separated Sauce
If the sauce separates after storage, a quick whisk or immersion blend restores its smooth consistency. I find this happens most with frozen batches. 💡
Nutrition Facts

Trained in classic French technique but raised on slow-cooked ribs and spicy rubs, she blends culinary skill with smoke and soul.
- Recipe for Boneless Pork Chops in Cast Iron Skillet: Sear and Baste to Juicy Perfection - October 3, 2026
- Recipe for Boneless Cross Rib Roast: Slow-Roasted Beef with Herb Crust - October 3, 2026
- Hamburgers in Sauce Recipe Crock Pot: Slow-Cooked Savory Delight - October 3, 2026