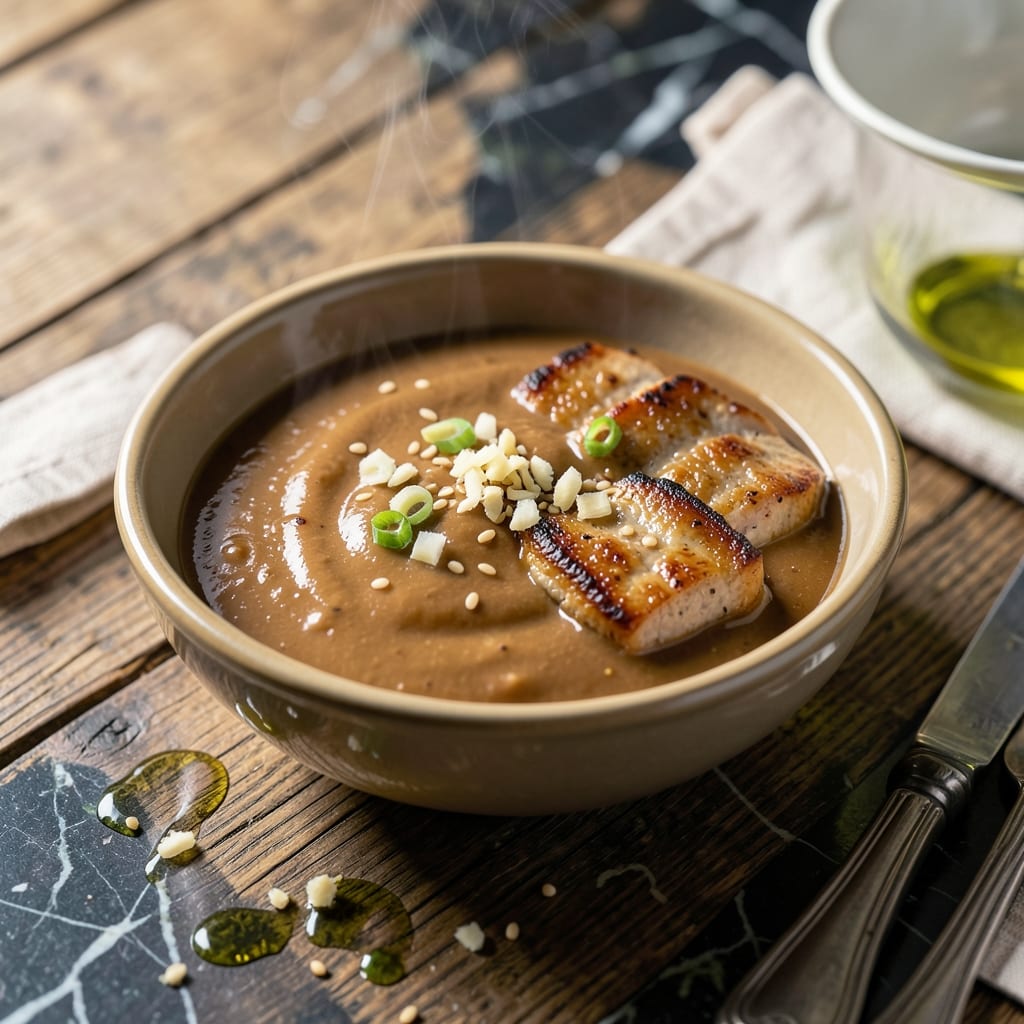
This creamy teriyaki sauce elevates any dish with its rich, velvety texture and balanced sweet-savory flavor. I developed this version to add depth to traditional teriyaki, creating a smooth glaze that clings perfectly to proteins and vegetables.
The secret lies in blending classic teriyaki ingredients with a creamy base that doesn’t overpower the original flavors. This sauce works beautifully as a marinade, dipping sauce, or finishing glaze for grilled meats and stir-fries.
Unlike thin, watery versions, this recipe delivers a luxuriously thick consistency that coats every bite. The creaminess comes from a simple addition that transforms the sauce without complicating the process.
Store in an airtight container for up to a week, or make a double batch to keep on hand for quick meals. The flavor deepens as it rests, making leftovers even better.
Ingredients for T Bar Creamy Teriyaki Sauce
Ten ingredients transform classic teriyaki into a luxuriously creamy, velvety glaze worth savoring.
| Ingredient | Amount | Notes |
|---|---|---|
| Soy Sauce 🥢 | ½ cup | Low-sodium preferred for balance |
| Brown Sugar 🍚 | ½ cup | Packed, light or dark |
| Mirin 🍶 | ¼ cup | Sweet rice wine essential |
| Rice Vinegar 🍯 | 2 tbsp | Unseasoned for clean acidity |
| Fresh Ginger 🌿 | 1 tbsp | Minced or grated finely |
| Garlic Cloves 🧄 | 3 cloves | Minced for depth |
| Mayonnaise 🥛 | ½ cup | Full-fat for creaminess |
| Sesame Oil 🫒 | 1 tsp | Toasted for aroma |
| Cornstarch 🌾 | 1 tbsp | Mixed with water to thicken |
| Water 💧 | 2 tbsp | For cornstarch slurry |
[recipe_ingredient_scaler]
The mayonnaise is non-negotiable for that signature T Bar creaminess—Duke’s or Hellmann’s deliver the right body without sweetness. Mirin can be found in the Asian aisle of Whole Foods or H Mart. For soy sauce, Kikkoman low-sodium strikes the perfect balance. Fresh ginger and garlic are key; pre-minced versions lack the vibrant punch needed here.
Out of mirin? Substitute 1 tbsp sugar plus 3 tbsp dry sherry. Need to skip mayo? Greek yogurt at full-fat works but thins the sauce slightly. Brown sugar can be swapped for honey or maple syrup at a 1:1 ratio. The rice vinegar is irreplaceable for authenticity, but apple cider vinegar offers a close approximation.
This sauce thickens as it cools. Refrigerate in an airtight container for up to 7 days. For longer storage, freeze in ice cube trays for 3 months. The flavor intensifies after 24 hours, making it ideal for meal prep.
Why You’ll Love This Recipe
- 5-Minute Magic: I can mix this in the time it takes to heat the pan—soy sauce, brown sugar, and a quick ginger grate, done.
- Umami Bomb: The mirin and rice vinegar hit that sweet-tangy balance, while the ginger gives it a warm, zesty kick.
- Dinner’s Secret Weapon: Honestly, I drizzle this on everything—grilled chicken, tofu, even roasted veggies. It never gets old.
- Stretch Your Dime: Brown sugar and soy sauce are pantry staples, and this makes enough to last a week. My wallet thanks me.
Step-by-Step Instructions for Creamy Teriyaki Sauce
Here’s the method. Straightforward, tested, works every time.
Step 1: Build the Teriyaki Base
In a medium saucepan, combine the 0.5 cup Soy Sauce, 0.5 cup Brown Sugar, 0.25 cup Mirin, and 2 tbsp Rice Vinegar. Set over medium heat and stir until the brown sugar dissolves completely—this usually takes 2-3 minutes.
I always use a whisk here to ensure the ingredients incorporate smoothly. You’ll notice the mixture turns glossy and slightly thickens as the sugar melts. Don’t let it come to a boil at this stage; gentle heat prevents scorching.
Step 2: Infuse with Aromatics
Add the 1 tbsp Fresh Ginger and minced 3 cloves Garlic Cloves to the saucepan. Reduce the heat to medium-low and simmer for 4-5 minutes, stirring occasionally.
The ginger and garlic will become fragrant as they cook—this is when you know the flavors are developing properly. The sauce will start to take on a deeper color and more complex aroma. Keep an eye on it; if it begins to bubble too vigorously, lower the heat slightly.
Step 3: Create the Creamy Emulsion
Remove the saucepan from heat and let it cool for 2 minutes. This prevents the mayonnaise from separating. Whisk in the 0.5 cup Mayonnaise and 1 tsp Sesame Oil until fully incorporated and smooth.
The mixture will transform into a rich, velvety sauce. The sesame oil adds a nutty depth that complements the sweet-savory balance perfectly. Ensure no streaks of mayonnaise remain for a uniform texture.
Step 4: Thicken to Perfection
Return the saucepan to medium-low heat. In a small bowl, mix the 1 tbsp Cornstarch with 2 tbsp Water to create a slurry. Slowly pour this into the sauce while whisking constantly.
Cook for an additional 2-3 minutes, stirring frequently, until the sauce thickens to coat the back of a spoon. You’ll see it transform from a thin liquid to a luscious, glossy glaze. Remove from heat immediately once it reaches the desired consistency to prevent over-thickening.
Pro Tips For Making T Bar Creamy Teriyaki Sauce
- Simmer Low and Slow: After burning two batches, I finally learned to keep the heat at medium-low once the brown sugar melts—high heat caramelizes the sugar too fast and makes the sauce bitter.
- Grate That Ginger: Fresh ginger is non-negotiable here, and finely grating it (about 1 tablespoon) guarantees no fibrous bits in your silky sauce—I used to mince it and ended up with chewy surprises.
- Balance the Sweetness: Sounds weird, but it works: add the rice vinegar last, then taste before adjusting the brown sugar—mirin already brings sweetness, and I’ve over-sweetened this more times than I’d like to admit.
- Strain for Smoothness: I skip this when I’m lazy, but the sauce is noticeably creamier when I strain out the ginger fibers through a fine-mesh sieve—yes, even if you grated it finely.
Common Mistakes When Making Great t bar creamy teriyaki sauce
Overheating the Sauce
Never let your sauce reach a rolling boil, especially after adding the 0.5 cup Mayonnaise. High heat causes the emulsion to break, leaving you with an oily, separated mess. Keep it at medium-low heat maximum and stir frequently. 🔥
Skipping the Cooling Step
Always let the base cool for 2 minutes before whisking in the mayonnaise. Adding mayo to hot liquid shocks the emulsion, causing it to curdle. I learned this the hard way my first attempt—patience prevents a broken sauce.
Incorrect Cornstarch Mixing
Mix the 1 tbsp Cornstarch with 2 tbsp Water completely before adding to the sauce. Lumpy slurry creates unpleasant texture. Whisk vigorously while pouring to avoid clumping. The sauce should thicken gradually, not instantly.
Using Pre-Minced Aromatics
Freshly minced 1 tbsp Fresh Ginger and 3 cloves Garlic Cloves make a huge difference. Pre-minced versions from jars lack the vibrant, sharp flavors needed. Take the extra 5 minutes to mince them yourself—it’s worth it.
Wrong Soy Sauce Choice
Avoid regular soy sauce; it’s too salty for this recipe. Use low-sodium soy sauce to keep the balance right. I prefer Kikkoman low-sodium—it lets the sweetness and creaminess shine without overpowering.
Rushing the Simmer
Let the base simmer for the full 4-5 minutes after adding aromatics. Rushing skips essential flavor development. The ginger and garlic need time to infuse the sauce completely. Trust the process. 💡
Nutrition Facts
Frequently Asked Questions
What can I use instead of mayonnaise?
Full-fat Greek yogurt works as a substitute, though it may thin the sauce slightly. For best results, stick with mayonnaise for that signature creaminess.
How long does this sauce keep in the fridge?
Store in an airtight container for up to 7 days. The flavor deepens after 24 hours, making it perfect for meal prep.
Can I make this sauce ahead of time?
Prepare it up to 2 days in advance. Reheat gently on low heat to maintain the creamy texture.
Why did my sauce separate?
This usually happens if the base was too hot when adding mayonnaise. Always let it cool for 2 minutes first.

Trained in classic French technique but raised on slow-cooked ribs and spicy rubs, she blends culinary skill with smoke and soul.
- Recipe for Boneless Pork Chops in Cast Iron Skillet: Sear and Baste to Juicy Perfection - October 3, 2026
- Recipe for Boneless Cross Rib Roast: Slow-Roasted Beef with Herb Crust - October 3, 2026
- Hamburgers in Sauce Recipe Crock Pot: Slow-Cooked Savory Delight - October 3, 2026