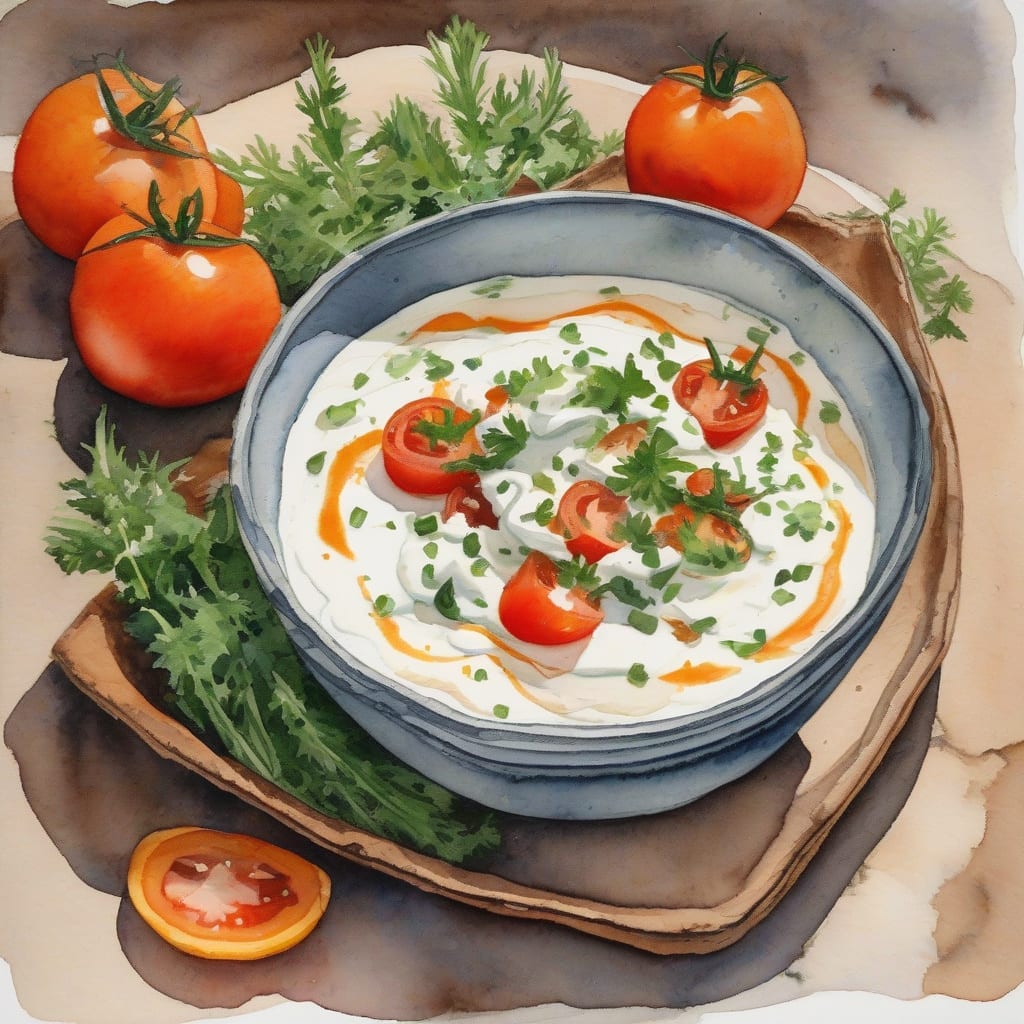
There’s nothing quite like a creamy dressing to elevate your meals, and this ranch sauce is no exception. It’s rich, zesty, and incredibly easy to whip up at home. Once you taste it, you’ll understand why it’s a staple in my kitchen.
This dressing combines simple ingredients, creating a flavor profile that’s both refreshing and satisfying. Perfect for dipping or drizzling, it’s a versatile condiment that you can store in your fridge for up to a week—if it lasts that long!
By making this ranch dressing, you’ll have a creamy, herbaceous dip ready at your fingertips. Trust me, once you try it, you’ll never reach for the store-bought version again. Let’s dive into the ingredients and get started!
Ingredients for Taco time ranch dressing
Gather these simple ingredients to create a creamy and zesty dressing at home.
| Ingredient | Amount | Notes |
|---|---|---|
| Mayonnaise 🥫 | 1 cup | Use full-fat for creaminess |
| Sour Cream 🥛 | ½ cup | Full-fat preferred for flavor |
| Buttermilk 🥛 | ½ cup | For tangy flavor |
| Dried Dill Weed 🌿 | 1 tbsp | Fresh dill can be used |
| Garlic Powder 🧄 | 1 tsp | For rich garlic flavor |
| Onion Powder 🧅 | 1 tsp | For depth of flavor |
| Salt 🧂 | ½ tsp | Adjust to taste |
| Black Pepper 🌶️ | ¼ tsp | Freshly ground preferred |
| Lemon Juice 🍋 | 1 tbsp | Freshly squeezed for brightness |
| Hot Sauce 🔥 | 1 tsp | Optional for extra zest |
[recipe_ingredient_scaler]
You can find most of these ingredients at your local grocery store. For the best quality mayonnaise, look for brands like Hellmann's or Duke's, which offer rich flavors. Fresh sour cream adds a nice touch, while buttermilk can often be found at dairy sections. Check for organic options if available, especially for dairy products, to ensure quality.
If you don't have buttermilk, you can make a substitute by mixing milk with vinegar or lemon juice. For a dairy-free version, try using a vegan mayonnaise and cashew cream instead of sour cream. Fresh herbs like dill can replace dried ones, though you'll need to adjust the amounts since fresh herbs are less potent.
Store any leftover dressing in an airtight container in the fridge for up to one week. To keep it fresh, make sure to seal it tightly. The flavors will meld together beautifully over time, enhancing its taste. If it thickens, simply stir in a little more buttermilk or milk to achieve your desired consistency.
Step-by-Step Instructions for Creamy Zesty Dressing
Let’s create a deliciously creamy and zesty dressing that’s perfect for dipping or drizzling.
👨🍳 Step 1: Gather Your Ingredients
Before diving in, I make sure I have all my ingredients ready. This includes 1 cup mayonnaise, 0.5 cup sour cream, and 0.5 cup buttermilk. Using full-fat versions of the mayonnaise and sour cream will ensure a richer flavor and creamier texture.
Don’t forget the seasoning elements: 1 tablespoon dried dill weed, 1 teaspoon garlic powder, 1 teaspoon onion powder, 0.5 teaspoon salt, and 0.25 teaspoon black pepper. I also prepare 1 tablespoon lemon juice and 1 teaspoon hot sauce, which adds that zing!
🥘 Step 2: Combine the Base Ingredients
In a mixing bowl, I start by adding the mayonnaise, sour cream, and buttermilk together. I like to use a whisk to blend them until smooth. You’ll want to ensure there are no lumps, as this creates a beautiful base for my dressing.
This combination provides both creaminess and tanginess, making it the perfect canvas for the other flavors. I whisk until everything is fully integrated and creamy, which usually takes about 30 seconds.
🍳 Step 3: Add the Seasonings
Next, I sprinkle in the dried dill weed, garlic powder, onion powder, salt, and black pepper. These spices add depth and flavor to my dressing. I use a whisk again to mix everything thoroughly.
I always taste at this stage to see if it needs any adjustments. If you want it zestier, consider adding more hot sauce or lemon juice to suit your preference. The mixture should be well-seasoned but not overpowering.
⏰ Step 4: Let It Chill
Once I’m satisfied with the flavor, I cover the bowl with plastic wrap and place it in the refrigerator for at least 30 minutes. This resting period allows the flavors to meld beautifully.
When I pull it out after chilling, I always give it another quick stir. You’ll notice how the dressing thickens slightly and the flavors have developed wonderfully. If it seems too thick, I simply whisk in a little more buttermilk until I reach my desired consistency.
🍽️ Step 5: Serve and Enjoy!
Now it’s time to enjoy my creamy ranch dressing! I serve it with fresh veggies, tortilla chips, or as a drizzle over salads. This dressing is not only versatile but also adds a delightful zesty touch to any dish.
Remember to store any leftovers in an airtight container in the fridge for up to one week. Each time you use it, just give it a stir to revive its creamy texture!
Elevate Your Meals: Storage and Freshness Tips for Homemade Ranch Dressing
To keep your homemade ranch dressing fresh, store it in an airtight container in the refrigerator. I love using glass jars for this purpose because they don’t retain odors and are easy to clean. It can last up to one week, but trust me, it rarely lasts that long! 🥫
If you notice the dressing thickening after a few days, simply stir in a splash of buttermilk or milk to return it to your desired consistency. This not only keeps it creamy but also enhances its flavors. I always recommend tasting it before serving to adjust seasonings if necessary! 💡
When preparing for gatherings, consider making a larger batch to ensure everyone gets to enjoy this delicious dip. Just remember to portion out the dressing into smaller containers if you’re serving it alongside various dishes. This way, it stays fresh longer, and you won’t have to keep opening the main jar repeatedly. 🌟
For those who love meal prep, you can make this dressing ahead of time. It actually tastes better after sitting for a while, as the flavors meld together beautifully. Just plan to make it at least 30 minutes before you need it—or even the day before for maximum flavor! 🥛
Nutrition Facts
150kcal
[recipe_ingredient_scaler]

Trained in classic French technique but raised on slow-cooked ribs and spicy rubs, she blends culinary skill with smoke and soul.
- Recipe for Boneless Pork Chops in Cast Iron Skillet: Sear and Baste to Juicy Perfection - October 3, 2026
- Recipe for Boneless Cross Rib Roast: Slow-Roasted Beef with Herb Crust - October 3, 2026
- Hamburgers in Sauce Recipe Crock Pot: Slow-Cooked Savory Delight - October 3, 2026