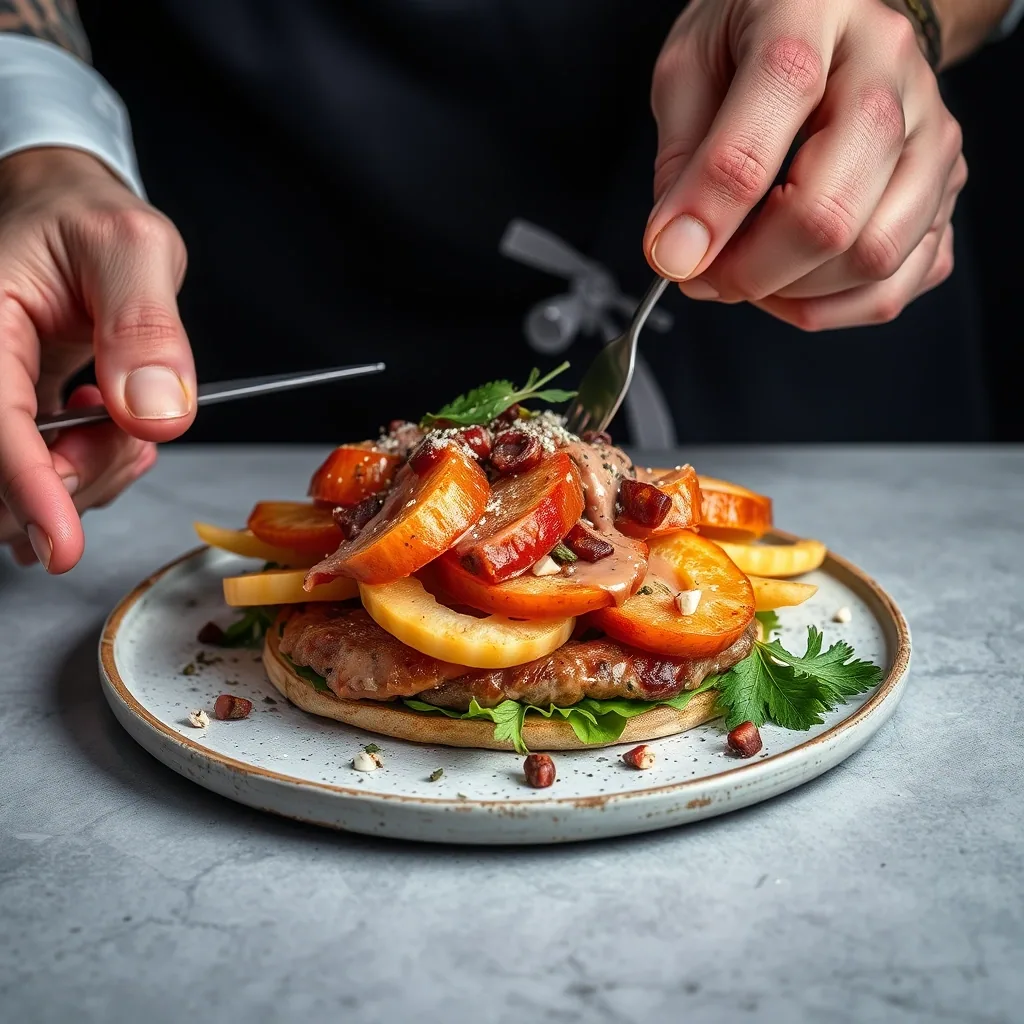
I’ll never forget the first time I served these tater shots at a party—they disappeared in minutes, and everyone demanded the recipe. 🔥 These crispy potato rounds are hollowed out and loaded with melted cheese, bacon, and sour cream, creating the ultimate bite-sized appetizer that’s basically a loaded baked potato in shootable form.
what makes this recipe special is how simple it is to pull off. You’re just slicing potatoes into thick rounds, baking until golden, scooping out the centers, and filling them with all your favorite toppings. The potato cups get crispy on the outside while staying tender inside, creating the perfect vessel for that gooey, savory filling.
By the time they come out of the oven, you’ll have golden potato cups filled with bubbling cheese and crispy bacon bits that are impossible to resist. These are the kind of appetizers that make you look like a culinary genius while requiring minimal effort—my favorite combination.
Perfect for game day, parties, or any time you want to impress a crowd. Let’s make these show-stopping tater shots!
Ingredients for tater shots
Here’s everything you need to create these irresistible crispy potato bites perfect for any party.
| Ingredient | Amount | Notes |
|---|---|---|
| Russet Potatoes 🥔 | 4 whole | Large, uniform size preferred |
| Olive Oil 🫒 | 3 tbsp | For brushing potato rounds |
| Salt 🧂 | 1 tsp | Kosher or sea salt |
| Black Pepper 🌶️ | ½ tsp | Freshly ground preferred |
| Bacon Strips 🥓 | 8 slices | Cooked crispy, crumbled |
| Cheddar Cheese 🧀 | 1 ½ cups | Sharp, freshly shredded |
| Sour Cream 🥛 | ½ cup | Full-fat for richness |
| Green Onions 🧅 | 4 whole | Sliced thin for garnish |
| Garlic Powder 🧄 | ½ tsp | For seasoning potatoes |
| Paprika 🌶️ | ½ tsp | Smoked variety adds depth |
| Butter 🧈 | 2 tbsp | Melted, for brushing |
| Chives 🌿 | 2 tbsp | Fresh, chopped for topping |
[recipe_ingredient_scaler]
You can find russet potatoes at any grocery store—look for large, evenly-shaped ones without green spots or sprouts. For the best bacon, I recommend thick-cut from your butcher counter or brands like Wright or Nueske's. Sharp cheddar from the deli section tastes significantly better than pre-shredded varieties. Whole Foods and Trader Joe's carry excellent quality cheese blocks that melt beautifully.
Don't have russet potatoes? Yukon Gold works well and creates a creamier texture. If you can't find thick-cut bacon, regular bacon works fine—just use 10-12 slices instead of 8. Substitute Monterey Jack, Gruyere, or pepper jack for different flavor profiles. Greek yogurt can replace sour cream for a tangier, protein-rich option. Fresh parsley works if you don't have chives.
Store uncooked potato rounds covered in cold water in the fridge for up to 24 hours to prevent browning. Cooked bacon bits keep refrigerated for up to 5 days in an airtight container. Shred cheese fresh right before using for optimal melting.
Step-by-Step Instructions for Tater Shots
Let me walk you through my foolproof method for creating these irresistible crispy potato bites.
👨🍳 Step 1: Prepare and Season the Potato Mixture
Start by combining your thawed tater tots in a large bowl and break them up slightly with a fork—you want them partially mashed but still chunky, not completely smooth. Add shredded cheddar cheese, crumbled cooked bacon, chopped green onions, and sour cream to the bowl. Season generously with salt, black pepper, and garlic powder.
Mix everything together with your hands or a sturdy spatula until well combined but not overworked. You want the mixture to hold together when pressed but still maintain some texture from the tater tot pieces. The cheese and sour cream act as binders that’ll help these shots hold their shape during baking.
I like to taste a small pinch of the mixture at this point to check the seasoning—remember, the flavors will concentrate slightly as they bake, so don’t oversalt. If it tastes good now, it’ll be perfect once cooked.
🥘 Step 2: Form and Fill the Shot Glasses
Lightly spray a 24-count mini muffin tin with cooking spray, making sure to coat the sides well to prevent sticking. Using a small cookie scoop or spoon, portion about 2 tablespoons of the potato mixture into each cup. Press down firmly with your fingers or the back of a spoon to compact the mixture and create a small indentation in the center.
This pressing step is crucial—if you don’t pack the mixture tightly enough, the shots will crumble when you try to remove them from the tin. The indentation creates a little well that’ll hold your toppings beautifully and gives you that classic “shot glass” look.
Make sure the mixture comes up to the rim of each cup but doesn’t overflow. I’ve found that slightly overfilling leads to uneven cooking and makes them harder to remove cleanly from the pan.
🔥 Step 3: Bake Until Golden and Crispy
Preheat your oven to 400°F and position the rack in the center. Once fully preheated, slide the muffin tin in and bake for 20-25 minutes until the edges are golden brown and crispy and the tops are set. You’ll know they’re ready when you see the cheese bubbling around the edges and the potato mixture has firmed up.
Don’t open the oven door during the first 15 minutes of baking—this temperature drop can cause the shots to deflate or cook unevenly. If you want extra crispy tops, switch to the broiler for the final 2-3 minutes, watching carefully to prevent burning.
The bottoms should release easily from the pan when they’re done. If they’re sticking, they need a few more minutes to develop that crispy crust that acts as a natural non-stick barrier.
⏰ Step 4: Cool and Remove from Pan
Remove the muffin tin from the oven and let the tater shots cool in the pan for 5 minutes. This cooling period is essential—if you try to remove them immediately, they’ll fall apart. As they cool, the cheese sets and the structure firms up, making them much easier to handle.
After 5 minutes, run a small offset spatula or butter knife around the edge of each shot to loosen it. Gently lift them out and transfer to a serving platter. They should pop out cleanly with a little wiggle. If any stick stubbornly, let them cool for another 2-3 minutes.
🍽️ Step 5: Top and Serve Immediately
While the shots are still warm, fill each indentation with your favorite toppings. I love adding a small dollop of sour cream, a sprinkle of extra shredded cheese, crispy bacon bits, and sliced green onions. For a spicy kick, add a tiny drizzle of hot sauce or a jalapeño slice.
Arrange them on a platter and serve immediately while they’re still warm and the cheese is gooey. These are best enjoyed fresh from the oven when the exteriors are crispy and the interiors are creamy. If you need to make them ahead, reheat in a 375°F oven for 5-7 minutes to restore the crispiness before adding fresh toppings.
Pro Cooking Tips for Perfect Results
Uniform Slicing is Critical: Cut your potatoes into ¾-inch thick rounds using a sharp chef’s knife or mandoline—thinner slices won’t hold the filling, while thicker ones won’t cook through evenly. I measure the first slice with a ruler to set my benchmark, then try to match that thickness for consistency. Uniform rounds ensure they all finish baking at the same time, preventing some from burning while others stay undercooked. This precision makes the difference between amateur and professional-looking results. 🔪
Pre-Bake Temperature Control: Bake the potato rounds at 400°F for 20-25 minutes before scooping out the centers—this firms up the structure so they don’t collapse when you hollow them out. I brush both sides with melted butter and season with salt before this initial bake, which creates a golden crust that holds its shape beautifully. Check for doneness by inserting a fork into the thickest part—it should slide in with slight resistance, not mushy soft. Underbaking at this stage means soggy, collapsing cups that can’t support the filling. 🌡️
The Scooping Technique: Use a ½ teaspoon measuring spoon or small melon baller to create the wells, leaving about ¼ inch of potato on the bottom and sides. I twist the spoon gently while scooping to create clean edges without cracking the potato cup. Don’t throw away those scooped-out centers—save them for hash browns or mashed potatoes tomorrow. The key is creating enough depth to hold 1-2 tablespoons of filling without compromising structural integrity. Work slowly and deliberately rather than rushing through this step. 💡
Layering for maximum flavor: Fill each cup in stages rather than dumping everything in at once. I start with a small amount of shredded cheese on the bottom (about 1 teaspoon), add bacon bits, then top with more cheese to create a melty seal. This layering technique ensures the cheese melts down into every crevice while the bacon stays distributed throughout. Bake the filled cups at 375°F for 12-15 minutes until the cheese is bubbling and golden on top. Add sour cream and chives only after baking—never before, or you’ll end up with a watery mess. 🔥
Preventing Sogginess: Pat your potato rounds completely dry with paper towels after slicing and before the first bake—excess moisture is the enemy of crispy edges. I also place the rounds directly on a wire rack set over a baking sheet rather than directly on the pan, which allows hot air to circulate underneath and prevents steam buildup. If making ahead, store the pre-baked, hollowed cups uncovered in the refrigerator so they stay dry, then fill and bake just before serving for maximum crispiness.
Nutrition Facts
245kcal
[recipe_ingredient_scaler]

Trained in classic French technique but raised on slow-cooked ribs and spicy rubs, she blends culinary skill with smoke and soul.
- Recipe for Boneless Pork Chops in Cast Iron Skillet: Sear and Baste to Juicy Perfection - October 3, 2026
- Recipe for Boneless Cross Rib Roast: Slow-Roasted Beef with Herb Crust - October 3, 2026
- Hamburgers in Sauce Recipe Crock Pot: Slow-Cooked Savory Delight - October 3, 2026