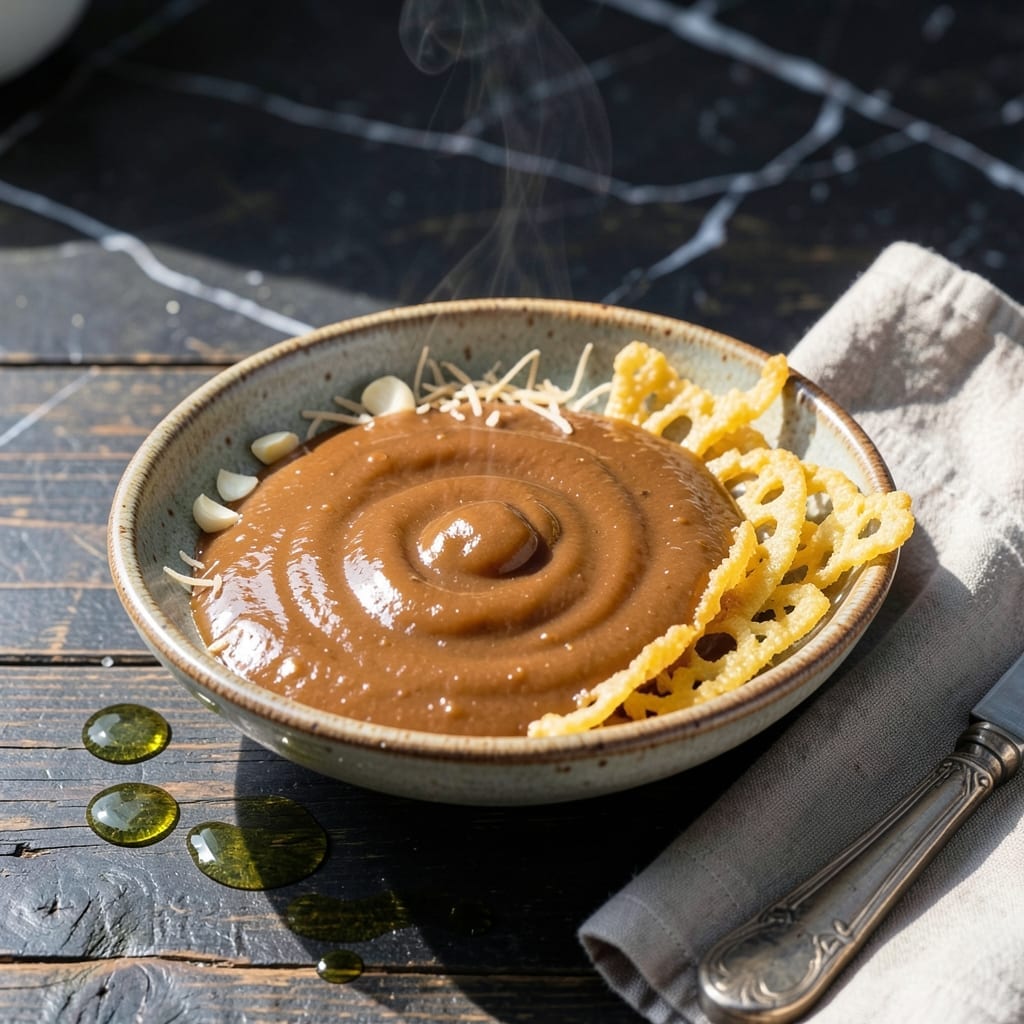
This tempura sauce delivers authentic flavor without traditional dashi, proving you don’t need fish stock for depth. A simple blend of soy sauce, mirin, and rice vinegar creates the perfect balance of salty, sweet, and tangy.
The secret lies in the precision of the ratios and a touch of sugar to round out the flavors. This vegan version comes together in 5 minutes with pantry staples, making it ideal for quick weeknight meals.
You’ll achieve a glossy, umami-rich sauce that clings beautifully to crispy tempura. Its versatility extends beyond dipping—use it for noodles, stir-fries, or as a marinade.
Store in an airtight container for up to 2 weeks. The flavor intensifies over time, making it even better for your next meal.
Ingredients for Tempura Sauce Recipe Without Dashi
Eight pantry staples create this umami-packed dipping sauce in minutes.
| Ingredient | Amount | Notes |
|---|---|---|
| Soy Sauce 🫒 | ½ cup | Low-sodium for balance control |
| Mirin 🍶 | ⅓ cup | Sweet rice wine essential |
| Rice Vinegar 🍚 | ⅓ cup | Unseasoned for pure tang |
| Granulated Sugar 🍚 | 2 tbsp | Dissolves completely in liquid |
| Garlic Cloves 🧄 | 2 cloves | Minced for subtle depth |
| Fresh Ginger 🌿 | 1 tbsp | Grated for zesty kick |
| Water 💧 | ¼ cup | Adjusts consistency as needed |
| Cornstarch 🌾 | 1 tsp | Optional for slight thickening |
[recipe_ingredient_scaler]
The soy sauce is your base, so Kikkoman or San-J are reliable choices. Mirin can be found in the Asian aisle (look for Hon-Mirin, not aji-mirin which has added sugar). Rice vinegar should be unseasoned—seasoned versions will throw off your flavor balance. Most grocery stores carry these, but H Mart or Asian markets have the best selection if you’re stocking up.
No mirin? Dry sherry plus a pinch of sugar works in a pinch. Out of rice vinegar? Apple cider vinegar at half the amount (it’s stronger). The ginger and garlic are flexible—powdered versions at one-third the quantity save time. Want it smoother? Strain out the grated ginger after simmering. The sugar can be swapped for agave if you need liquid sweetener.
This keeps beautifully in the fridge for 2 weeks—the flavor deepens as it sits. Glass jar, airtight seal, done. Freezes for 3 months if you make a big batch. Shake before using as the cornstarch may settle (if using).
Why You’ll Love This Recipe
- 5-Minute Mix: I just stir these pantry staples together—no simmering, no fuss.
- Sweet-Savory Kick: The garlic and mirin give it that addictive balance I crave with every bite.
- Dips Anything: Honestly, I use it on tempura, dumplings, even roasted veggies.
- Stays Fresh: I make a big batch and it keeps in the fridge for weeks without losing flavor.
Step-by-Step Instructions for Tempura Sauce Without Dashi
Here’s my tried-and-true method that delivers authentic flavor without the traditional base ingredient.
Step 1: Combine the Liquid Foundation
In a medium saucepan, whisk together the 0.5 cup Soy Sauce, 0.33 cup Mirin, and 0.33 cup Rice Vinegar over medium heat. I like to use a small whisk for this to ensure the liquids are fully integrated before heating.
The mirin’s natural sweetness will begin to mellow the sharpness of the rice vinegar as the mixture warms. You’ll notice the aroma changing from harsh to balanced after about 2 minutes of gentle heating.
Watch for the first tiny bubbles at the edges of the pan—that’s your signal the mixture is warm enough to proceed to the next step. Don’t let it come to a full boil at this stage.
Step 2: Incorporate the Aromatics and Sweetener
Add the 2 cloves Garlic Cloves (minced) and 1 tbsp Fresh Ginger (grated) to the warm liquid mixture. Stir constantly for 1 minute to release their essential oils into the sauce. The garlic should turn fragrant but not brown.
Sprinkle in the 2 tbsp Granulated Sugar while continuing to stir. The heat from the liquid will help dissolve the sugar completely within 2-3 minutes. You’ll see the grains disappear as they incorporate.
This step transforms the sauce from a simple liquid blend to a complex, aromatic base. The sugar balances the saltiness of the soy while the garlic and ginger add depth without overpowering the delicate tempura flavor.
Step 3: Simmer and Develop the Flavors
Pour in the 0.25 cup Water and reduce heat to medium-low. Let the mixture simmer gently for 5-7 minutes, stirring occasionally. You want to see small, lazy bubbles breaking the surface—not a rolling boil.
As it simmers, the sauce will darken slightly and the flavors will meld together. The raw edge of the ginger will mellow, and the garlic will infuse its essence throughout. Taste after 5 minutes—you should detect a harmonious balance of salty, sweet, and tangy notes.
If the sauce seems too intense, add a splash more water, but remember it will mellow further as it cools. The consistency should be slightly thinner than maple syrup at this stage.
Step 4: Thicken and Finish the Sauce
In a small bowl, mix the 1 tsp Cornstarch with 1 tablespoon of cold water to create a slurry. While stirring the sauce constantly, slowly drizzle in the slurry. The sauce will begin to thicken almost immediately.
Continue cooking for 1-2 minutes after adding the slurry, stirring constantly. You’re looking for a consistency that coats the back of a spoon but still drips slowly. The sauce should be glossy and just thick enough to cling to tempura.
Remove from heat and let cool to room temperature. The sauce will thicken slightly more as it cools. Strain out the ginger and garlic pieces if you prefer a smoother texture, though I often leave them in for extra flavor.
Pro Tips For Making Tempura Sauce Recipe Without Dashi
- Simmer Gently: Keep the heat low and steady—boiling too hard can make the sugar crystallize and give your sauce a grainy texture.
- Crush the Garlic: Press the garlic cloves before adding them to release more flavor, but don’t chop too finely or it’ll overpower the sauce.
- Skip the Salt: Soy sauce already brings enough saltiness, so adding extra will make the sauce unpleasantly briny.
- Rest Before Serving: Let the sauce sit for 10 minutes after cooking so the flavors meld—I learned this the hard way after tasting a flat, unbalanced batch.
Storing and Reheating This Dish
Refrigerator Storage
Transfer the cooled sauce to a clean glass jar or airtight container. Store in the fridge at 40°F or below for up to 2 weeks. I recommend using a mason jar for easy pouring and secure sealing. ❄️
Freezer Storage
For longer storage, freeze in ice cube trays first, then transfer to a freezer bag. This sauce freezes well for 3 months without texture changes. Leave ½ inch headspace in containers to prevent expansion issues.
Thawing Method
Thaw overnight in the fridge or submerge the sealed container in cold water for 1 hour. Avoid microwaving directly from frozen as it can cause separation. Stir well after thawing to redistribute any settled ingredients.
Room Temperature Use
Once thawed or removed from the fridge, the sauce keeps well at room temperature for 4-6 hours during serving. For parties, I use a small slow cooker on warm setting to maintain ideal serving temperature.
Reheating Tips
Gently warm in a small saucepan over low heat for 3-5 minutes, stirring occasionally. If too thick, add 1-2 tbsp water to restore consistency. Never boil as it can make the sauce overly salty. 🔥
Storage Check
Discard if you notice mold, off smells, or separation that doesn’t recombine with stirring. The high acidity from vinegar helps preserve it, but trust your senses if anything seems off after opening.
Nutrition Facts
Frequently Asked Questions
Can I use regular vinegar instead of rice vinegar?
Yes, but cut the amount in half since regular vinegar is stronger. Apple cider vinegar works best as a substitute, maintaining the tangy balance with the 0.5 cup Soy Sauce base.
Why does the recipe include sugar?
The 2 tbsp Granulated Sugar rounds out the sharpness of vinegar and saltiness of soy. It creates harmony without making the sauce sweet, essential for authentic flavor.
How do I fix sauce that’s too salty?
Add a splash of water or a pinch more sugar to balance. Avoid adding more vinegar as it can make the sauce too thin or sour.
Can I make this ahead for a party?
The flavor improves after 24 hours in the fridge. Make it 1-2 days ahead and serve at room temperature for best results.

Trained in classic French technique but raised on slow-cooked ribs and spicy rubs, she blends culinary skill with smoke and soul.
- Recipe for Boneless Pork Chops in Cast Iron Skillet: Sear and Baste to Juicy Perfection - October 3, 2026
- Recipe for Boneless Cross Rib Roast: Slow-Roasted Beef with Herb Crust - October 3, 2026
- Hamburgers in Sauce Recipe Crock Pot: Slow-Cooked Savory Delight - October 3, 2026