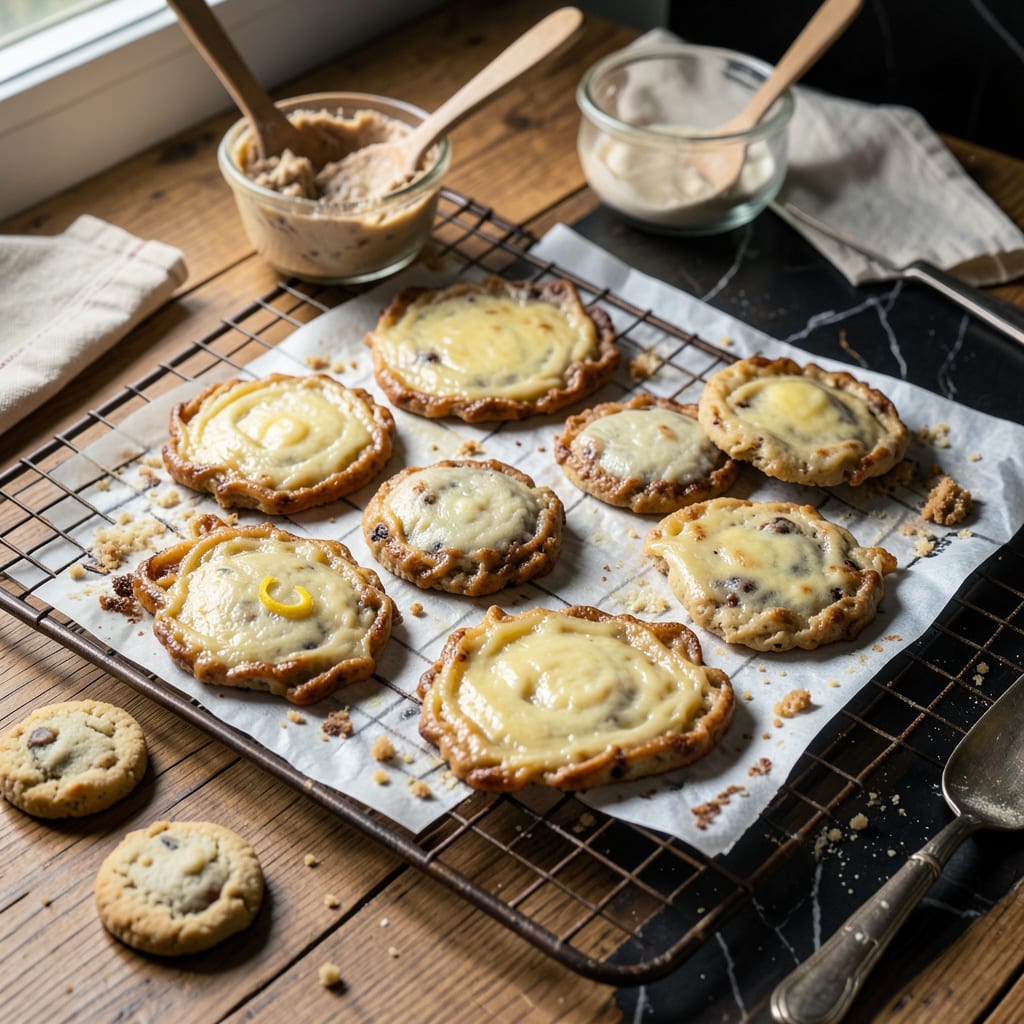
Ever pulled a batch of cookies from the oven only to find they’re more like little cakes than the chewy treats you wanted? I’ve been there—too much egg can turn your perfect cookies into dense, spongy disappointments. The science is simple: eggs add moisture and protein, which can interfere with that ideal crispy-chewy balance we all crave.
Here’s the good news: you don’t have to toss that dough. With a few quick fixes—like adjusting your dry ingredients or tweaking the baking time—you can still salvage those cookies. I’ve rescued plenty of over-egged batches by adding extra flour or baking them a little longer for better structure. It’s all about rebalancing the moisture.
The key is understanding ratios. My go-to cookie recipe uses just 1 large egg for every 2 cups of flour—that’s the sweet spot for chewy centers with crisp edges. Too much egg throws everything off, but we can work with it. Even better, you’ll learn how to prevent this next time.
Let me walk you through exactly how to fix your dough, plus share my foolproof ratio for perfect cookies every time. No more cakey surprises—just bakery-worthy results from your own kitchen.
📚 In This Guide
- What You’ll Need
- Instructions
- Tips and Common Mistakes
What Youll Need
- ● Basic cookie ingredients: 2 ½ cups (300g) all-purpose flour (sifted for accuracy 💡)
- ● 1 cup (225g) unsalted butter (softened, not melted)
- ● ¾–1 cup (150–200g) granulated sugar (adjust to taste)
- ● ¾–1 cup (160–220g) brown sugar (packed, for chewiness)
- ● 1–2 large eggs (room temperature—critical for testing fixes!)
- ● 1 tsp vanilla extract (pure for best flavor)
- ● ½ tsp baking soda (fresh, not expired)
- ● ½ tsp salt (or 1 tsp if using unsalted butter)
- ● Tools: Mixing bowls (2 medium, 1 large)
- ● Electric mixer (hand or stand) or whisk + strong arm 💪
- ● Measuring cups/spoons (dry + liquid sets)
- ● Rubber spatula (for scraping bowls)
- ● Baking sheets (light-colored, ungreased)
- ● Parchment paper or silicone mat (prevents sticking)
- ● Cooling rack (wire, for even airflow)
- ○ Optional (for fixes/testing): 1–2 tbsp milk or cream (to adjust moisture)
- ● Extra 2–4 tbsp flour (if dough is too sticky)
- ● Kitchen scale (for precise egg/flour ratios)
- ● Toothpick (to test doneness)
Instructions for Fixing Cookies with Too Much Egg
Let’s walk through the simple steps to rescue your cookie dough and get perfect results.
Assess Your Dough’s Consistency
First, examine your cookie dough’s texture. If it feels unusually sticky or wet, that’s your first sign of excess egg. I like to use the “finger test”—press your finger lightly into the dough. If it leaves a deep indentation that doesn’t spring back, you’ve got too much moisture from the eggs.
Compare it to your usual cookie dough. Normal dough should hold together when pressed but not stick excessively to your fingers. Don’t worry if it seems too wet—we can fix this. The key is identifying the problem before baking, which is why I always recommend checking dough consistency before scooping.
Add Dry Ingredients to Balance the Moisture
Start by adding 1-2 tablespoons of all-purpose flour to your dough. Mix it in thoroughly and check the consistency again. You’re looking for dough that holds its shape when rolled into a ball but isn’t dry or crumbly.
If the dough is still too sticky after the first addition, incorporate another 1 tablespoon of flour and reassess. I’ve found that most over-egged doughs need between 2-4 tablespoons total of additional flour. Remember to mix gently—overworking the dough can make cookies tough. The goal is to achieve a dough that’s pliable but not sticky to the touch.
Adjust with Cornstarch for Better Texture
For cookies that need both moisture absorption and improved texture, I recommend using cornstarch. Add 1 teaspoon of cornstarch along with each tablespoon of flour. The cornstarch helps create a more tender cookie while absorbing excess moisture.
This combination works particularly well for chocolate chip cookies that might otherwise become cakey. The cornstarch gives that perfect soft-but-structured texture we all love. Mix it in completely and let the dough rest for 10 minutes before testing the consistency again. You’ll notice the dough becomes more manageable and less prone to spreading excessively during baking.
Chill the Dough to Improve Structure
After adjusting the dry ingredients, cover your dough and refrigerate it for at least 30 minutes (I prefer 1 hour if time allows). Chilling helps the flour fully hydrate and gives the proteins in the eggs time to relax, which improves the final texture.
You’ll find that chilled dough is easier to handle and holds its shape better during baking. This step is crucial because it prevents the cookies from spreading too much in the oven, which is a common problem with egg-heavy doughs. When you’re ready to bake, the dough should feel firm but still pliable when scooped.
Bake with Careful Monitoring
When baking your adjusted dough, keep a close eye on the cookies. Set your oven to the temperature your recipe specifies (usually 350°F) and bake for the minimum recommended time. Egg-heavy doughs can brown more quickly than usual.
Start checking for doneness at about 2 minutes before the usual baking time. You want edges that are just beginning to turn golden brown while the centers still look slightly underdone. The cookies will continue to cook on the baking sheet after you remove them from the oven. Let them cool on the sheet for 5 minutes before transferring to a wire rack.
Tips and Common Mistakes
Fixing cookie dough with too much egg is simpler than you might think—here’s what I’ve learned from rescuing countless batches.
The Texture Test: In Step 1, don’t just rely on visual cues when assessing your dough. The “finger test” is your best friend here. Press gently into the dough—if your finger leaves a deep impression that doesn’t spring back, that’s your confirmation of excess moisture. I always compare it to my standard dough consistency; normal dough should feel slightly tacky but not stick to your fingers excessively. This quick check prevents you from baking problematic cookies in the first place.
Flour Addition Technique: When adding the 1-2 tablespoons of all-purpose flour in Step 2, sprinkle it evenly over the dough rather than dumping it in one spot. This helps distribute the absorption more uniformly. Mix gently but thoroughly after each addition—I’ve found that most over-egged doughs need between 2-4 tablespoons total. The key is adding flour gradually and testing consistency between additions to avoid over-correcting.
Chilling Strategy: The 30-minute chill time in Step 4 isn’t just about firming up the dough—it’s crucial for flavor development too. I prefer the full 1 hour when possible because it gives the flour time to fully hydrate and the egg proteins time to relax. You’ll notice the dough becomes much more manageable and holds its shape better during baking. Pro tip: portion your dough into balls before chilling for even baking later.
Baking Vigilance: When you reach Step 5, remember that egg-heavy doughs brown faster. Start checking for doneness exactly 2 minutes before your usual baking time. Look for edges that are just turning golden brown while centers still appear slightly underdone. The cookies will continue cooking on the sheet after removal, so that 5-minute cooling period is actually part of the baking process—don’t skip it!
Pro Tips for Too Much Egg In Cookies
- Fixing cookie dough with too much egg is simpler than you might think—here’s what I’ve learned from rescuing countles…
- The Texture Test: In Step 1, don’t just rely on visual cues when assessing your dough. The “finger test” is your best…
- Flour Addition Technique: When adding the 1-2 tablespoons of all-purpose flour in Step 2, sprinkle it evenly over the…
Frequently Asked Questions
Here are the most common questions about fixing cookies with too much egg—and how to avoid the issue next time!
1. How do I know if my cookies have too much egg?
Look for a cakey texture, dense crumb, or cookies that spread too little. They may also brown unevenly or taste slightly “eggy.” If they puff like muffins instead of flattening, that’s a red flag!
2. Can I fix the dough after adding too much egg?
Yes! Balance the moisture by adding 1–2 tbsp of flour (for chewiness) or cornstarch (for tenderness). Chill the dough 30+ minutes to help control spread. For crispier cookies, bake 1–2 minutes longer at 350°F.
3. What’s the best egg substitute if I accidentally add too much?
For each extra egg, replace with:
- ¼ cup unsweetened applesauce (adds moisture)
- 2 tbsp yogurt or sour cream (for richness)
- 1 tbsp ground flaxseed + 3 tbsp water (vegan option).
4. Why do my cookies taste like scrambled eggs?
Overmixing after adding eggs incorporates too much air, causing an “eggy” flavor. Fix it by gently folding eggs just until combined. Adding ½ tsp vanilla or citrus zest can mask mild eggy tastes.
5. Can I save over-egged cookies after baking?
If they’re dense but edible, revive them by:
- Warming for 10 seconds in the microwave + a sprinkle of salt.
- Turning them into cookie crumb crusts for pies or cheesecake.
- Dipping in chocolate to add texture contrast!
Too much egg can turn your cookies from chewy delights into dense or cakey disappointments—but don’t toss that batch just yet! 🍪✨ With a few simple tweaks (like adjusting moisture, adding dry ingredients, or repurposing the dough), you can salvage your treats or nail the perfect texture next time. Remember, baking is all about balance—eggs add structure, but too many can overpower the magic.
Ready to bake with confidence? Grab your mixing bowl and try a tested recipe with the right egg-to-flour ratio. Happy baking—your perfect cookie is just one adjustment away! 👩🍳

Trained in classic French technique but raised on slow-cooked ribs and spicy rubs, she blends culinary skill with smoke and soul.
- Recipe for Boneless Pork Chops in Cast Iron Skillet: Sear and Baste to Juicy Perfection - October 3, 2026
- Recipe for Boneless Cross Rib Roast: Slow-Roasted Beef with Herb Crust - October 3, 2026
- Hamburgers in Sauce Recipe Crock Pot: Slow-Cooked Savory Delight - October 3, 2026