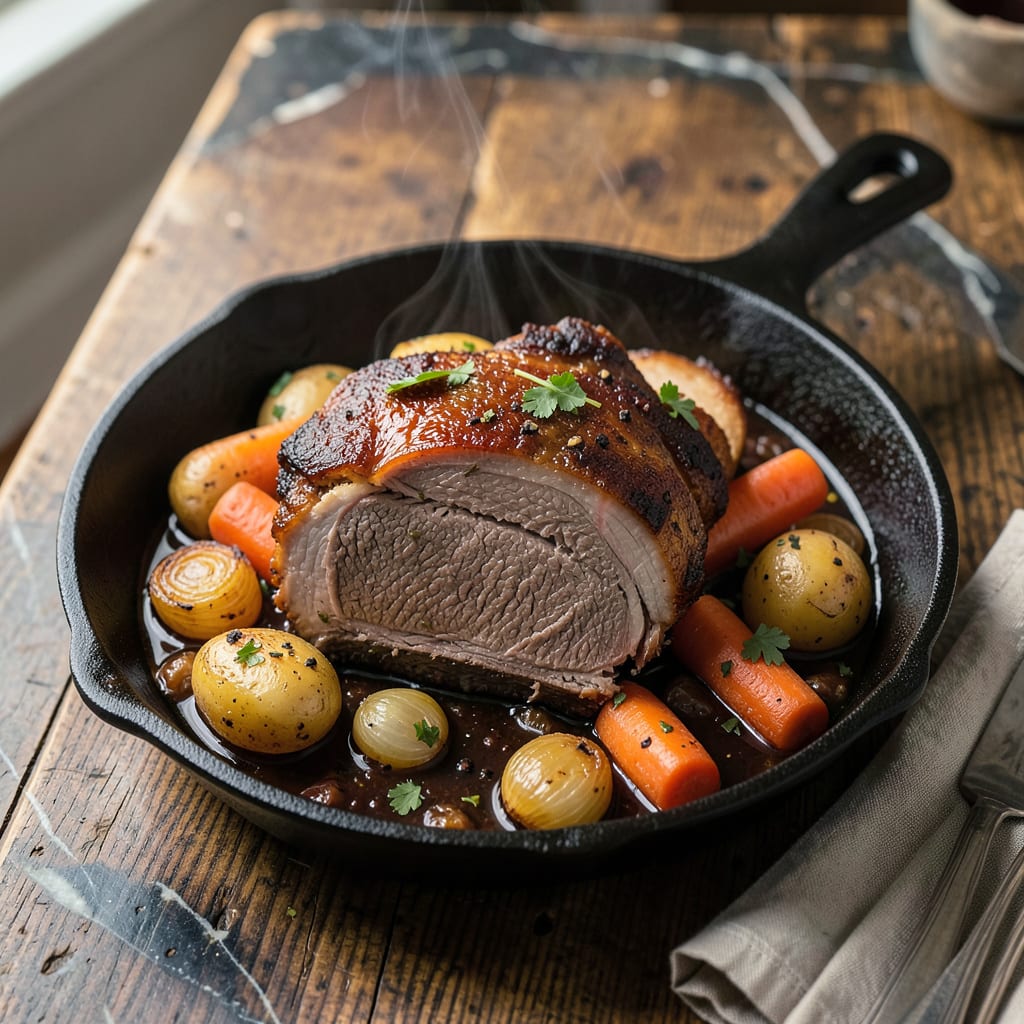
To fix a tough pot roast, return it to the pot with extra liquid, cover tightly, and simmer on low heat for 1-2 more hours. Slicing thinly against the grain also improves tenderness. Acidic ingredients like vinegar or tomatoes can help break down fibers.
I’ve rescued countless tough roasts in my kitchen by treating them like a second chance at slow cooking. The magic happens when collagen—those stubborn connective tissues—finally surrenders to gentle, prolonged heat and transforms into silky gelatin. 🔥 This is why I always recommend checking your liquid levels first; beef broth or red wine adds both moisture and flavor depth. What most home cooks miss is that even “ruined” roasts often just need more time to relax—think of it as giving the meat a spa treatment after a stressful first round of cooking.
My pro tip comes from French technique: let the roast rest for at least 15 minutes after your rescue simmer before slicing. This lets juices redistribute instead of flooding your cutting board. ✨ The acid trick works because vinegar or tomatoes act like natural meat tenderizers, breaking down protein strands without overcooking. I keep a bottle of apple cider vinegar in my pantry specifically for meat emergencies—it’s my secret weapon for both flavor and texture fixes.
💡 In This Article
- Why Pot Roast Becomes Tough and How Heat Fixes It
- 5 Emergency Fixes for Overcooked or Dry Pot Roast
Why Pot Roast Becomes Tough and How Heat Fixes It
Pot roast gets tough when the collagen in connective tissues hasn’t had enough time to break down. Chuck roast—the classic pot roast cut—is packed with this fibrous protein that requires prolonged exposure to 195-205°F temperatures to transform.
At these temps, collagen molecules begin to unwind and dissolve into gelatin, which gives properly cooked pot roast that signature melt-in-your-mouth texture. Most home cooks underestimate how long this process takes—it’s not uncommon for a 3-pound roast to need 3-4 hours of gentle simmering. 🔥
The science behind this is fascinating: collagen starts breaking down around 160°F, but the real magic happens above 180°F when the conversion to gelatin accelerates. This is why your oven or slow cooker should maintain a steady 275-300°F—hot enough to break down collagen but low enough to prevent muscle fibers from seizing up.
I always use a meat thermometer to monitor the internal temperature, aiming for that 195-205°F sweet spot where toughness disappears. The difference between 185°F and 200°F can mean chewy versus fork-tender results. ✨
What most people don’t realize is that pot roast actually gets more tender the longer it cooks—within reason. The muscle fibers themselves begin to weaken after 2-3 hours of moist heat, while the collagen continues converting to gelatin. This is why that extra 1-2 hours of simmering works so well for rescue missions.
The liquid in the pot serves double duty: it maintains the moist environment needed for collagen breakdown while also preventing the meat from drying out. I’ve found that adding 1-2 cups of beef broth or red wine during the rescue phase gives the collagen more time to dissolve while infusing extra flavor. 💫
The grain of the meat plays a crucial role too. Those long muscle fibers run parallel in specific directions—when you slice against this grain, you’re physically shortening the fibers, making each bite easier to chew.
A 3-pound chuck roast might have fibers running 6-8 inches long; slicing against the grain reduces this to 1-2 inch segments. This simple technique can make even slightly undercooked pot roast feel more tender. The combination of proper collagen breakdown and strategic slicing is what separates good pot roast from extraordinary. ⚡
Acidic ingredients work because they denature the muscle proteins through a process called hydrolysis. Vinegar, tomatoes, or even a splash of wine contain acids that break the chemical bonds holding muscle fibers together. This is why many classic pot roast recipes include tomato paste or red wine—they’re not just for flavor, but for texture improvement.
I’ve rescued many roasts by adding 2 tablespoons of apple cider vinegar to the braising liquid during the final hour of cooking. The acid helps tenderize while the extended heat finishes the collagen conversion. 🌟
Here’s what’s actually happening during that rescue simmer: The heat causes the remaining collagen to continue dissolving while the acidic environment helps relax the muscle fibers. The added liquid creates steam that penetrates the meat, carrying flavor deep into the tissues.
This one-two punch of heat and acidity can salvage even the most stubborn pot roast. Remember that the rescue process might take 30-50% longer than your original cook time—patience is key when dealing with tough connective tissues. The payoff is worth it when you’re rewarded with that perfect, fall-apart texture. 💛
The type of liquid you use for the rescue matters too. Beef broth provides collagen and gelatin to supplement what’s in the meat, while red wine adds both acidity and tannins that help break down proteins.
I’ve had great success with a 50/50 mix of broth and dry red wine—it creates the perfect environment for both flavor development and texture improvement. The alcohol in wine also helps dissolve fats, which contributes to that luxurious mouthfeel we all love in a perfect pot roast. 💫

Trained in classic French technique but raised on slow-cooked ribs and spicy rubs, she blends culinary skill with smoke and soul.
- Recipe For Oven Baked Haddock: Buttery Crumbs With Zesty Lemon Topping - October 3, 2026
- Recipe For Fried Salmon Patties With Flour: Crispy Golden Crust With Flaky Centers - October 3, 2026
- Meat and Potato Recipe Ideas: Savory Pairings for Hearty Meals - October 3, 2026