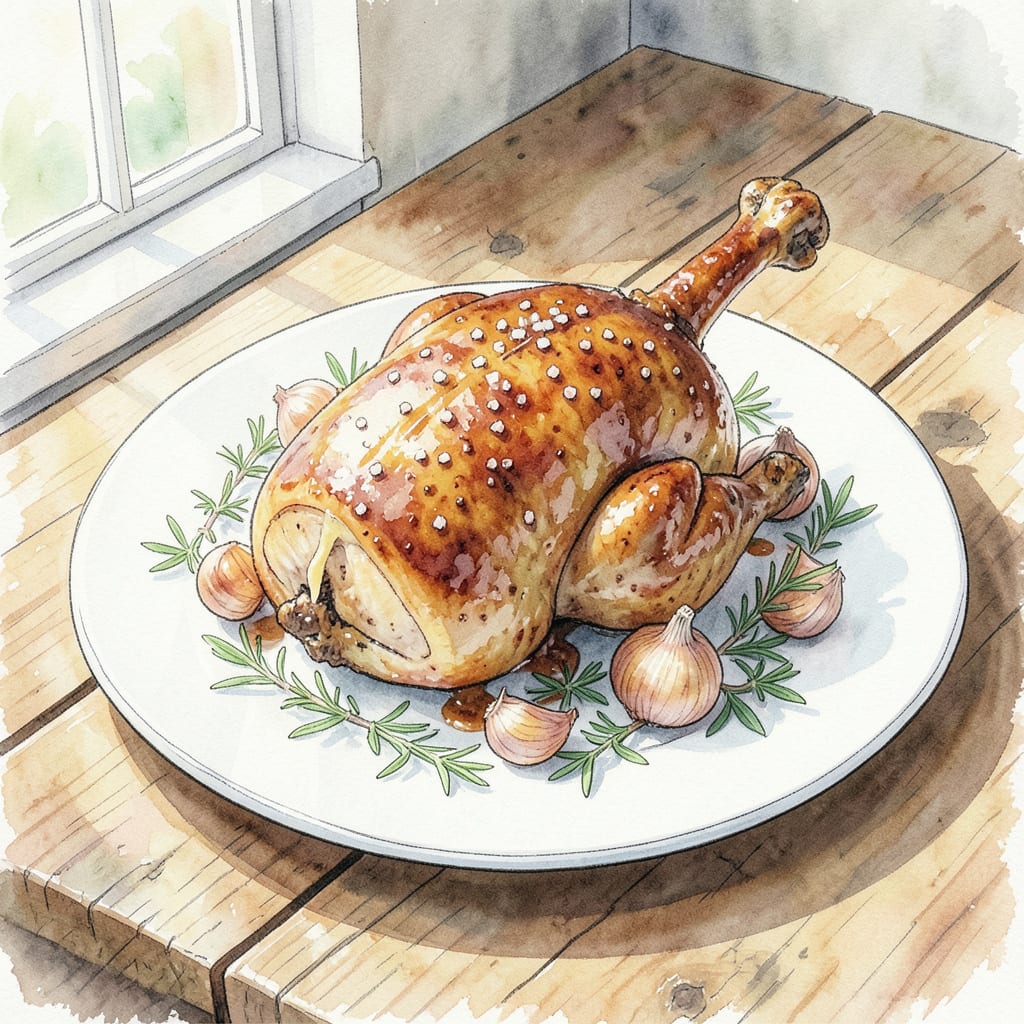
A perfectly roasted turkey crown is the crown jewel of any holiday feast. 🔥 As a pitmaster with French technique training, I’ve mastered the art of achieving a juicy, tender centerpiece that’s sure to impress.
Cooked to perfection at 375°F, this turkey crown recipe delivers a beautifully browned exterior while maintaining a moist, flavorful interior. With simple preparation and precise cooking times, you’ll create a show-stopping main course that steals the show at your holiday gathering.
Ingredients for Turkey Crown
The star of your holiday feast: a perfectly roasted turkey crown.
| Ingredient | Amount | Notes |
|---|---|---|
| Turkey Crown 🦃 | 1 whole | Bone-in, skin-on preferred |
| Unsalted Butter 🧈 | ½ cup | Softened to room temperature |
| Fresh Thyme 🌿 | 4 sprigs | Fresh, not dried |
| Fresh Rosemary 🌿 | 2 sprigs | Chopped, fresh |
| Garlic Cloves 🧄 | 4 cloves | Minced, fresh |
| Kosher Salt 🧂 | 2 tbsp | Diamond Crystal preferred |
| Black Pepper 🌶️ | 1 tbsp | Freshly ground |
| Onion 🧅 | 1 whole | Quartered, any variety |
| Carrots 🥕 | 2 whole | Peeled, chopped |
| Celery Stalks 🥕 | 2 stalks | Chopped, fresh |
| Turkey Stock 🍜 | 2 cups | Homemade or store-bought |
[recipe_ingredient_scaler]
For the best results, choose a fresh, never-frozen turkey crown from a reputable butcher or high-quality grocery store. If possible, have them remove the giblets and neck. Fresh herbs make a difference here—grab a few extra sprigs of thyme and rosemary for the pan. For the aromatics, any mix of onion, carrots, and celery works well.
No turkey stock on hand? Chicken broth is a decent substitute, but look for low-sodium options. The key is to keep the aromatics loose in the pan—don’t let them get crowded. If your turkey crown comes with netting, leave it on during roasting for better shape retention. For the butter, European-style cultured butter adds richness.
This turkey crown keeps beautifully in the fridge for 3-4 days. Reheat at 325°F until warmed through, about 20-25 minutes. The leftovers make amazing sandwiches—the juices from the pan can be strained and saved for gravy or soup.
Step-by-Step Instructions for Turkey Crown
Here’s the method to achieve a perfectly cooked, juicy turkey crown for your holiday feast.
🔥 Step 1: Prep and Season the Turkey Crown
Preheat your oven to 425°F. Take the 1 whole Turkey Crown and remove any giblets from the cavity. Pat the turkey dry with paper towels, both inside and out, to ensure crispy skin. In a small bowl, mix together the 2 tbsp Kosher Salt and 1 tbsp Black Pepper. Rub this seasoning mixture all over the turkey, making sure to get some under the skin as well. The 4 sprigs Fresh Thyme and 2 sprigs Fresh Rosemary should be tucked under the skin or placed in the cavity for added flavor.
The 0.5 cup Unsalted Butter, softened to room temperature, should be rubbed all over the turkey’s surface. This will help create a golden-brown, crispy skin during roasting. Make sure the butter is evenly distributed, and the turkey is coated thoroughly.
🥘 Step 2: Prepare the Roasting Pan and Vegetables
In a large roasting pan, arrange the 1 whole Onion (quartered), 2 whole Carrots (peeled and chopped), and 2 stalks Celery Stalks (chopped). These aromatics will form the base of your roasting pan and add depth to the turkey’s flavor. Drizzle a bit of the pan juices or some oil over the vegetables to help them caramelize during roasting.
Place the prepared turkey crown on top of the vegetables, breast side up. This positioning ensures that the breast meat stays juicy and the skin gets crispy. Tuck the 4 cloves Garlic Cloves (minced) under the turkey or among the vegetables for an extra layer of flavor.
🔥 Step 3: Roast the Turkey Crown
Place the roasting pan in the preheated oven and roast the turkey at 425°F for the first 30 minutes. This initial high heat helps to crisp the skin. After 30 minutes, reduce the oven temperature to 375°F and continue roasting. Baste the turkey with pan juices every 20-30 minutes to keep it moist and promote even browning.
Roast the turkey until it reaches an internal temperature of 165°F in the thickest part of the breast. This should take about 2-2.5 hours total, depending on the size of your turkey crown. Use a meat thermometer to check for doneness, as cooking times can vary.
⏰ Step 4: Rest the Turkey
Once the turkey is cooked, remove it from the oven and transfer it to a carving board. Tent the turkey loosely with foil to keep it warm. Let it rest for 20-30 minutes before carving. During this time, the juices will redistribute throughout the meat, ensuring that the turkey stays juicy and tender.
While the turkey is resting, you can prepare the gravy using the pan drippings and the 2 cups Turkey Stock. Strain the pan juices into a saucepan, skim off excess fat, and add the turkey stock. Bring to a simmer and reduce until you achieve your desired gravy consistency.
🔪 Step 5: Carve and Serve
After the turkey has rested, it’s time to carve. Use a sharp carving knife to slice the breast meat against the grain. Arrange the sliced turkey on a platter, garnished with fresh herbs if desired. Serve with the prepared gravy and your choice of sides to complete the holiday feast.
The result should be a beautifully presented, juicy turkey crown with crispy skin, perfect for impressing your guests at the holiday table.
Pro Cooking Tips for turkey crown
Temperature Control is Key
For a perfectly cooked turkey crown, maintaining the right oven temperature is crucial. I always preheat my oven to 425°F for the initial blast of heat, then reduce it to 375°F for the remainder of the cooking time. This helps achieve that beautiful golden-brown skin while keeping the meat juicy.
Proper Trussing Technique
If your turkey crown comes with netting, leave it on during roasting to help maintain its shape. For a more traditional approach, use kitchen twine to tie the legs together. This helps the turkey cook more evenly and prevents the breast from drying out. I like to use natural cotton twine for this.
The Importance of a Meat Thermometer
Don’t rely on cooking times alone – a reliable meat thermometer is essential for ensuring your turkey crown reaches a safe 165°F internal temperature. I use a Thermapen Mk4 for its accuracy and quick readings. Check the temperature in the thickest part of the breast, avoiding any bones.
Basting for Moisture and Flavor
Baste the turkey every 20-30 minutes with the pan juices to keep it moist and promote even browning. This also helps create a rich, flavorful gravy later. I like to use a silicone basting brush because it’s easy to clean and doesn’t scratch my pans.
Resting for Juiciness
After removing the turkey from the oven, let it rest for 20-30 minutes before carving. This allows the juices to redistribute throughout the meat, resulting in a juicier final product. Tent the turkey loosely with foil to keep it warm during this time. The resting period is also a great time to prepare your gravy using the pan drippings and 2 cups of turkey stock. 🔥
Carving Techniques Matter
When it’s time to carve, use a sharp carving knife to slice the breast meat against the grain. This ensures tender, easy-to-chew slices. Arrange the sliced turkey on a platter, garnished with fresh herbs if desired, and serve with your prepared gravy and choice of sides.
Nutrition Facts

Trained in classic French technique but raised on slow-cooked ribs and spicy rubs, she blends culinary skill with smoke and soul.
- Recipe for Boneless Pork Chops in Cast Iron Skillet: Sear and Baste to Juicy Perfection - October 3, 2026
- Recipe for Boneless Cross Rib Roast: Slow-Roasted Beef with Herb Crust - October 3, 2026
- Hamburgers in Sauce Recipe Crock Pot: Slow-Cooked Savory Delight - October 3, 2026