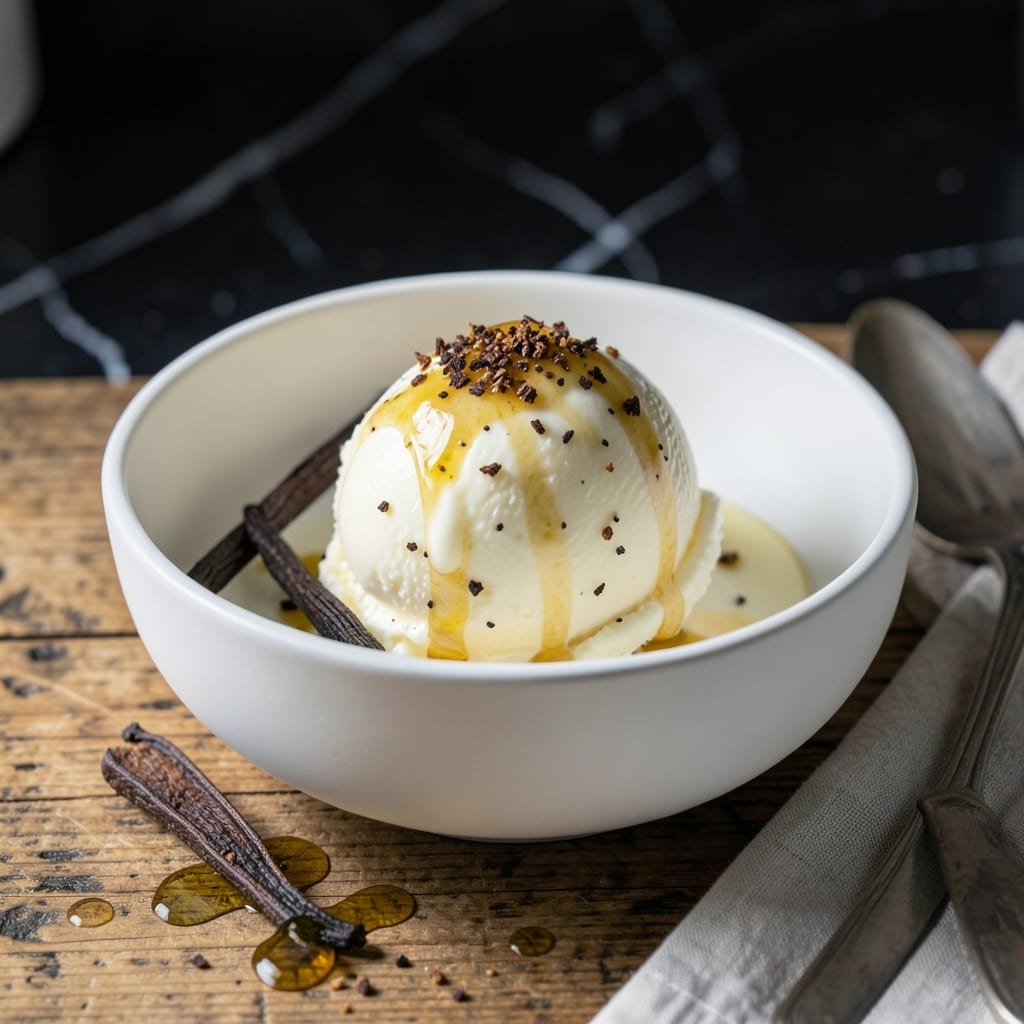
There’s nothing quite like homemade vanilla ice cream with its ultra-smooth texture and pure flavor. This from-scratch recipe delivers a classic indulgence that store-bought versions simply can’t match.
By controlling every ingredient and step, you’ll create a custard base that churns into creamy perfection. The process is straightforward, but the results are anything but ordinary.
Ingredients for Vanilla Ice Cream Recipe from Scratch
Nine simple ingredients create this ultra-smooth, from-scratch classic with pure vanilla flavor.
| Ingredient | Amount | Notes |
|---|---|---|
| Whole Milk 🥛 | 2 cups | Full-fat for creaminess |
| Heavy Cream 🥛 | 2 cups | Cold, at least 36% fat |
| Granulated Sugar 🍚 | ¾ cup | Fine grain for smooth texture |
| Pure Vanilla Extract 🌿 | 1 tbsp | High-quality, not imitation |
| Vanilla Bean 🌿 | 1 whole | Split and scraped |
| Large Egg Yolks 🥚 | 6 pieces | Room temperature preferred |
| Pinch of Salt 🧂 | 1 pinch | Enhances sweetness |
| Unsalted Butter 🧈 | 2 tbsp | Melted, for richness |
| Pure Vanilla Bean Paste 🌿 | 1 tsp | Optional, for intense flavor |
[recipe_ingredient_scaler]
The dairy is critical here. Heavy cream with at least 36% fat ensures that signature richness, while whole milk balances the texture. For the best results, use organic or local dairy—the flavor difference is noticeable. The vanilla bean is non-negotiable for that speckled, authentic look; Madagascar Bourbon beans from specialty stores like Penzeys are ideal. Always scrape the seeds fresh for maximum impact.
No vanilla bean? Double the vanilla extract to compensate, but the paste is a great middle ground. For a lighter version, half-and-half replaces heavy cream, though the texture won’t be as velvety. Sugar can be adjusted to taste, but don’t skip it entirely—it’s not just for sweetness, it lowers the freezing point for a smoother churn. Egg yolks at room temperature incorporate more air for a fluffier base.
The custard base keeps in the fridge for 2 days before churning. Once churned, store ice cream in an airtight container with parchment pressed directly on the surface to prevent ice crystals. Enjoy within 1 week for peak texture. Freeze for up to 3 months, but it’s best fresh.
Why You’ll Love This Recipe
- One Bowl Wonder: I just dump the milk, cream, sugar, and vanilla in a bowl—no fancy steps, and the vanilla bean makes it smell amazing while it chills.
- Pure Vanilla Heaven: The combo of extract and real vanilla bean seeds gives it that deep, rich flavor that store-bought can’t touch.
- Crowd Pleaser: Whether it’s a birthday party or just Tuesday dessert, everyone from my picky nephew to my coffee-loving dad asks for seconds.
- Freezer Friendly: I always make a double batch because it keeps beautifully for weeks. Honestly, it’s cheaper than buying pints.
Step-by-Step Instructions for Vanilla Ice Cream From Scratch
This professional method ensures silky texture and maximum vanilla flavor in every batch.
Step 1: Infuse the Dairy with Vanilla
In a medium saucepan, combine the 2 cups Whole Milk, 2 cups Heavy Cream, and the seeds from the 1 whole Vanilla Bean (split lengthwise and scraped). Add the empty pod as well for deeper flavor. Heat over medium heat until the mixture just begins to simmer—you’ll see small bubbles forming around the edges.
Remove from heat, cover, and let steep for 15 minutes. This infusion process extracts the maximum vanilla flavor and aroma. The liquid should take on a pale golden hue and smell intensely fragrant. Discard the vanilla pod after steeping.
Step 2: Temper the Egg Yolks into the Warm Mixture
In a separate bowl, whisk together the 6 pieces Large Egg Yolks and the 0.75 cup Granulated Sugar until the mixture turns pale yellow and thickens slightly, about 2-3 minutes. This step ensures a smooth, lump-free custard base.
Slowly pour about 1 cup of the warm milk mixture into the egg yolks while whisking constantly. This tempering process prevents the eggs from scrambling. Once incorporated, pour the tempered egg mixture back into the saucepan with the remaining dairy.
Step 3: Cook the Custard to the Perfect Consistency
Return the saucepan to medium-low heat and cook the custard, stirring constantly with a wooden spoon or silicone spatula, until it thickens enough to coat the back of the spoon. This should take 8-10 minutes—you’ll know it’s ready when you can run your finger through the custard on the spoon and it leaves a clean path.
Remove from heat and stir in the 1 tbsp Pure Vanilla Extract, 1 tsp Pure Vanilla Bean Paste, 2 tbsp Unsalted Butter, and 1 pinch Pinch of Salt. The butter should melt completely, creating a glossy, smooth custard. Strain the mixture through a fine-mesh sieve into a clean bowl to remove any cooked egg bits, ensuring ultra-smooth ice cream.
Step 4: Chill Thoroughly Before Churning
Cover the custard with plastic wrap, pressing it directly onto the surface to prevent a skin from forming. Refrigerate for at least 4 hours, or preferably overnight. Chilling is crucial for achieving the creamiest texture—warm custard churned into ice cream will result in a grainy, icy product.
The custard should be 40°F or colder before churning. If you’re in a hurry, you can place the bowl in an ice bath and stir occasionally to speed up the cooling process, but don’t skip this step entirely.
Step 5: Churn and Freeze to Perfection
Pour the chilled custard into your ice cream maker and churn according to the manufacturer’s instructions, typically 20-25 minutes. The ice cream is ready when it reaches the consistency of soft-serve and holds its shape when scooped.
Transfer the ice cream to a lidded container, pressing plastic wrap directly onto the surface to minimize ice crystals. Freeze for at least 4 hours or until firm. For the smoothest texture, let the ice cream sit at room temperature for 5-10 minutes before scooping. The result should be ultra-creamy with a rich, balanced vanilla flavor in every bite.
Pro Tips For Making Vanilla Ice Cream Recipe From Scratch
- Chill the base: Always refrigerate your custard for at least 4 hours before churning—I learned this the hard way after ending up with soupy ice cream that never set properly.
- Scrape the bean: Split the vanilla bean lengthwise and scrape out every last speck of seeds; those tiny black flecks carry most of the flavor and make the texture look gourmet.
- Temper the eggs: Slowly drizzle about a cup of hot milk into your beaten eggs while whisking constantly, or you’ll end up with sweet scrambled eggs instead of custard.
- Use full-fat dairy: Skip the low-fat milk or cream substitutions; the higher fat content in whole milk and heavy cream is what gives your ice cream that rich, velvety texture.
Health Benefits of This vanilla ice cream recipe from scratch
Calcium Rich Treat
This dessert provides a surprisingly good dose of calcium, with each serving offering about 20% of your daily needs. The combination of whole milk and heavy cream creates a dairy powerhouse that supports bone health. I love that it’s a sweet way to get essential nutrients.
Energy Boosting
The natural sugars from granulated sugar combined with fats from dairy provide a quick energy boost. Perfect for an afternoon pick-me-up or post-dinner treat. The egg yolks add high-quality protein that helps sustain energy levels longer than sugar alone. 💪
Mood Enhancer
Vanilla contains compounds that may help reduce stress and anxiety. The comforting aroma and flavor can trigger positive memories and emotions. I find making this from scratch is as therapeutic as eating it.
Antioxidant Properties
Real vanilla bean contains antioxidants that help combat free radicals in your body. These compounds support overall health and may have anti-inflammatory effects. Always choose pure vanilla extract over imitation for maximum benefits.
Probiotic Potential
When made with high-quality dairy, this treat can contain beneficial bacteria that support gut health. Look for organic or grass-fed cream to maximize potential probiotic content. The fermentation process during churning may enhance these benefits. ✨
Vitamin Source
You’ll find small amounts of vitamin A and vitamin D in this recipe, thanks to the dairy and egg yolks. These fat-soluble vitamins support immune function and skin health. The butter adds a bit of vitamin K2 as well.
Nutrition Facts
Frequently Asked Questions
Do I need an ice cream maker?
An ice cream maker gives the best texture, but you can make it without one. Freeze the custard in a shallow dish, stirring vigorously every 30 minutes for 3-4 hours to break up ice crystals.
Why did my custard curdle?
Curdling happens if eggs get too hot. Always temper them slowly with warm dairy, and cook the custard on low heat, stirring constantly. If it curdles, strain immediately to remove lumps.
Can I use vanilla sugar instead of extract?
Yes! Replace 1 tbsp extract with 2 tbsp vanilla sugar (dissolved in warm custard). For intense flavor, use both the bean and sugar. The sugar adds sweetness too, so adjust accordingly.

Trained in classic French technique but raised on slow-cooked ribs and spicy rubs, she blends culinary skill with smoke and soul.
- Recipe for Boneless Pork Chops in Cast Iron Skillet: Sear and Baste to Juicy Perfection - October 3, 2026
- Recipe for Boneless Cross Rib Roast: Slow-Roasted Beef with Herb Crust - October 3, 2026
- Hamburgers in Sauce Recipe Crock Pot: Slow-Cooked Savory Delight - October 3, 2026