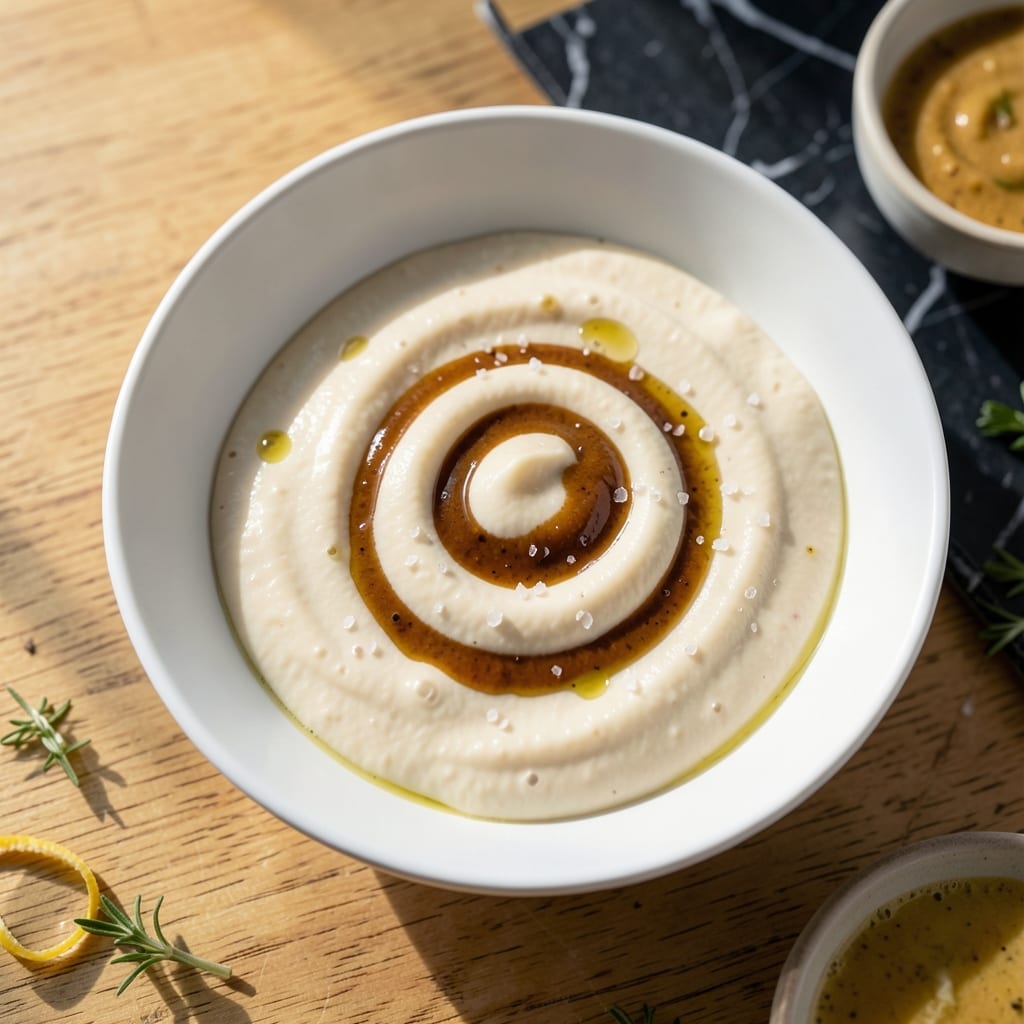
This plant-based spread delivers the same rich, creamy texture as traditional mayo without any soy. The secret lies in a simple emulsification process that transforms aquafaba into a smooth, velvety condiment.
In just minutes, you’ll have a vegan mayo that’s perfect for sandwiches, dressings, or dipping. It keeps well in the fridge and tastes far better than store-bought alternatives.
Ingredients for Vegan Mayo Recipe No Soy
Eight simple ingredients transform into a rich, velvety spread with zero soy or dairy.
| Ingredient | Amount | Notes |
|---|---|---|
| Aquafaba 🥫 | ½ cup | Liquid from canned chickpeas, unsalted |
| Neutral-Flavored Oil 🫒 | 1 cup | Sunflower or avocado oil preferred |
| Apple Cider Vinegar 🍏 | 1 tbsp | Or white vinegar for tang |
| Dijon Mustard 🟡 | 1 tsp | Smooth, no seeds preferred |
| Lemon Juice 🍋 | 1 tbsp | Freshly squeezed for brightness |
| Sea Salt 🧂 | ½ tsp | Fine grain for even distribution |
| Garlic Powder 🧄 | ¼ tsp | Optional, for depth of flavor |
| Maple Syrup 🍁 | ½ tsp | Balances acidity, optional |
[recipe_ingredient_scaler]
Aquafaba is the magic here—use the liquid from unsalted chickpeas (canned or homemade). I always grab Goya or Eden Organic for consistent results. The oil needs to be neutral, so skip the olive oil (too strong). Sunflower or avocado oil gives the cleanest flavor. Make sure your chickpeas are unsalted, otherwise the mayo ends up tasting like canned beans.
No aquafaba? Flax egg (1 tbsp ground flax + 3 tbsp water) works in a pinch, but the texture’s different. Swap apple cider vinegar for white wine vinegar if that’s what you’ve got. The mustard is key for emulsification—yellow mustard at a pinch. Skip the garlic powder if you’re going for a classic flavor, but I love the subtle kick it adds.
Keeps in the fridge for 1 week in a sealed jar. The emulsion might separate a little—just whisk it back together. For longer storage, freeze in ice cube trays (thaw in the fridge, then re-whisk). Don’t leave it at room temp too long, or it’ll start to break down.
Why You’ll Love This Recipe
- Blend in Minutes: I just dump everything into the blender and pulse—no whisking, no waiting, no fuss.
- Tangy Perfection: The apple cider vinegar and lemon juice give it that sharp, bright kick I crave.
- Sandwich Savior: Honestly, it’s my go-to for wraps, burgers, even dipping fries—never lets me down.
- Pantry Friendly: Aquafaba and oil are already in my cupboard, so I’m never caught without mayo again.
Step-by-Step Instructions for Creamy Plant-Based Mayo
This method transforms simple ingredients into silky, rich mayo with perfect emulsification every time.
Step 1: Whisk the Aquafaba Base
In a medium bowl, add the 0.5 cup Aquafaba and whisk vigorously with a balloon whisk for 30-60 seconds until frothy. The liquid should turn opaque and slightly thickened, with visible bubbles throughout.
This step is crucial—properly whipped Aquafaba creates the stable foundation that will hold the 1 cup Neutral-Flavored Oil in suspension. I’ve found that chilled Aquafaba straight from the can whips up better than room temperature.
Step 2: Incorporate the Acidic and Flavor Components
Add the 1 tbsp Apple Cider Vinegar, 1 tsp Dijon Mustard, 1 tbsp Lemon Juice, 0.5 tsp Sea Salt, 0.25 tsp Garlic Powder, and 0.5 tsp Maple Syrup to the whipped Aquafaba. Whisk again for 20-30 seconds until fully combined.
The mustard acts as an emulsifier, while the vinegar and lemon juice provide the signature tang. The maple syrup balances the acidity without overpowering the flavor. Taste at this stage—if you prefer more brightness, you can add another splash of lemon juice.
Step 3: Slowly Emulsify the Oil
Begin adding the 1 cup Neutral-Flavored Oil in a very thin, steady stream while whisking constantly. Start with just a few drops at a time, then gradually increase to a thin trickle as the mixture begins to thicken.
This is where patience pays off. The first ¼ cup of oil is the most critical—if you add it too quickly, the emulsion will break. After about 2-3 minutes of steady whisking, you’ll notice the mixture transforming from a thin liquid to a creamy, pale yellow base. The texture should resemble thin mayonnaise at this point.
Step 4: Finish and Adjust the Consistency
Once all the oil is incorporated, continue whisking for another 30-60 seconds to ensure complete emulsification. The mayo should be thick, creamy, and hold its shape when the whisk is lifted.
If it’s too thick, whisk in 1-2 teaspoons of water or additional Aquafaba to reach your desired consistency. If it’s too thin, you can whisk in another 1-2 tablespoons of oil. Store in an airtight container in the refrigerator for up to 1 week.
Pro Tips For Making Vegan Mayo Recipe No Soy
- Drip Oil Slowly: Add the neutral oil in a thin, steady stream while blending—about 1 teaspoon every 5 seconds. I learned this the hard way after my first batch broke from pouring too fast.
- Chill the Aquafaba: Use cold aquafaba straight from the fridge. It emulsifies better than room temp, and I was skeptical until I tried it.
- Skip the Overmixing: Stop blending as soon as the mayo thickens. After burning through two batches by overworking them, I finally realized less is more.
- Use Fresh Lemon: Bottled lemon juice lacks the brightness fresh gives. Sounds weird, but it actually changes the outcome—my grandmother swore by this.
Storing and Reheating This vegan mayo recipe no soy
🍳 Refrigerator Storage
Your homemade vegan mayo recipe no soy will stay fresh in the fridge for 3-4 days. Transfer it to an airtight glass jar or container to prevent absorption of odors and maintain its creamy texture. Keep it in the coldest part of the fridge, away from the door, to ensure consistent temperatures.
❄️ Freezer Storage
For longer storage, freeze your vegan mayo in an ice cube tray first, then transfer the cubes to a freezer-safe bag or container. It can last up to 2-3 months this way. Thaw only what you need in the fridge overnight. Avoid repeated freezing and thawing to preserve quality.
🔥 Reheating Methods
Vegan mayo is typically enjoyed cold, but if your recipe includes a warm application, gently heat it in a double boiler on low heat (below 120°F) to prevent separation. Avoid microwaving, as it can cause the emulsion to break. Stir continuously for even warming.
💡 Quality Preservation
To keep your mayo smooth and fresh, always use clean, dry utensils when scooping. If storing for more than a week, add a splash of lemon juice or vinegar to help preserve its consistency. When thawing frozen mayo, do it slowly in the fridge to avoid texture changes.
Nutrition Facts

Trained in classic French technique but raised on slow-cooked ribs and spicy rubs, she blends culinary skill with smoke and soul.
- Recipe for Boneless Pork Chops in Cast Iron Skillet: Sear and Baste to Juicy Perfection - October 3, 2026
- Recipe for Boneless Cross Rib Roast: Slow-Roasted Beef with Herb Crust - October 3, 2026
- Hamburgers in Sauce Recipe Crock Pot: Slow-Cooked Savory Delight - October 3, 2026