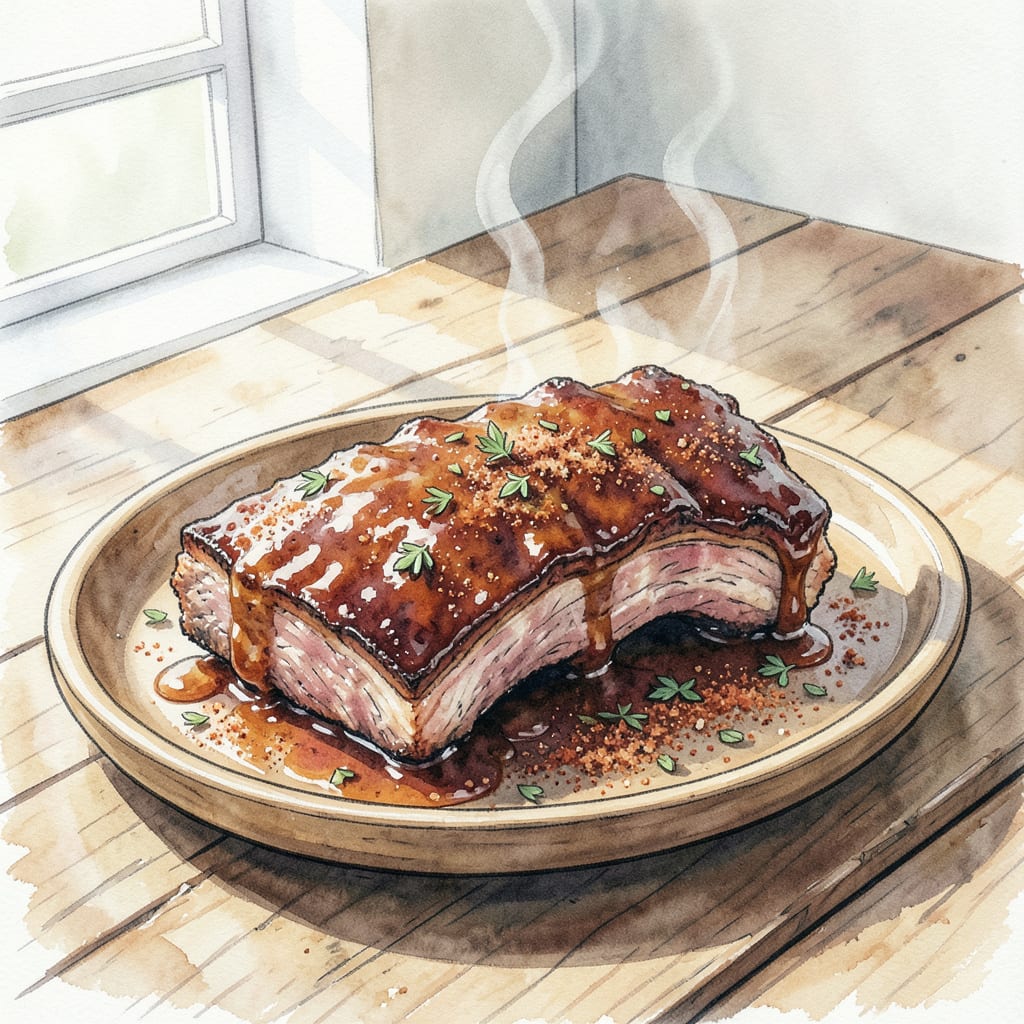
As a pitmaster, I’ve spent years perfecting my BBQ ribs recipe, and I’m excited to share Virgil’s secret to achieving fall-off-the-bone tender perfection. 🔥 The key lies in a combination of low and slow cooking, a special dry rub, and a tangy BBQ sauce.
By following this recipe, you’ll be able to create tender, juicy ribs that are sure to impress. With a cooking time of around 5 hours, you’ll be rewarded with perfectly cooked ribs that are sure to become a family favorite.
Ingredients for Virgil’s Bbq Ribs
Low and slow cooking meets tangy BBQ sauce in this tender ribs recipe.
| Ingredient | Amount | Notes |
|---|---|---|
| Beef Back Ribs 🥩 | 2 lb | Membrane removed for tenderness |
| Brown Sugar 🍮 | ¼ cup | Packed for dry rub |
| Smoked Paprika 🌶️ | 2 tbsp | For smoky flavor |
| Chili Powder 🌶️ | 1 tbsp | Mild or hot variety |
| Garlic Powder 🧄 | 1 tbsp | Not garlic salt |
| Onion Powder 🧅 | 1 tbsp | For depth of flavor |
| Salt 🧂 | 1 tsp | Kosher salt preferred |
| Black Pepper 🌶️ | ½ tsp | Freshly ground preferred |
| Cayenne Pepper 🔥 | ¼ tsp | Adjust for heat preference |
| Apple Cider Vinegar 🍎 | ½ cup | For BBQ sauce base |
| Ketchup 🍅 | 1 cup | For BBQ sauce thickness |
| Worcestershire Sauce 💧 | 2 tbsp | For umami flavor |
[recipe_ingredient_scaler]
The ribs matter here. Beef back ribs give that fall-apart texture—St. Louis-style pork is a great alternative too. Most grocery stores have them, or ask your butcher to prep them. I usually grab mine from Costco when I’m doing a big batch. Look for good marbling if you’re buying a whole rack to portion yourself.
No smoked paprika? Regular paprika plus liquid smoke gets you close. Want more heat? Bump up the cayenne or add red pepper flakes. The BBQ sauce can be made ahead—keeps for 2 weeks in the fridge. If using store-bought, Rao’s or Stubbs are solid choices. For the dry rub, Penzeys has great spice blends.
This reheats beautifully—honestly tastes better the next day once everything melds. Keeps 4-5 days in the fridge, freezes for 3 months. I portion mine into containers so meals are sorted for the week. Wrap leftovers tightly to prevent drying out.
Step-by-Step Instructions for Virgil’s BBQ Ribs
Follow these precise steps to achieve fall-off-the-bone tender perfection in your BBQ ribs.
🔥 Step 1: Prepare the Dry Rub and Coat the Ribs
In a small bowl, mix together the 0.25 cup brown sugar, 2 tbsp smoked paprika, 1 tbsp chili powder, 1 tbsp garlic powder, 1 tbsp onion powder, 1 tsp salt, 0.5 tsp black pepper, and 0.25 tsp cayenne pepper until well combined. I like to use my fingers to ensure everything is evenly distributed. Generously coat the 2 lb beef back ribs with this dry rub, making sure to cover all surfaces evenly. Let the ribs sit at room temperature for 30 minutes to allow the seasonings to penetrate the meat.
The dry rub creates a flavorful crust that complements the tender meat. By letting it sit, we ensure the seasonings have time to absorb into the surface of the ribs.
🔥 Step 2: Slow Cook the Ribs
Preheat your oven to 275°F. Place the coated ribs on a large baking sheet lined with aluminum foil, bone-side down. Cover tightly with another piece of foil to create a steam effect. Bake for 2.5 hours until the meat is tender and starts to pull away from the bones. You’ll notice the ribs becoming more flexible and the meat shrinking back from the bone ends.
This low-and-slow cooking method breaks down the connective tissues in the meat, making it incredibly tender. The foil wrapping helps retain moisture and promotes even cooking.
🍳 Step 3: Prepare the BBQ Sauce
While the ribs are cooking, prepare the BBQ sauce. In a medium saucepan, combine 0.5 cup apple cider vinegar, 1 cup ketchup, and 2 tbsp Worcestershire sauce. Bring the mixture to a simmer over medium heat, stirring occasionally. Reduce the heat to low and let it simmer gently for 10-15 minutes, stirring frequently, until the sauce thickens slightly and develops a rich, glossy appearance. You’ll know it’s ready when it coats the back of a spoon.
The BBQ sauce adds a tangy, sweet, and umami flavor that complements the smoky ribs. Simmering reduces the sauce to the perfect consistency for glazing.
🔥 Step 4: Glaze and Finish the Ribs
After the ribs have cooked for 2.5 hours, remove them from the oven and carefully unwrap the foil. Brush the prepared BBQ sauce generously over both sides of the ribs. Return them to the oven, bone-side up, and bake uncovered for an additional 20-25 minutes until the sauce is caramelized and sticky. Keep an eye on them during this stage to prevent burning—the sauce can go from perfect to burnt quickly.
The final glaze adds a beautiful sheen and intensifies the flavors. Watch for the sauce to bubble and slightly char around the edges.
🔪 Step 5: Rest and Serve
Remove the ribs from the oven and let them rest for 10 minutes before cutting. This resting period allows the juices to redistribute throughout the meat, ensuring maximum tenderness. Cut the ribs into individual portions using a sharp knife. Serve immediately, with additional BBQ sauce on the side if desired. The ribs should be so tender that they fall off the bone with minimal effort.
Resting is crucial as it allows the meat to relax and retain its juices. When you cut into the ribs, they should be easy to pull apart, showcasing their tender perfection.
Storing and Reheating This Dish
Refrigerator Storage Tips
After the ribs have cooled completely, store them in an airtight container or wrap them tightly in plastic wrap or aluminum foil. They’ll keep in the refrigerator for up to 4 days. I like to portion mine into individual servings for easy reheating.
Freezer Storage for Later
For longer storage, you can freeze the ribs. Wrap them tightly in heavy-duty aluminum foil or freezer-safe bags, making sure to remove as much air as possible before sealing. Label with the date and contents. The ribs will keep in the freezer for up to 3 months. When you’re ready to eat them, simply thaw overnight in the refrigerator. ❄️
Reheating Methods
To reheat, you can use the oven or microwave. For oven reheating, preheat to 250°F, wrap the ribs in foil, and heat for 20-30 minutes until warmed through. For microwave reheating, place the ribs on a microwave-safe dish, cover with a damp paper towel, and heat on medium power for 2-3 minutes, checking and stirring as needed. 🔥
Tips for Maintaining Moisture
To keep the ribs moist during reheating, you can add a splash of apple cider vinegar or BBQ sauce to the container or wrap. This will help maintain the tender texture and flavor. I also recommend covering the ribs tightly to prevent drying out. 💡
Serving After Reheating
Once reheated, let the ribs rest for a few minutes before serving. You can serve them as is or add additional BBQ sauce for extra flavor. Consider serving with your favorite sides, such as coleslaw or baked beans, to complete the meal. Enjoy! 🍴
Additional Storage Tips
If you have leftover BBQ sauce, store it in an airtight container in the refrigerator for up to 2 weeks. You can also freeze it for up to 3 months. Reheat the sauce gently before using. For the dry rub, store any leftovers in an airtight container in a cool, dark place to preserve the flavors.
Nutrition Facts
540kcal

Trained in classic French technique but raised on slow-cooked ribs and spicy rubs, she blends culinary skill with smoke and soul.
- Recipe for Boneless Pork Chops in Cast Iron Skillet: Sear and Baste to Juicy Perfection - October 3, 2026
- Recipe for Boneless Cross Rib Roast: Slow-Roasted Beef with Herb Crust - October 3, 2026
- Hamburgers in Sauce Recipe Crock Pot: Slow-Cooked Savory Delight - October 3, 2026