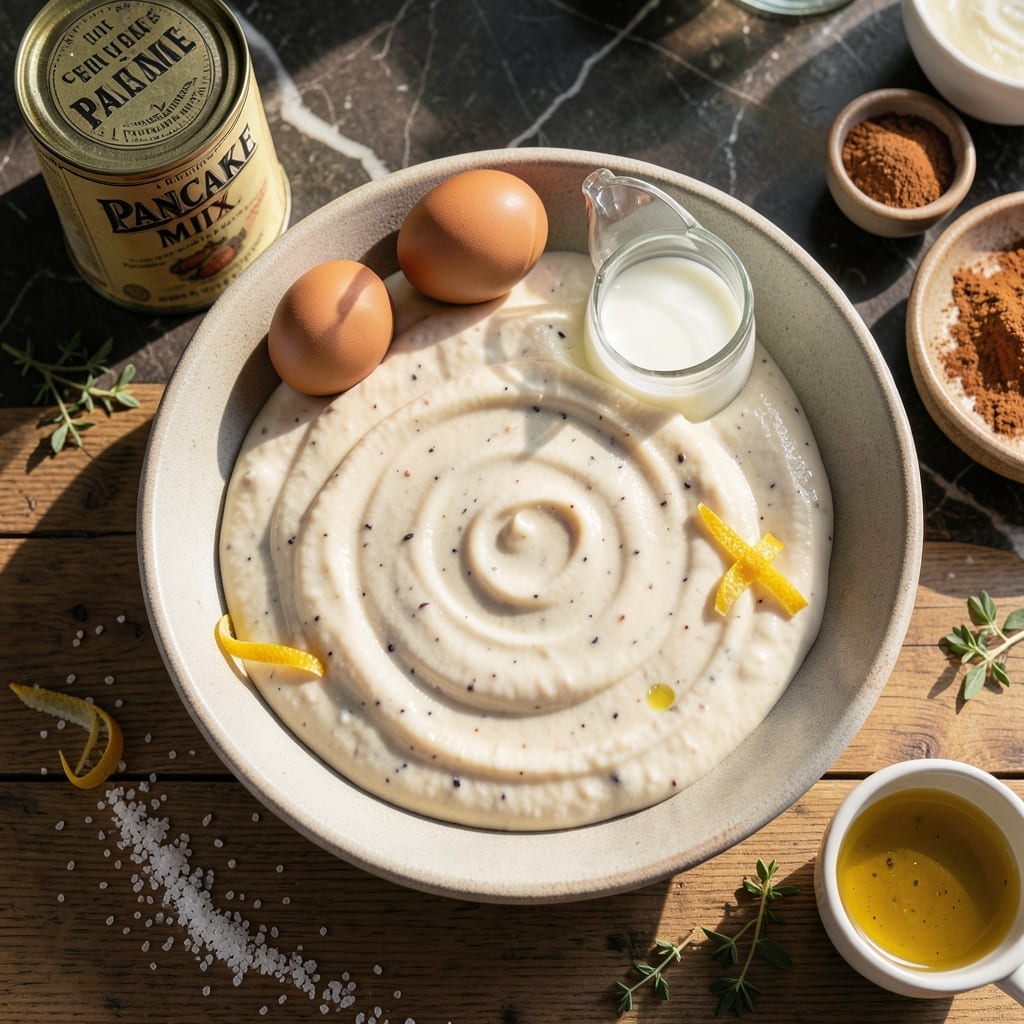
Transform your pancake mix into crispy waffles with one simple adjustment. This method delivers golden, grid-perfect results every time.
By adding a bit of oil and adjusting the liquid ratio, you’ll achieve the ideal waffle texture. The waffle iron does the rest, turning basic mix into something extraordinary.
Ingredients for Waffle Mix Recipe with Pancake Mix
Pantry staples plus a few tweaks transform pancake mix into crispy waffle perfection.
| Ingredient | Amount | Notes |
|---|---|---|
| Pancake Mix 🥞 | 2 cups | Any brand, just add liquid |
| Vegetable Oil 🫒 | ¼ cup | Neutral flavor preferred |
| Large Eggs 🥚 | 2 whole | Room temperature for best results |
| Milk 🥛 | 1 ¼ cups | Whole or 2% for richness |
| Vanilla Extract 🌿 | 1 tsp | Pure extract recommended |
| Granulated Sugar 🧂 | 1 tbsp | Optional for sweetness boost |
| Baking Powder 🧂 | 1 tsp | Ensures extra lift for waffles |
| Salt 🧂 | ¼ tsp | Fine grain preferred |
| Ground Cinnamon 🌿 | ½ tsp | Optional for warm spice |
| Melted Butter 🧈 | 2 tbsp | For extra crispiness |
[recipe_ingredient_scaler]
The pancake mix is your base, so pick one you actually like—the flavor carries through. Krusteaz or Bisquick are reliable, but store brands work too. The oil is key for that crispy exterior, so don’t skip it. I grab Crisco vegetable oil for its neutral taste, but any mild oil does the trick. Eggs add structure, so use fresh ones if you can.
No milk? Water works in a pinch but the waffles won’t be as rich. Swap vanilla for almond extract if you want a different flavor. Out of baking powder? Add 1/4 tsp baking soda plus 1/2 tsp vinegar to the wet ingredients. The sugar and cinnamon are totally optional, but they add that classic diner-style warmth.
Mix the dry ingredients first if you’re prepping ahead—keeps 1-2 days in a sealed container. Batter is best used immediately, though. Leftover waffles? Freeze them for up to 2 months. Reheat in the toaster for that fresh-off-the-iron crispness.
Why You’ll Love This Recipe
- 5-Minute Start: I just dump pancake mix, eggs, oil, milk, and vanilla in a bowl—no measuring cups beyond the one for milk.
- Vanilla Lift: That splash of vanilla turns the boxed mix into something rich and bakery-worthy.
- Weekend or Wednesday: I’ve served these for Sunday brunch and as a Tuesday dinner in pajamas.
- Freezer Staple: Leftovers freeze solid, so I pop two in the toaster anytime the kids demand waffles.
Step-by-Step Instructions for Waffle Mix With Pancake Mix
Here’s the method for transforming that box mix into crispy, golden grid iron perfection.
Step 1: Combine Dry Ingredients for Maximum Lift
In a large mixing bowl, whisk together the 2 cups Pancake Mix, 1 tsp Baking Powder, 0.25 tsp Salt, 1 tbsp Granulated Sugar, and 0.5 tsp Ground Cinnamon until fully incorporated. I always do this first to break up any lumps in the mix and ensure even distribution of leavening agents.
The extra baking powder is crucial—it’s what gives waffles that signature lift and airy interior that pancakes don’t need. The cinnamon adds a warm background note that pairs perfectly with the vanilla. Don’t skip the sugar, even if your pancake mix is pre-sweetened; waffles benefit from that extra caramelization.
Step 2: Whisk Wet Ingredients Until Smooth
In a separate bowl, beat the 2 whole Large Eggs lightly with a fork. Add the 1.25 cups Milk, 0.25 cup Vegetable Oil, and 1 tsp Vanilla Extract, then whisk until the mixture is completely smooth and slightly frothy. Room temperature eggs blend better, creating a more stable batter.
Here’s the thing—the oil in the original recipe might seem like overkill with the melted butter coming later, but it’s not. The oil keeps the waffles tender inside while the butter we’ll add next creates that crisp exterior. The vanilla might seem optional, but it adds depth that balances the richness.
Step 3: Marry Wet and Dry with Melted Butter
Create a well in the center of your dry ingredients and pour in the wet mixture. Gently fold them together with a silicone spatula just until no dry streaks remain—about 15-20 strokes. The batter will be slightly thick with small lumps, which is perfect. Overmixing develops gluten and makes waffles tough.
Now fold in the 2 tbsp Melted Butter until just combined. This final addition of fat right before cooking is the secret to that shatteringly crisp exterior. The butter should be warm but not hot enough to cook the eggs in the batter.
Step 4: Cook to Crispy Perfection
Preheat your waffle iron to medium-high heat. Lightly grease the grids if your iron isn’t nonstick. Pour about ½ cup batter onto the center of the lower grid, spreading it slightly with the back of a spoon if needed. Close the lid and cook for 4-5 minutes, or until the waffle releases easily and is deep golden brown.
Don’t open the iron too early—you’ll know it’s ready when steam stops escaping from the sides and the indicator light (if your iron has one) signals it’s done. The waffle should be crisp enough that you can hear a slight crackle when you remove it. For extra crispiness, place finished waffles directly on the oven rack in a 200°F oven while you cook the remaining batter.
Pro Tips For Making Waffle Mix Recipe With Pancake Mix
- Preheat the Iron: I learned this the hard way—always preheat your waffle iron for at least 5 minutes. Without it, the first batch ends up pale and gummy instead of crisp.
- Add Extra Fat: Sounds weird, but it works: add an extra tablespoon of vegetable oil to the mix. Pancake mix is leaner than waffle mix, and this gives you that golden, crispy texture.
- Skip Overmixing: After burning three batches, I finally figured out that lumps are fine. Stir just until combined—overmixing makes waffles tough and dense.
- Use Room-Temp Eggs: My grandmother swore by this, and she was right: eggs at room temperature whip up fluffier. Just set them out 10 minutes before mixing.
Essential Equipment for Perfect Results
Waffle Iron Essentials
Invest in a quality nonstick waffle iron—I swear by my Cuisinart Round Classic. It heats evenly and releases waffles cleanly every time. Look for adjustable temperature control so you can fine-tune for your preferred crispness level. 🔥
Mixing Bowls Matter
Use a large, wide mixing bowl (I prefer stainless steel) to give yourself room to fold the batter without spills. A silicone spatula is perfect for gently combining wet and dry ingredients without overmixing.
Measuring Tools
Accurate measurements make a difference. I keep a set of OXO Good Grips measuring cups and spoons in my kitchen. For the melted butter, a small heatproof bowl or glass measuring cup works perfectly for microwaving and pouring.
Prep Surface
A cooling rack is essential for keeping waffles crisp while you finish the batch. Place it over a baking sheet to catch any drips. This setup lets air circulate around the waffles, preventing that dreaded soggy bottom.
Optional Upgrades
For serious waffle lovers, consider a batter dispenser for perfectly portioned pours. A pastry brush helps grease the iron evenly if needed. I also keep a digital thermometer handy to check my iron’s temperature accuracy.
Cleanup Helpers
Have paper towels and a soft brush ready for quick cleanup between batches. Nonstick sprays work, but I prefer brushing on vegetable oil for a more even coating. It’s the little things that make waffle morning stress-free.
Nutrition Facts
Frequently Asked Questions
Can I use water instead of milk?
Yes, but milk adds richness. Water works in a pinch, though waffles may be less flavorful. 1.25 cups of either liquid keeps the batter consistency right.
Why add extra baking powder?
Waffles need more lift than pancakes. The extra 1 tsp creates those airy pockets inside while maintaining crisp edges. It’s the secret to perfect texture.
How do I prevent soggy waffles?
Use medium-high heat and avoid opening the iron early. Place finished waffles on a cooling rack, not a plate, to maintain crispness.
Can I make the batter ahead of time?
Mix dry ingredients up to 1-2 days ahead, but combine wet and dry just before cooking. Batter loses leavening power if left sitting.

Trained in classic French technique but raised on slow-cooked ribs and spicy rubs, she blends culinary skill with smoke and soul.
- Recipe for Boneless Pork Chops in Cast Iron Skillet: Sear and Baste to Juicy Perfection - October 3, 2026
- Recipe for Boneless Cross Rib Roast: Slow-Roasted Beef with Herb Crust - October 3, 2026
- Hamburgers in Sauce Recipe Crock Pot: Slow-Cooked Savory Delight - October 3, 2026