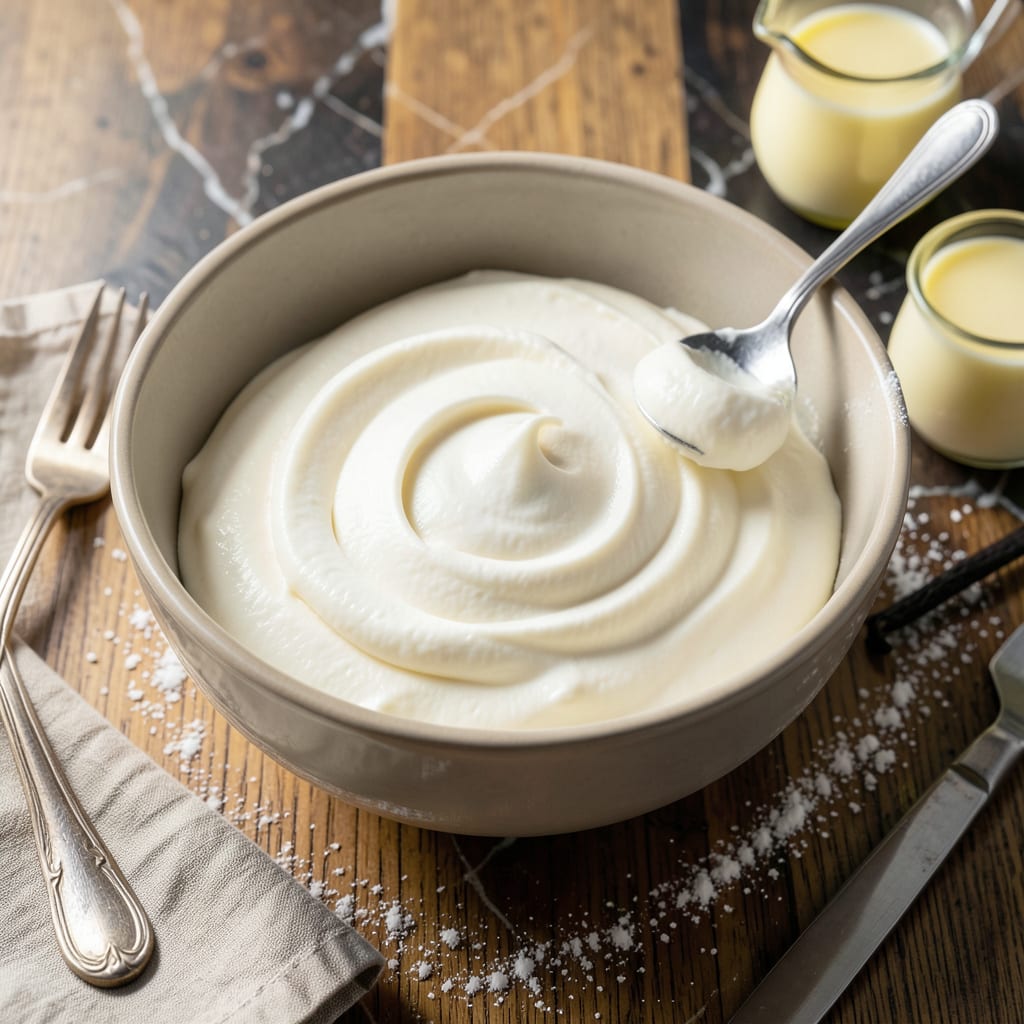
This buttercream frosting delivers fluffy, smooth results every time with just a few pantry staples. I’ve refined this method through years of cake decorating to ensure perfect consistency without being overly sweet.
It pipes beautifully and holds its shape, making it ideal for cakes, cupcakes, or cookies. With a neutral vanilla base, it pairs perfectly with any flavor profile.
Ingredients for Walmart Buttercream Frosting
Six simple ingredients transform into silky, fluffy frosting perfect for any dessert.
| Ingredient | Amount | Notes |
|---|---|---|
| Unsalted Butter 🧈 | 1 cup | Room temperature, softened |
| Powdered Sugar 🍚 | 4 cups | Sifted for smooth texture |
| Whole Milk 🥛 | 2 tbsp | Or heavy cream for richness |
| Pure Vanilla Extract 🌿 | 2 tsp | High-quality for best flavor |
| Salt 🧂 | ¼ tsp | Fine grain preferred |
| Heavy Cream 🥛 | 1 tbsp | Optional for extra fluffiness |
[recipeingredientscaler]
The butter is everything here. Great Value unsalted butter from Walmart works perfectly—just make sure it’s truly at room temperature (soft enough to dent with a finger, but not greasy). Powdered sugar brands vary wildly in texture; Domino or C&H give the smoothest results without clumps. Avoid generic store brands that can leave a gritty finish.
Out of milk? Heavy cream or half-and-half adds richness without thinning the frosting. No vanilla extract? Vanilla bean paste at half the amount gives specks of vanilla bean. For a dairy-free version, Earth Balance buttery sticks are the closest substitute. Skip the powdered sugar substitutes—they don’t hold up for piping.
This keeps in an airtight container at room temperature for 2 days, in the fridge for 1 week. Bring to room temperature and re-whip before using. Freeze for up to 3 months (thaw overnight in the fridge).
Why You’ll Love This Recipe
- 5-Minute Mix: I can beat this together with a hand mixer while my cake cools—no fancy tools, just butter, powdered sugar, and a splash of milk.
- Vanilla Cloud: The real vanilla extract makes it taste like bakery-quality, not that artificial sweetness you get from store-bought tubs.
- Calls for Celebration: I’ve used it on birthday cakes, cupcakes, even sugar cookies—it pipes like a dream and holds its shape for hours.
- Pantry Staples: Between us, I always have these ingredients on hand, so last-minute dessert emergencies are no sweat.
Step-by-Step Instructions for Fluffy Vanilla Buttercream Frosting
Master this professional technique for smooth, pipeable frosting with perfect consistency every time.
Step 1: Cream the Unsalted Butter to Optimal Texture
In a stand mixer fitted with the paddle attachment, beat the 1 cup Unsalted Butter on medium-high speed for 3-4 minutes until pale and noticeably lighter in color. The butter should be soft but not greasy—if it looks shiny or separates, it’s too warm.
This creaming step incorporates air, which creates the fluffy structure essential for proper buttercream. Stop periodically to scrape the bowl with a silicone spatula, ensuring even mixing. The mixture is ready when it holds peaks briefly when the paddle is lifted.
Step 2: Gradually Incorporate the Powdered Sugar
With the mixer on low speed, gradually add the 4 cups Powdered Sugar, about ½ cup at a time. Allow each addition to fully incorporate before adding more—this prevents a cloud of sugar dust and ensures even distribution.
After all the sugar is added, increase the speed to medium and beat for 1-2 minutes until the mixture is smooth and free of lumps. The frosting will appear dry and crumbly at this stage, which is normal. Resist the urge to add liquid yet—patience is key.
Step 3: Emulsify with Wet Ingredients for Creamy Consistency
Add the 2 tbsp Whole Milk, 2 tsp Pure Vanilla Extract, and 0.25 tsp Salt. Mix on low speed until the liquids are just combined, then increase to medium-high and beat for 2-3 minutes until the frosting lightens in color and becomes silky smooth.
The vanilla and salt enhance flavor depth, while the milk begins the emulsification process. Watch for the mixture to transform from grainy to glossy—this visual cue signals the fat and liquids are properly bound.
Step 4: Adjust to Ideal Piping Consistency
Add the 1 tbsp Heavy Cream and beat on medium speed for 1 minute until fully incorporated. Check the consistency by lifting the paddle—the frosting should hold a soft peak that gently folds over at the tip.
If it’s too stiff, add additional milk 1 teaspoon at a time; if too loose, add more powdered sugar 2 tablespoons at a time. The perfect buttercream should be spreadable yet hold its shape when piped, with a satin-like sheen.
Step 5: Final Mix and Usage Preparation
Give the frosting one final mix on low speed for 30 seconds to eliminate any remaining air bubbles. This ensures a smooth finish when applied to cakes or cupcakes.
Use immediately for best texture, or store in an airtight container at room temperature for up to 2 days. Before using chilled frosting, rewhip briefly to restore its fluffy consistency. This recipe yields enough to generously frost 12 cupcakes or a 9-inch two-layer cake.
Pro Tips For Making Walmart Buttercream Frosting
- Soften the Butter: Pull your butter out 1-2 hours before starting—it should dent when pressed but not be greasy. I learned this the hard way after my first batch turned out grainy from cold butter.
- Sift the Sugar: Sounds tedious, but sifting the powdered sugar removes lumps that would otherwise show up in your frosting. My grandmother swore by this, and she was right.
- Add Sugar Slowly: Resist the urge to dump all the powdered sugar in at once—add it in 1-cup increments while beating to avoid a cloud of sugar dust and uneven mixing.
- Use Room Temp Milk: Cold milk can cause the frosting to seize up. I skip this when I’m lazy, but the texture is noticeably smoother when I don’t.
Essential Equipment for This Recipe
Stand Mixer Essentials
I swear by my KitchenAid 5-Quart Stand Mixer with paddle attachment for this frosting. The powerful motor handles thick buttercream without straining, and the paddle’s flat design scrapes the bowl better than a whisk. walmart sells Great Value brand attachments that fit perfectly. 💛
Bowl and Spatula
A stainless steel mixing bowl (chilled in the freezer for 10 minutes beforehand) helps maintain optimal temperature. I use a silicone spatula with a heat-resistant head to scrape every last bit of frosting from the bowl.
Measuring Tools
Precise measurements matter here. I rely on OXO Good Grips measuring cups for the powdered sugar and a 1-tablespoon cookie scoop for the butter. A kitchen scale (like Escali Primo) ensures accuracy for the butter weight.
Piping Equipment
For decorating, a disposable piping bag (I like Wilton’s 18-inch bags) paired with a large star tip (Wilton 1M) creates beautiful swirls. Couplers let you switch tips easily without emptying the bag.
Storage Solutions
An airtight container is crucial for storing frosting. I prefer Glasslock containers from Walmart—they don’t absorb odors and the glass won’t stain from vanilla. For piping bags, twist the open end tightly and secure with a rubber band. ❄️
Optional Extras
A bench scraper helps smooth frosting on cakes, while parchment paper under your work surface catches drips. For coloring, gel food colorings (like Wilton’s) won’t thin your frosting like liquid dyes.
Nutrition Facts

Trained in classic French technique but raised on slow-cooked ribs and spicy rubs, she blends culinary skill with smoke and soul.
- Recipe for Boneless Pork Chops in Cast Iron Skillet: Sear and Baste to Juicy Perfection - October 3, 2026
- Recipe for Boneless Cross Rib Roast: Slow-Roasted Beef with Herb Crust - October 3, 2026
- Hamburgers in Sauce Recipe Crock Pot: Slow-Cooked Savory Delight - October 3, 2026