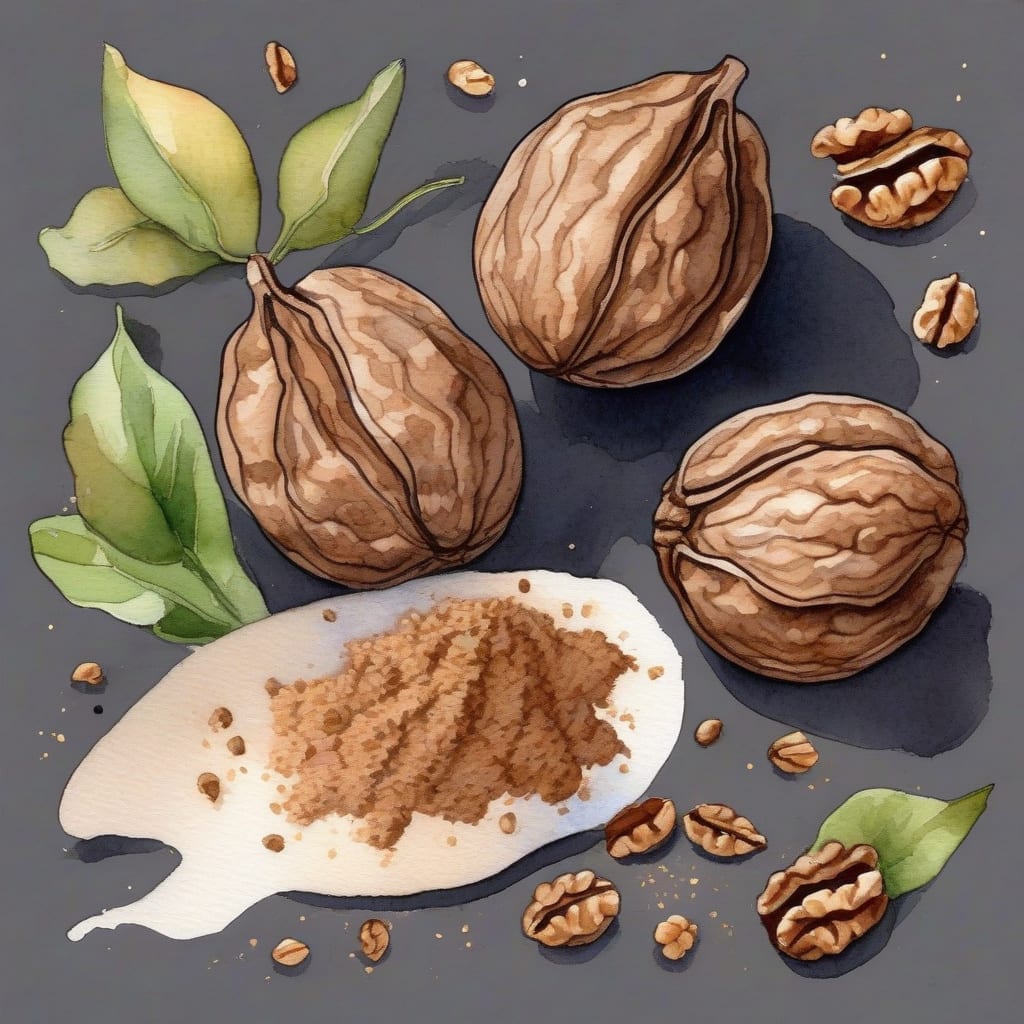
Making walnut flour from scratch is a game-changer for any baker. I love how it adds depth and texture to baked goods, and it’s surprisingly simple to make at home. All you need is a food processor and some patience.
The process is straightforward: simply grind raw walnuts until they reach a fine, flour-like consistency. Be careful not to overprocess, as this can create walnut butter instead. The result is a delicious, nutty flour perfect for cakes, cookies, and more.
Using homemade walnut flour elevates your baking to the next level. It adds a rich, nutty flavor and a delicate texture that’s hard to achieve with store-bought alternatives. Plus, you can control the grind size to suit your recipe.
Let’s get started and make some delicious walnut flour together! This recipe is a great starting point for any baking project, and I’m excited to share it with you.
Ingredients for walnut flour
Here’s what you need to make delicious walnut flour at home with ease.
| Ingredient | Amount | Notes |
|---|---|---|
| Raw Walnuts 🌰 | 2 cups | High-quality, fresh walnuts |
| Fine Mesh Sieve 🧹 | 1 whole | For sifting flour |
| Food Processor 🍲 | 1 whole | For grinding walnuts |
[recipe_ingredient_scaler]
You can find raw walnuts at most grocery stores or health food stores like Whole Foods. Look for plump, fresh walnuts with no signs of mold or rancidity. Store them in an airtight container in the fridge or freezer to keep them fresh. Costco offers great prices on bulk walnuts.
If you don't have a food processor, you can use a high-powered blender like Vitamix. Be careful not to overprocess, as this can turn the walnuts into butter. You can also use a coffee grinder for small batches. Sift the flour after grinding to remove any large pieces.
Store your homemade walnut flour in an airtight container in the fridge for up to 3 months or freeze for up to 6 months. Label the container with the date and contents. Use it in your favorite recipes for cakes, cookies, and more.
Step-by-Step Instructions for Walnut Flour
Let me guide you through making walnut flour from scratch with ease.
Step 1: Process Walnuts to Fine Consistency
Start by adding the 2 cups of raw walnuts to your food processor. I like to process them in batches if you’re using a smaller processor to avoid overloading it. Process the walnuts for about 2 minutes, stopping to scrape down the sides as needed, until they reach a fine, flour-like consistency. Be careful not to overprocess, as this can turn your flour into walnut butter.
You’ll know you’re done when the mixture no visible walnut chunks remain and the mixture is smooth and powdery. Be sure to check the texture by rubbing a small amount between your fingers; it should feel smooth and not gritty.
Step 2: Sift Walnut Flour Through Fine Mesh Sieve
Transfer the processed walnut mixture to your fine mesh sieve and gently sift it into a bowl below. This step is crucial for removing any remaining large pieces or clumps, ensuring your flour is silky smooth. You may need to tap the sieve gently or use a spatula to press the flour through.
Sifting not only improves texture but also helps aerate the flour, making it easier to incorporate into recipes. If you notice any coarse bits remaining in the sieve, you can reprocess them briefly and sift again.
Step 3: Store Walnut Flour Properly
Transfer the sifted walnut flour to an airtight container and store it in a cool, dry place. I like to keep mine in the refrigerator to preserve freshness, especially if I’m not using it immediately. The flour will keep for up to 3 months when stored properly.
Before using, give the flour a quick stir to reincorporate any oils that may have separated during storage. Freshly made walnut flour has a rich, nutty aroma that’s perfect for baking. Enjoy experimenting with it in your favorite recipes!
Making your own walnut flour from scratch is a simple process that requires just one ingredient: walnuts! 🌰 You can use either raw or roasted walnuts, depending on your preference. If you want a nuttier flavor, go for roasted walnuts. If you prefer a milder taste, raw walnuts are the way to go.
Step 1: Prepare Your Walnuts 🔪
Start by preheating your oven to 350°F (180°C). If using raw walnuts, spread them on a baking sheet and toast them in the oven for 5-7 minutes, or until fragrant and lightly browned. Let the walnuts cool completely.
Step 2: Grind Your Walnuts ⏰
Transfer the cooled walnuts to a food processor or high-speed blender. Process the walnuts for about 2 minutes, or until they are finely ground. You may need to stop the processor and scrape down the sides a few times to ensure everything gets ground evenly.
Step 3: Sift and Store 🎯
Sift the ground walnuts through a fine-mesh sieve to remove any large chunks. You can save the chunky bits for snacking or using in another recipe. Store your freshly made walnut flour in an airtight container in the fridge for up to 3 months or freeze for up to 6 months.
💡 Pro tip: To avoid creating walnut butter, be careful not to overprocess the walnuts. If you notice they’re starting to clump together, stop the processor immediately.
- 1 cup walnuts (raw or roasted)
- Optional: pinch of salt
You now have a delicious and nutritious walnut flour to use in your favorite recipes! 🥳 Walnut flour is perfect for baked goods, such as cakes, cookies, and muffins. It’s also a great addition to savory dishes, like meatballs and veggie burgers.
Tips & Tricks for Perfect Walnut Flour
These simple tips will help you achieve silky smooth walnut flour every time.
Processing Tips: When processing walnuts in Step 1, be sure to stop and scrape down the sides every 30 seconds to ensure even grinding. This prevents clumping and ensures a consistent texture. 💡
Sifting Technique: For the best results in Step 2, sift the flour gently but thoroughly. If you notice clumps remaining, tap the sieve gently or use a spatula to press the flour through for a smoother final product.
Storage Secrets: After sifting, store your walnut flour in an airtight container in the refrigerator to maintain freshness. The cool temperature helps prevent oil separation and keeps the flour ready for your next baking project.
Nutrition Facts
182kcal
Making walnut flour from scratch is a simple way to ensure you’re getting the highest quality flour for your baked goods. This recipe yields a nutritious flour that’s rich in healthy fats and protein.
The walnut flour produced by this recipe is an excellent source of healthy fats, particularly omega-3 fatty acids, and provides a good amount of protein. It’s also relatively low in carbohydrates, making it suitable for low-carb diets.
While walnut flour is nutrient-dense, it’s still high in calories due to its fat content. Use it in moderation as part of a balanced diet to reap its nutritional benefits without overdoing it on the calories.
[recipe_ingredient_scaler]

Trained in classic French technique but raised on slow-cooked ribs and spicy rubs, she blends culinary skill with smoke and soul.
- Recipe for Boneless Pork Chops in Cast Iron Skillet: Sear and Baste to Juicy Perfection - October 3, 2026
- Recipe for Boneless Cross Rib Roast: Slow-Roasted Beef with Herb Crust - October 3, 2026
- Hamburgers in Sauce Recipe Crock Pot: Slow-Cooked Savory Delight - October 3, 2026