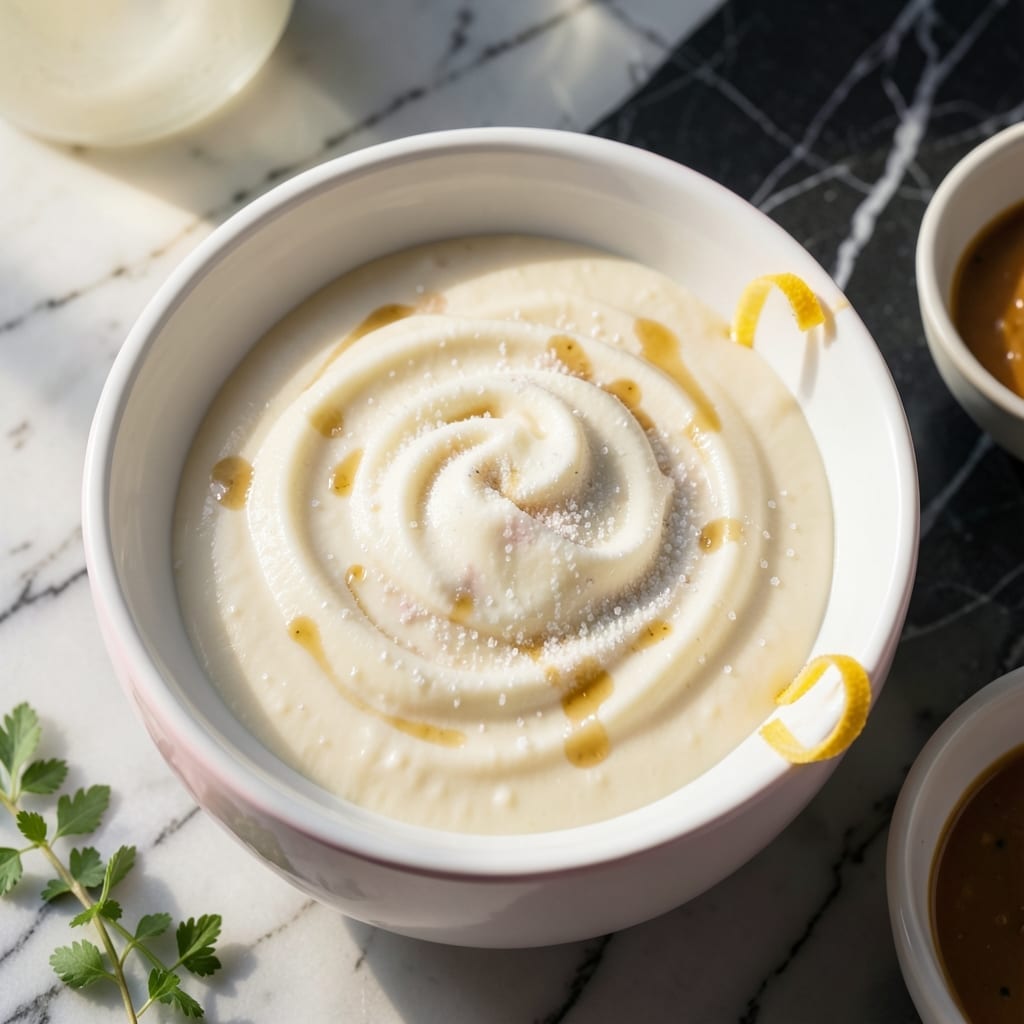
This light and airy dessert proves you can enjoy decadent flavors without the guilt. I developed this recipe after years of perfecting traditional cheesecakes, stripping it down to its most satisfying elements.
The secret lies in using Greek yogurt for creaminess and a touch of vanilla to enhance the cheesecake flavor. Sugar-free pudding mix provides structure without added calories, creating that signature smooth texture.
What you get is a silky, dreamy pudding that tastes like cheesecake in spoonable form. It’s the perfect solution when you want something sweet but need to watch your intake.
This recipe serves four and keeps well in the fridge for up to three days. The results are consistently perfect every time.
Ingredients for Weight Watchers Cheesecake Pudding
Simple, light ingredients create that creamy, dreamy dessert you crave without the guilt.
| Ingredient | Amount | Notes |
|---|---|---|
| Sugar-Free Vanilla Pudding Mix 🍮 | 1 package | 3.4 oz box, instant type |
| Non-Fat Greek Yogurt 🥛 | 2 cups | Plain, unsweetened variety |
| Low-Fat Cream Cheese 🧀 | 8 oz | Softened to room temperature |
| Cold Skim Milk 🥛 | 1 ½ cups | For whisking pudding mix |
| Pure Vanilla Extract 🌿 | 1 tsp | For enhanced cheesecake flavor |
| Granulated Sugar Substitute 🍚 | ¼ cup | Adjust to taste preference |
| Lemon Juice 🍋 | 1 tbsp | Freshly squeezed for brightness |
| Graham Cracker Crumbs 🍪 | ½ cup | For optional topping layer |
| Fresh Strawberries 🍓 | 1 cup | Diced, for garnish option |
| Sugar-Free Whipped Topping 🍦 | ½ cup | Thawed, for serving |
[recipe_ingredient_scaler]
The Greek yogurt is non-negotiable here—Fage or Chobani have the thickest texture and best protein content. Look for 17g+ protein per serving on the label. The cream cheese needs to be low-fat (not non-fat) for that authentic cheesecake tang. Philadelphia is my go-to brand. Always check that your pudding mix is labeled sugar-free, as some ‘light’ versions still contain sugar.
No Greek yogurt? Regular plain yogurt strained through cheesecloth for 30 minutes works in a pinch. Out of sugar-free pudding? Sugar-free cheesecake flavored gives even better results. The sugar substitute can be any brand—Splenda or Stevia blend well. For a nutty twist, swap graham cracker crumbs for almond flour (toasted first).
This keeps beautifully for 3 days in the fridge—actually improves overnight. Store in airtight containers with parchment pressed directly on the surface to prevent skin. The crumb topping is best added fresh, not stored with the pudding. Perfect for meal prep on Sunday for the week.
Why You’ll Love This Recipe
- No-Bake Bliss: I just mix the pudding, yogurt, and cream cheese—no oven, no stress.
- Creamy Dream: The combo of vanilla pudding and cream cheese gives that rich cheesecake taste without the guilt.
- Meal Prep Magic: I make a big batch on Sunday and grab one all week for a sweet protein boost.
Step-by-Step Instructions for Cheesecake Pudding
This no-bake method creates a light, creamy texture that’s ready in minutes.
Step 1: Prepare the Pudding Base
In a medium bowl, whisk together the 1 package Sugar-Free Vanilla Pudding Mix and 1.5 cups Cold Skim Milk until smooth. I use a wire whisk here to prevent lumps—you want a perfectly silky base.
Let it sit for 2 minutes to thicken slightly. The mixture should coat the back of a spoon but still be pourable. This short rest ensures the pudding sets properly when combined with the other ingredients.
Step 2: Combine Cream Cheese and Sweetener
In a large mixing bowl, beat the 8 oz Low-Fat Cream Cheese until completely smooth. I always make sure it’s softened to room temperature first—cold cream cheese creates clumps that ruin the texture.
Gradually add the 0.25 cup Granulated Sugar Substitute, 1 tsp Pure Vanilla Extract, and 1 tbsp Lemon Juice. Mix until fully incorporated and creamy. The lemon juice adds a subtle brightness that balances the sweetness.
Step 3: Fold in Yogurt and Pudding Mixture
Gently fold in the 2 cups Non-Fat Greek Yogurt using a spatula. I like to add it in two batches to maintain the airy texture. Greek yogurt gives this dessert its signature tang and protein boost.
Next, pour in the prepared pudding mixture and fold until no streaks remain. The consistency should be thick but still easy to pour. Avoid overmixing—this keeps the final product light and fluffy.
Step 4: Layer with Graham Cracker Crumbs
Spoon half of the pudding mixture into serving dishes or a single large bowl. Sprinkle evenly with half of the 0.5 cup Graham Cracker Crumbs. The crumbs add a delightful crunch and classic cheesecake flavor.
Top with the remaining pudding mixture. If you prefer a more pronounced crust, reserve some crumbs for the top layer. This step creates that signature cheesecake experience without the guilt.
Step 5: Chill and Garnish
Cover and refrigerate for at least 1 hour. This chilling time firms up the pudding and allows the flavors to meld. I often prep this in the morning for an easy afternoon treat.
Before serving, top with 1 cup Fresh Strawberries and 0.5 cup Sugar-Free Whipped Topping. The strawberries add freshness, while the whipped topping gives it that final decadent touch. Serve immediately for the best texture.
Pro Tips For Making Weight Watchers Cheesecake Pudding
- Chill the Milk: Use ice-cold skim milk straight from the fridge—warmer milk makes the pudding mix clump. I learned this the hard way after my first batch came out lumpy.
- Soften Cream Cheese: Let the low-fat cream cheese sit at room temp for 20-30 minutes before mixing. Sounds weird, but it blends smoothly into the yogurt without leaving streaks.
- Whisk First, Fold Later: Whisk the pudding mix and milk vigorously for 2 full minutes, then gently fold in the yogurt and cream cheese. Skipping the whisk step leaves a grainy texture.
- Skip the Rush: After mixing, refrigerate for at least 2 hours—no exceptions. I’ve tried cutting it short, and the texture never sets right.
Essential Equipment for Perfect Results
Mixing Bowls
You’ll need a large mixing bowl (at least 4-quart capacity) for combining all ingredients. I prefer stainless steel for durability and easy cleaning. A medium bowl works for the pudding base—Pyrex glass lets you see the thickening process clearly.
Electric Mixer
A hand mixer is perfect for beating the cream cheese until smooth. I use my KitchenAid 5-speed on medium setting. Avoid a whisk attachment—paddle beaters incorporate air better for that light texture. 💛
Spatula
A silicone spatula is essential for folding in the yogurt and pudding mixture. The flexible head scrapes every bit from the bowl. I keep a 12-inch one handy for large batches—OXO Good Grips makes my favorite.
Whisk
Use a wire whisk for the pudding base to prevent lumps. A balloon whisk with 10-12 loops works best. I find stainless steel whisks last forever and clean up easily.
Serving Dishes
Individual 8-oz ramekins or small glasses make elegant presentations. For family-style, a 2-quart glass dish works well. I love Anchor Hocking for their durability and clarity.
Chilling Setup
Plastic wrap pressed directly on the surface prevents a skin from forming. I use parchment paper for easy removal. A flat surface in your fridge ensures even chilling for that perfect texture. ❄️
Nutrition Facts
Frequently Asked Questions
Can I use regular pudding mix instead of sugar-free?
No, this would significantly increase the points. Sugar-free mix keeps the recipe light while maintaining the proper texture. Regular pudding would add unnecessary sugars and calories.
How long does this need to chill?
A minimum of 1 hour is required for the pudding to set properly. For best results, chill for 2-3 hours to allow flavors to fully develop. Overnight chilling works great too!
Can I make this dairy-free?
Yes, substitute dairy-free cream cheese and yogurt. Use almond or coconut milk for the pudding base. Note that texture and points may vary slightly.

Trained in classic French technique but raised on slow-cooked ribs and spicy rubs, she blends culinary skill with smoke and soul.
- Recipe for Boneless Pork Chops in Cast Iron Skillet: Sear and Baste to Juicy Perfection - October 3, 2026
- Recipe for Boneless Cross Rib Roast: Slow-Roasted Beef with Herb Crust - October 3, 2026
- Hamburgers in Sauce Recipe Crock Pot: Slow-Cooked Savory Delight - October 3, 2026